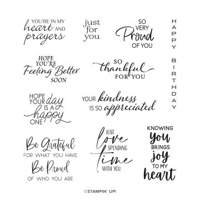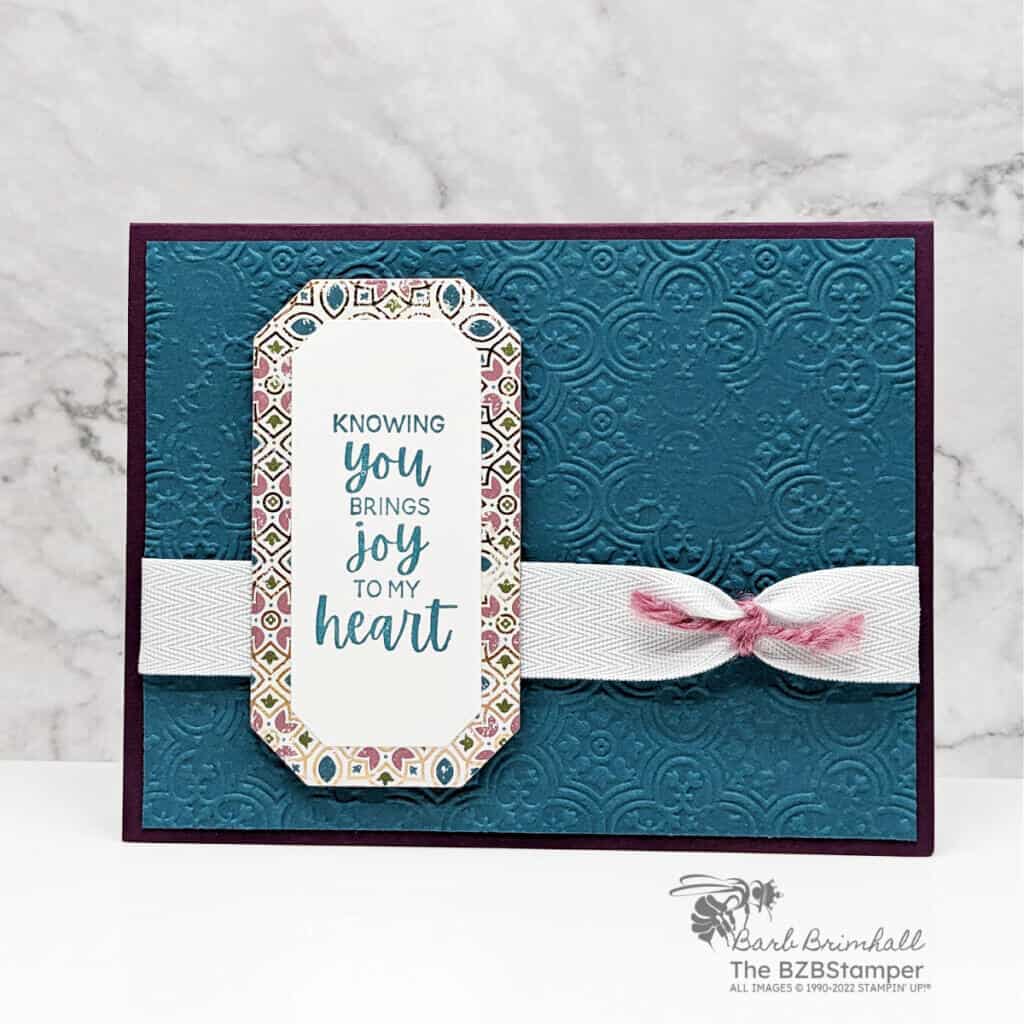
Unleash Your Creativity with the So Sincere Stamp Set by Stampin’ Up! This treasure by Stampin’ Up! has proven to be a favorite among crafting aficionados, providing an exciting avenue to express your feelings through a variety of card designs. Whether it’s a congratulatory message or a comforting word, this set has something for everyone. Join us as we dive deeper into its multifaceted uses!
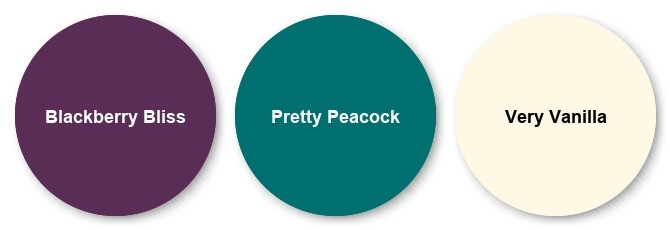
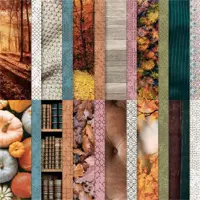
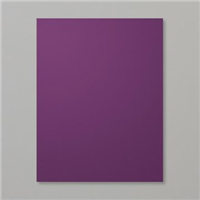
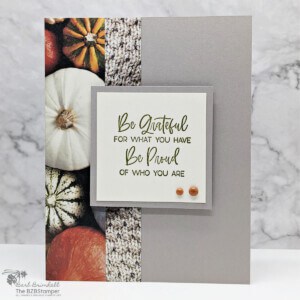
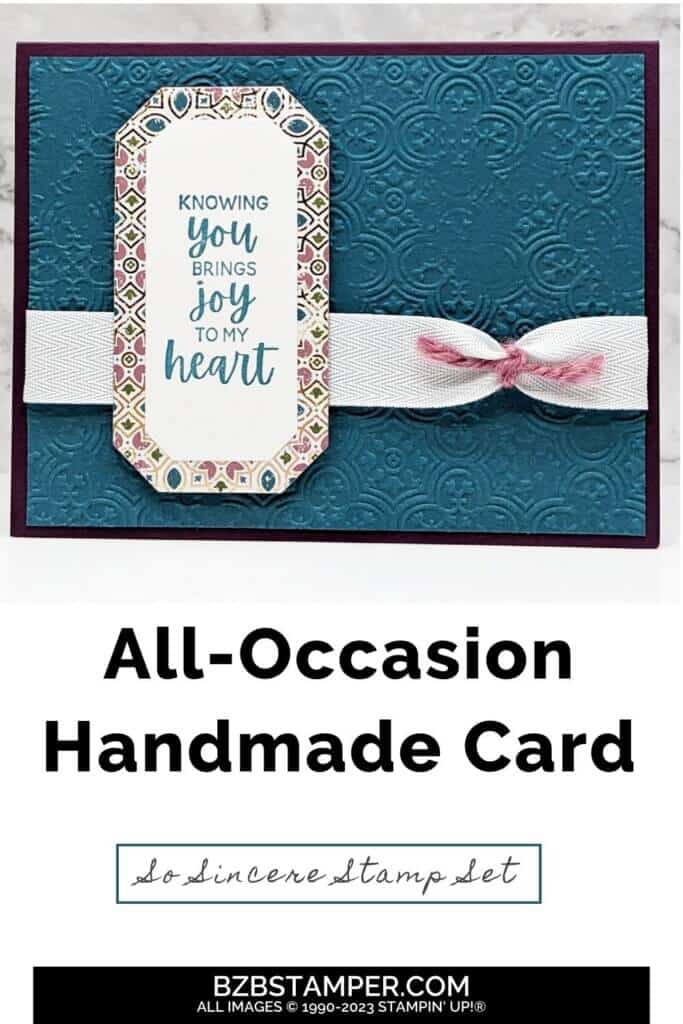
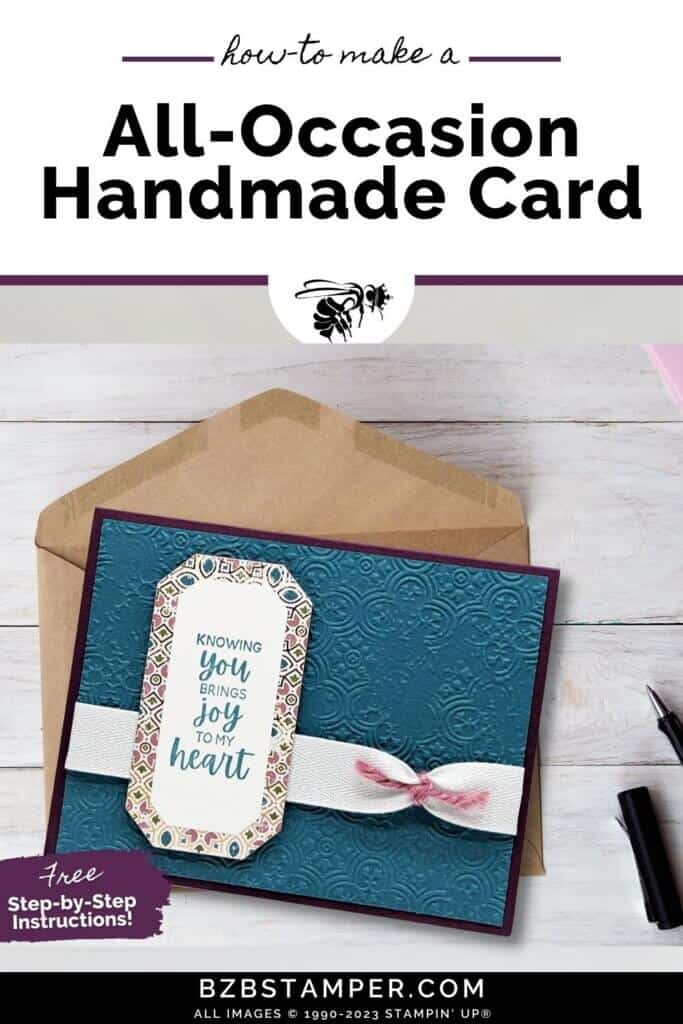
For this card, I chose colors from the beautiful All About Autumn Speciality Paper to coordinate – rich regal tones of Blackberry Bliss and Pretty Peacock. The copper elements in this paper added a richness to the overall tone of the card, which I definitely wanted for this handmade card. If you’d prefer a brighter color palette, make sure you check out my Color Combination Library, where you’ll find lots of inspiration!
How To Make This Card
Project Skill Level: Worker Bee
Worker Bee projects are designed for the crafter who has a bit more time and enjoys creating a handmade card that features a technique or tool. In many cases, a Stampin’ Cut & Emboss Machine is required for die-cutting and/or embossing.
Cardstock Measurements:
- Blackberry Bliss Cardstock: 5-1/2″ x 8-1/2″, scored at 4-1/4″
- Very Vanilla Cardstock: 4″ x 5-1/4″
- Pretty Peacock Cardstock: 4″ x 5-1/4″
- All About Autumn Specialty Paper: 3″ x 4″ (for die-cutting)
- Very Vanilla Cardstock: 2″ x 4″ (for die-cutting)


Grab your Free copy
Get 5 Bee-utiful Exclusive
Card Sketches in Your Inbox
Join our newsletter and receive a honey of a package of five quick & simple cards guaranteed to make your creativity buzz! Sign up now and let the goodness flow straight to your inbox!
Step-by-Step Instructions:
- Fold the 5-1/2” x 8-1/2” piece of Blackberry Bliss Cardstock in half at the 4-1/4” score line.
- Adhere a 4” x 5-1/4” piece of Very Vanilla Cardstock inside the card.
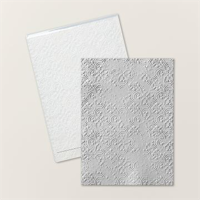
- Cut a 4” x 5-1/4” piece of Pretty Peacock Cardstock. Run through the Cut & Emboss Machine using the Distressed Tile 3D Embossing Folder.
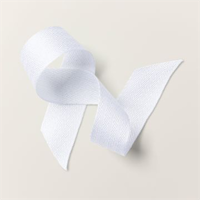
- Cut 6” of the white Ribbon and adhere the ends to the back of the Pretty Peacock cardstock; adhere to the front of the card.
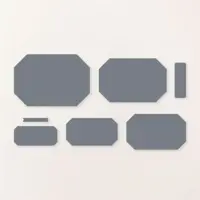
- Using a 3” x 4” piece of All About Autumn paper, cut out the 1-3/4” x 3-1/2” die-cut piece from the Countryside Corners Dies.
- Using a 2” x 4” scrap of Very Vanilla cardstock, stamp the sentiment using Pretty Peacock ink and cut out using the 1-1/4” x 2-7/8” die from the Countryside Corners Dies. Adhere to the die-cut All About Autumn paper and adhere to the left side of card using Stampin’ Dimensionals.
- Cut a 6” piece of the Moody Mauve Jute and tie onto the ribbon on the right side; tie into a knot to finish.
A Tip from Barb
This is actually a super simple card to make, but the 3D Embossing Background and the Country Corner Dies does take it up a notch. If you don’t have a Stampin’ Up! Cut & Emboss Machine or the Country Corner Dies, you can turn this into a Busy Bee simple card by cutting your All About Autumn Specialty Paper to 1-3/4″ x 3-1/2″ and the Very Vanilla Paper to 1-1/4″ x 3″ and then follow the rest of the instructions! Happy Stamping!
Thanks for stopping by for today’s card tutorial! My goal is to help you make quick & easy greeting cards for all occasions. If you’d like more detailed directions on how to make this card, feel free to email me. I hope you’ll join me again for more card-making ideas!

Don’t forget to pin this project for later!
Supplies Used On This Project:
Price: $15.00

