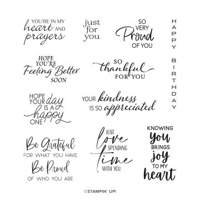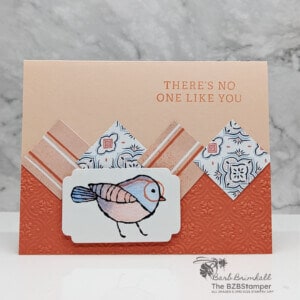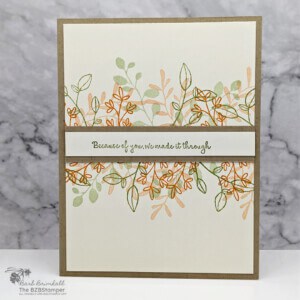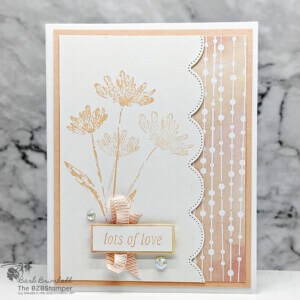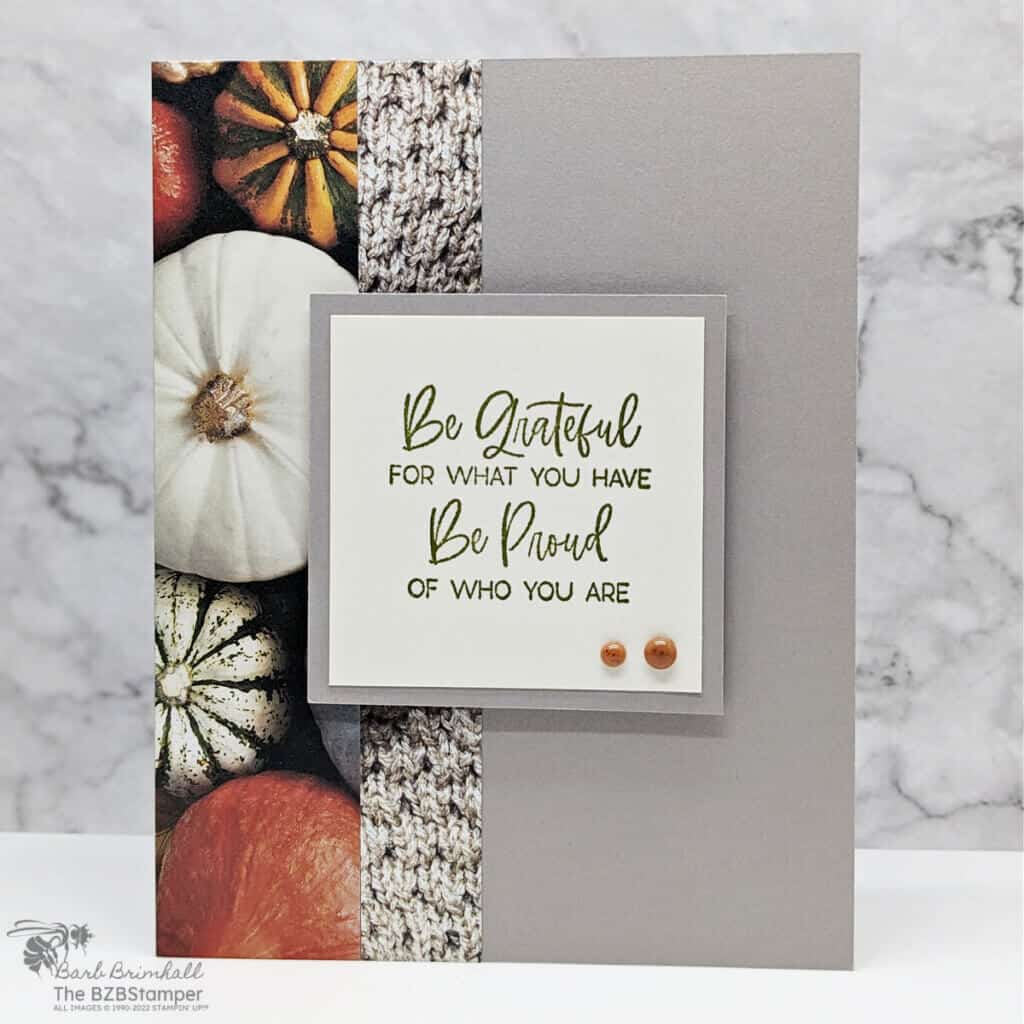
The So Sincere Stamp Set by Stampin’ Up! has proven to be a favorite among crafting aficionados, providing an elegant way to express your feelings through a variety of card sentiments. Whether it’s a congratulatory message or a comforting word, this set has something for everyone.
With just a little bit of paper and some ink, you’ll have a card that your loved ones will not only treasure for years, but feel the love & affection you have for them. Let me show you how easy it is to make this card!
How To Make This Card
Project Skill Level: Busy Bee
Busy Bee projects are designed for the beginner or busy papercrafter. This is a basic cardmaking project that can be achieved by someone who has never made a handmade card before. You can view more Busy Bee cards here.
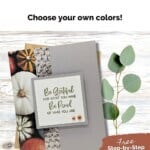
Cardstock Measurements:
- Gray Granite Cardstock: 5-1/2″ x 8-1/2″, scored at 4-1/4″
- Very Vanilla Cardstock: 4″ x 5-1/4″
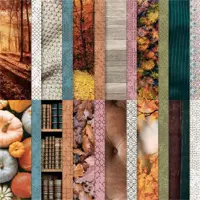
- All About Autumn Paper (pumpkin pattern): 1-1/4″ x 5-1/2″
- All About Autumn Paper (sweater pattern): 3/4″ x 5-1/2″
- Very Vanilla Cardstock: 2-1/4″ x 2-1/4″
- Gray Granite Cardstock: 2-1/2″ x 2-1/2″


Grab your Free copy
Get 5 Bee-utiful Exclusive
Card Sketches in Your Inbox
Join our newsletter and receive a honey of a package of five quick & simple cards guaranteed to make your creativity buzz! Sign up now and let the goodness flow straight to your inbox!
Step-by-Step Instructions:
- Fold the 5-1/2” x 8-1/2” piece of Gray Granite cardstock in half at the 4-1/4” score line.
- Using the 4” x 5-1/4” piece of Very Vanilla Cardstock, adhere to the inside of the card.
- Using the 1-1/4” x 5-1/2” strip of All About Autumn Paper (pumpkin pattern) and the 3/4” x 5-1/2” strip of All About Autumn Paper (sweater pattern), adhere the pumpkin pattern onto the left side of the sweater pattern, then adhere both pieces to the left side of the card.
- Using the 2-1/4” x 2-1/4” piece of Very Vanilla Cardstock, stamp the sentiment onto the Very Vanilla cardstock using Mossy Meadow ink and adhere to the Gray Granite mat. Adhere these to the center of the card front using Stampin’ Dimensionals.
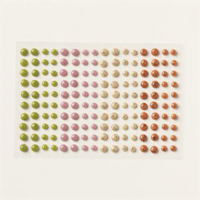
- Add 2 of the Speckled Dots in various sizes as desired to finish.
A Tip from Barb
This is the perfect card sketch for whenever you have some pretty paper you’d like to use! Just grab 2-3 colors from the paper you want to use and pull your coordinating cardstock, inks and any embellishments you’d like! An easy peasy card without any stress – I love when my pretty paper can do the heavy lifting on my cards!😊
Thank you so much for stopping by and checking out this papercrafting tutorial. I hope you are inspired to create and send cards. If you’d like more detailed directions on how to make this card, feel free to email me. I love sharing how to make cards here on the BZBStamper blog, and I can’t thank you enough for all of your support!

Don’t forget to pin this for later!
Supplies Used On This Project:
Price: $15.00

