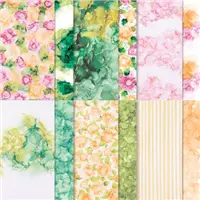
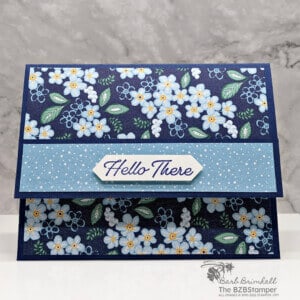
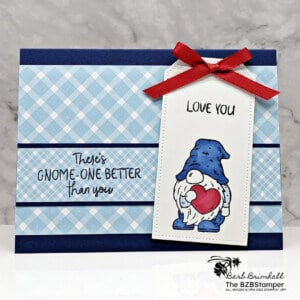
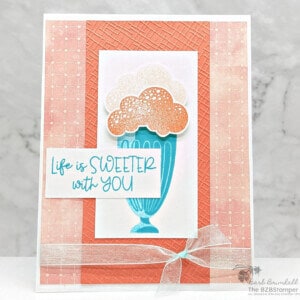
The exquisite Expressions In Ink Specialty Designer Paper combines beautiful colors, patterns, and gold foiling. It includes florals and foiling and is a great choice for wedding projects, springtime, love, and more.
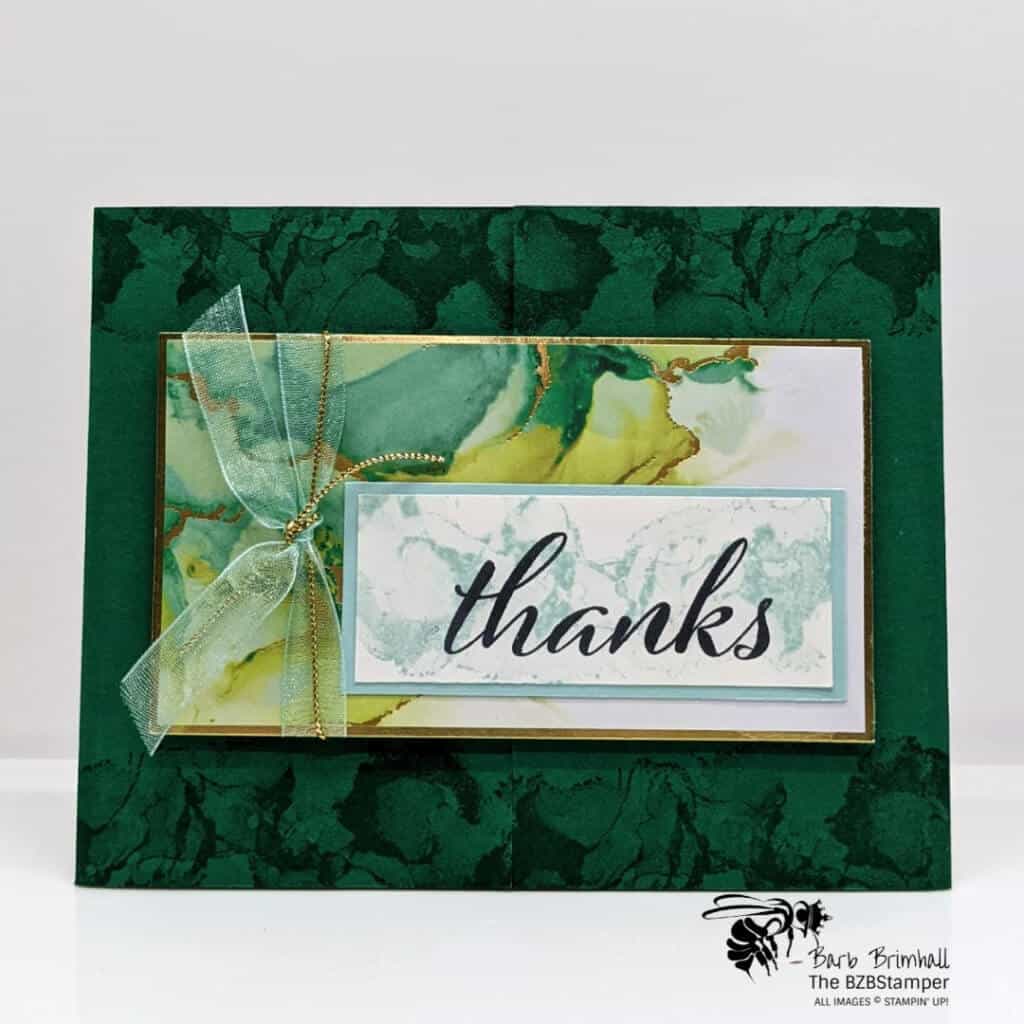
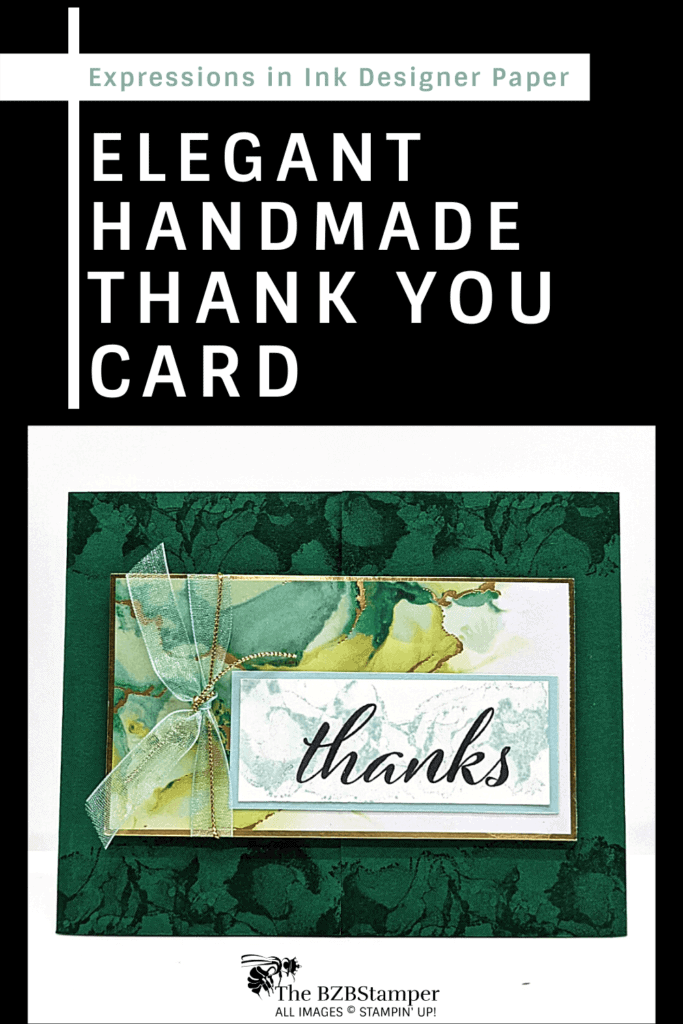
This card may look difficult to make, but it’s so easy thanks to the gorgeous Expressions In Ink Designer Paper.
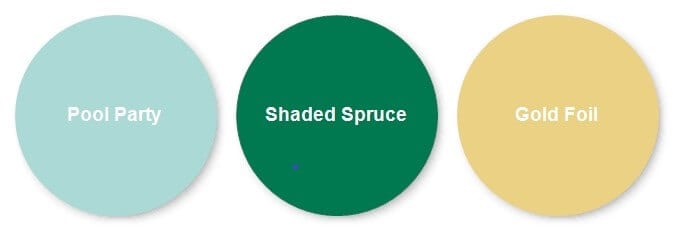
The highlight of this card, the Expressions In Ink Specialty Designer Series Paper, is also where I got the Color Combo from: Shaded Spruce, Pool Party and Gold Foil.
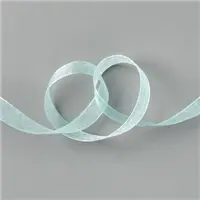
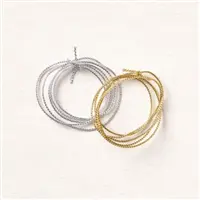
When I finished the card, I felt it was missing something – took me a minute but I realized it was Ribbon! The marrying of the Pool Party Sheer Ribbon with the Gold Trim was the perfect finishing touch for this card. Here’s how the card was made:
Supplies Used on this Project
Project Measurements
- Shaded Spruce: 4-¼” x 11”, scored at 2-¾” x 8-¼”
- Basic White: 4” x 5-¼” and 1-⅛” x 3”
- Expressions in Ink Paper: 2-⅜” x 4-⅜”
- Gold Foil paper: 2-½” x 4-½”
- Pool Party: 1-¼” x 3-⅛”
Project Instructions
1. Cut a piece of Shaded Spruce Cardstock to 4-1/4” x 11”; score at 2-3/4” & 8-1/4”. Fold at score lines towards the inside to create your base card. The “ends” will meet in the middle once folded.
2. Cut a piece of 4” x 5-1/4” Basic White Cardstock and adhere inside card.
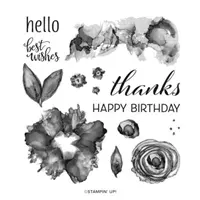
3. Using the “splotch” image, stamp randomly around the outside of the front of the card using Shaded Spruce ink.
4. Cut a 2-3/8” x 4-3/8” piece of Expressions In Ink Specialty Paper. Layer onto a 2-1/2” x 4-1/2” piece of Gold Foil paper.
5. Wrap approximately 6” of ribbon around the left side; add about 5” of Gold Elegant Trim and tie both into a knot. Trim edges as needed.
6. Cut a 1-1/8” x 3” piece of Basic White Cardstock. Stamp the “splotch” image in Pool Party Ink (tip: if it’s too dark, tap the ink off once on your scratch paper and then stamp onto White cardstock.) Stamp the Sentiment on top of the Pool Party image.
7. Layer the White stamped cardstock onto a 1-1/4” x 3-1/8” piece of Pool Party cardstock and adhere to the Gold Foil/Designer Paper mat from Step #4.
8. Place 2 Stampin’ Dimensionals on the left flap of your card (space so that the stamped mat will cover these Dimensionals.) Adhere 2 Stampin’ Dimensionals on the left side of the Gold Foil/stamped mat and adhere to the base card so that this piece is only adhered on the left side. Otherwise, your card will not open!)

Pin It
Pin away, my friends, pin away!
- Get a Free Tutorial Every Week!
- Shop 24/7 in your PJ’s
- Queen Bee Rewards – Earn FREE Stamps!
- View the 2024-2025 Annual Catalog
- View NEW Online Products
- Monthly Crafting Kit
Try this card sketch idea with different sentiments and colors and you’ll have a card in minutes! Leave me a comment and let me know how you’d tweak this card.


