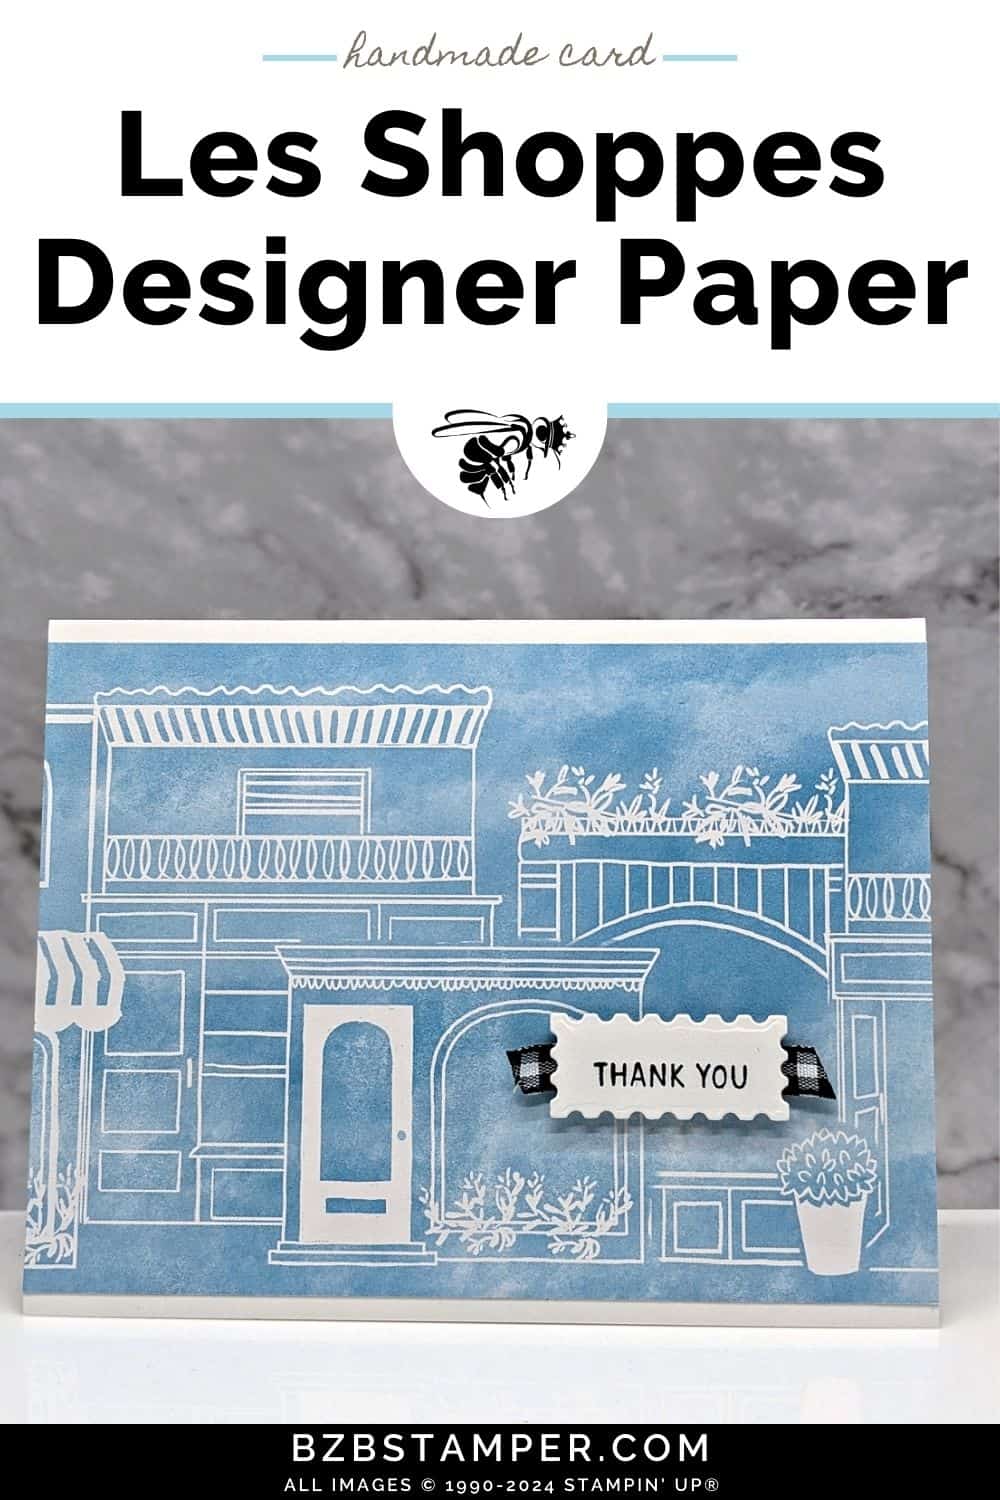
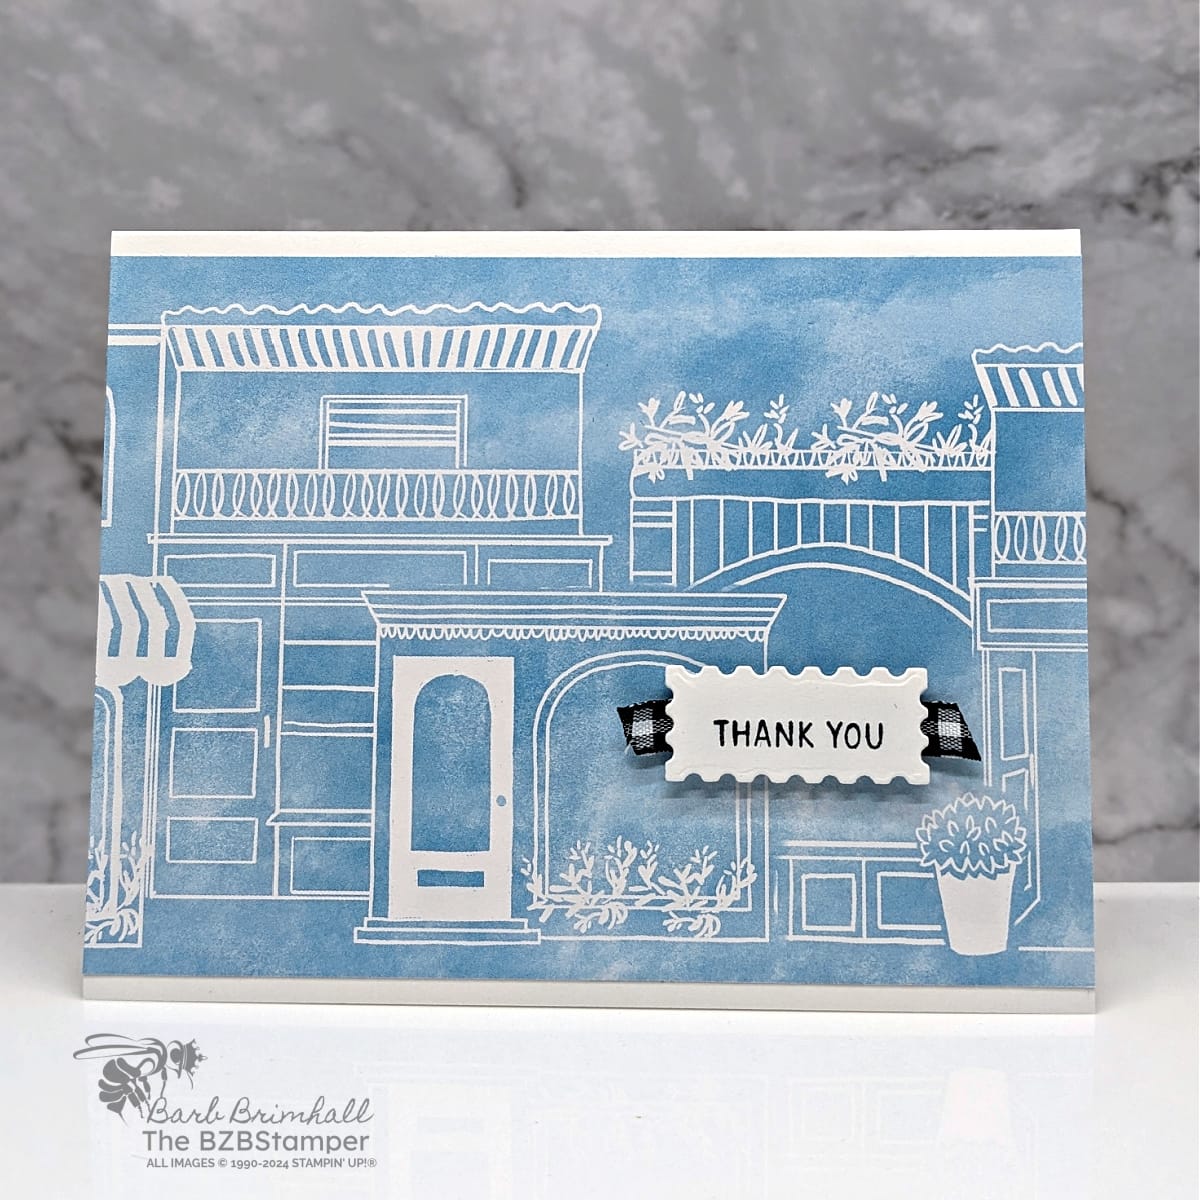
Thank You Card using the Les Shoppes Designer Paper
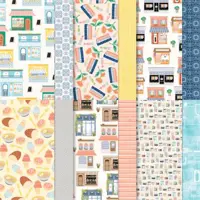
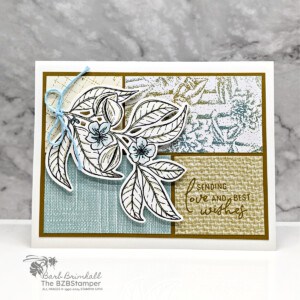
Dive into the enchanting world of creativity with the Les Shoppes Designer Paper by Stampin’ Up! This paper features twelve 12″ x 12″ sheets featuring pure imaginative potential. With each turn, uncover double-sided designs brimming with charm—from quaint shop fronts and bustling buildings to vintage awnings and cozy nooks, perfect for any project you dream up. Want to whisk your friends away to a charming main street, or perhaps a corner patisserie nestled in your handmade card? This Designer Series Paper is your canvas.
For this quick and easy card design, I added a Thank You sentiment and a strip of ribbon that added instant whimsy and charm! Whether it’s creating a scenic backdrop or adding a dash of character with our book and patisserie designs, your projects will not just be made, but woven with stories and warmth. Acid and lignin-free, our paper promises enduring beauty for your heartfelt creations. Embrace the Les Shoppes Designer Series Paper, and let your craft narrate tales of friendship, love, and joy.
How To Make This Card
Project Skill Level: Busy Bee
Busy Bee projects are designed for the beginner or busy papercrafter. This is a basic cardmaking project that can be achieved by someone who has never made a handmade card before. You can view more Busy Bee cards here.
Cardstock Measurements:
- Basic White: 5-1/2″ x 8-1/2″, scored at 4-1/4″
- Les Shoppes Paper: 4″ x 5-1/2″
- Basic White Cardstock: 1″ x 2″ (for die-cutting)


Grab your Free copy
Get 5 Bee-utiful Exclusive
Card Sketches in Your Inbox
Join our newsletter and receive a honey of a package of five quick & simple cards guaranteed to make your creativity buzz! Sign up now and let the goodness flow straight to your inbox!
Step-by-Step Instructions:
- Fold the Basic White Cardstock in half at the score line to create your card base.
- Adhere the Les Shoppes paper to the center of the card front.
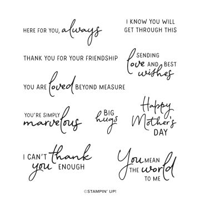
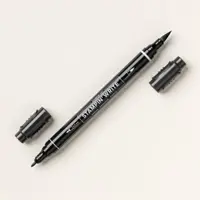
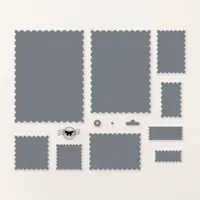
- Using the “thank you for your friendship stamp”, ink just the “thank you” using the side of your Basic Black Stampin’ Write marker. Huff on the stamp and then stamp the sentiment onto the 1″ x 2″ piece of Basic White Cardstock. Run through the Stampin’ Cut & Emboss Machine and cut out using the 5/8″ x 1-2/” Perennial Postage die.
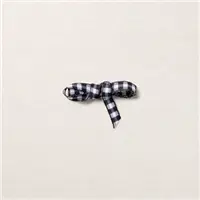
- Cut 2″ of the ribbon, angling both ends. Adhere to the back of the White sentiment strip and then adhere to the front of the card using Stampin’ Dimensionals to finish.
A Tip from Barb
This is the perfect card sketch for whenever you have some pretty paper you’d like to highlight! If you don’t have the Perennial Postage dies, or a Cut & Emboss Machine, you can use your Paper Trimmer to cut a 1/2″ x 1-1/2″ piece of Basic White Cardstock. No one will notice the difference! 😊
Thanks for stopping by for today’s card tutorial! My goal is to help you make quick & easy greeting cards for all occasions. If you’d like more detailed directions on how to make this card, feel free to email me. I hope you’ll join me again for more card-making ideas!

Don’t forget to pin this for later!
