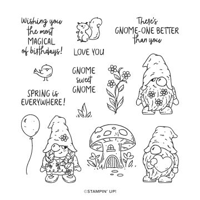
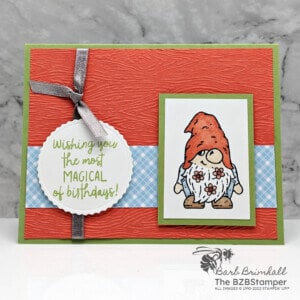
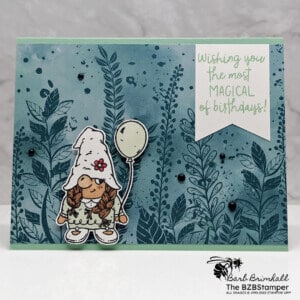
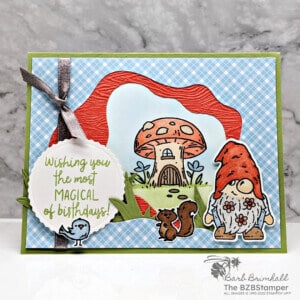
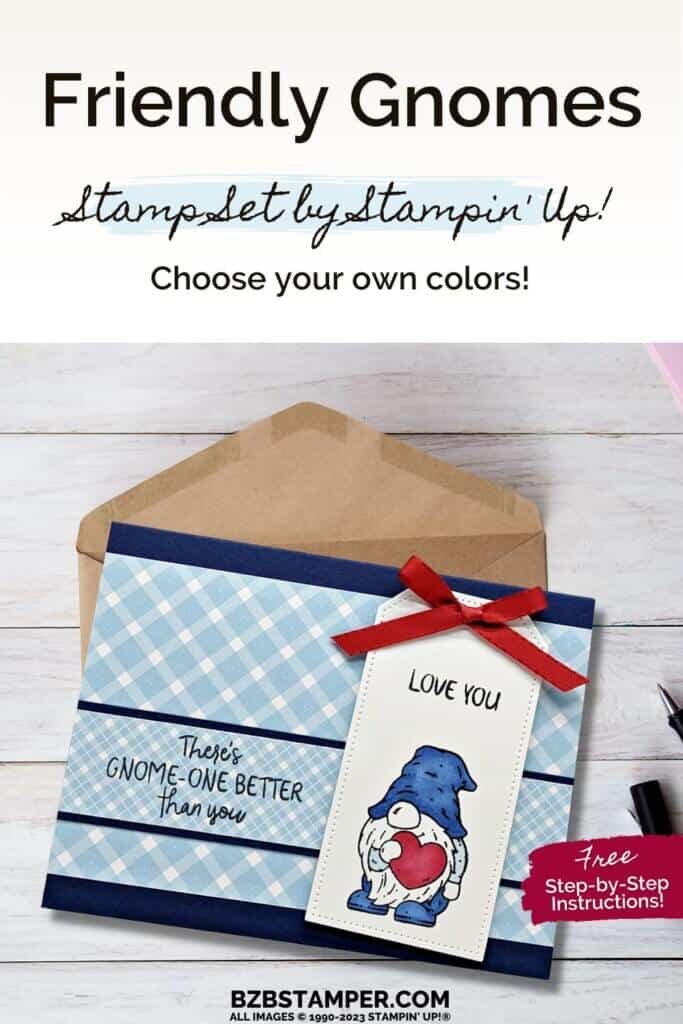
Discover the magic of papercrafting with Stampin’ Up!’s Whimsical Friendly Gnomes Set. This card is sure to help you spread some ghome-tastic cheer! This adorable stamp set features lovable gnome images, perfect for sending heartwarming greetings for all types of occasions. Let’s create a handmade card that captures the magic and charm of these images and make a card that’s truly special for your favorite friend!
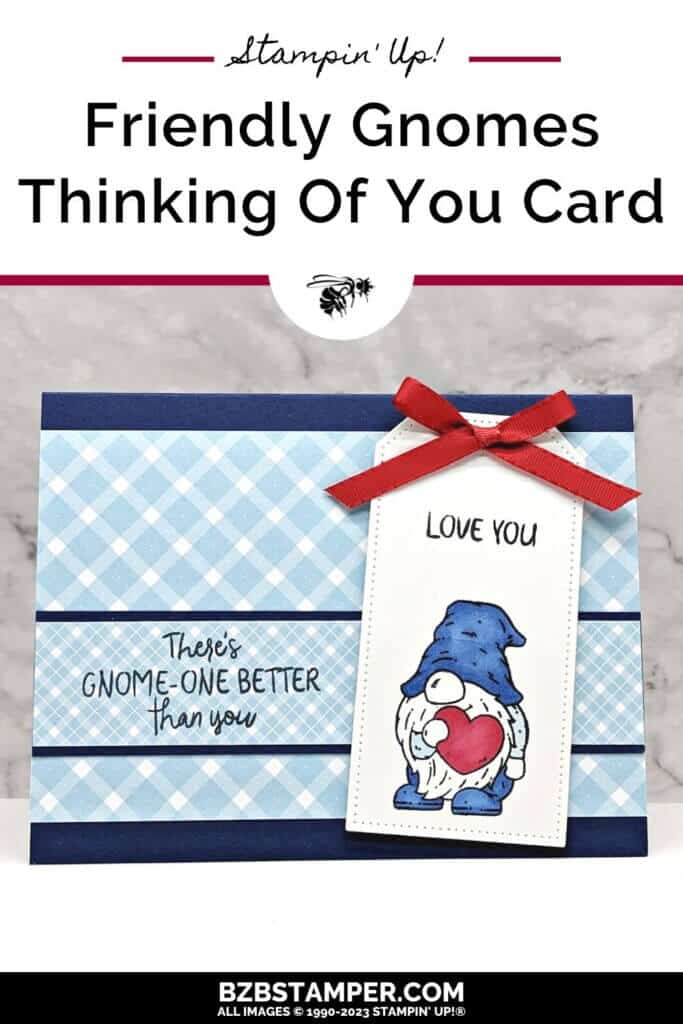
View more stamped samples & inspiration here
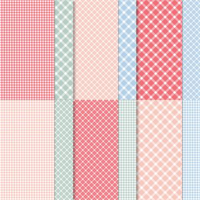
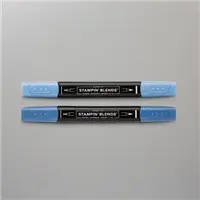
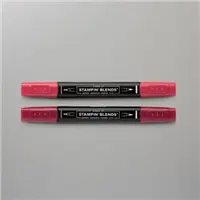
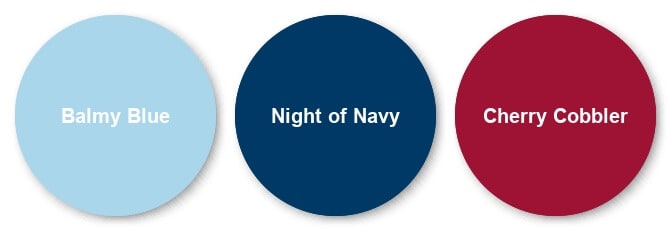
As a papercrafter, you know that color is the key to creating pretty projects! There are a myriad of combinations that you can use, but for this fun Gnome card, I went with the classic color combination of Balmy Blue, Night of Navy and a splash of Cherry Cobbler for a touch of elegance! If you’d prefer a brighter combination of colors, make sure you check out my Color Combination Library = you’re sure to find something there that will inspire you!
Project Measurements
- Night of Navy: 5-1/2″ x 8-1/2″, scored at 4-1/4″
- Basic White: 4″ x 5-1/4″
- Country Gingham paper (Balmy Blue): 3-1/2″ x 5-1/2″
- Night of Navy: 1-1/4″ x 5-1/2″
- Country Gingham paper (Balmy Blue): 1-1/8″ x 5-1/2″
- Basic White: 3″ x 5″ for die-cutting
Instructions
- Fold the Night of Navy cardstock in half to create your card base.
- Adhere the 4″ x 5-1/4″ piece of Basic White cardstock inside your card.
- Adhere the 3-1/2″ x 5-1/2″ piece of Balmy Blue Country Gingham paper onto the front of the card.
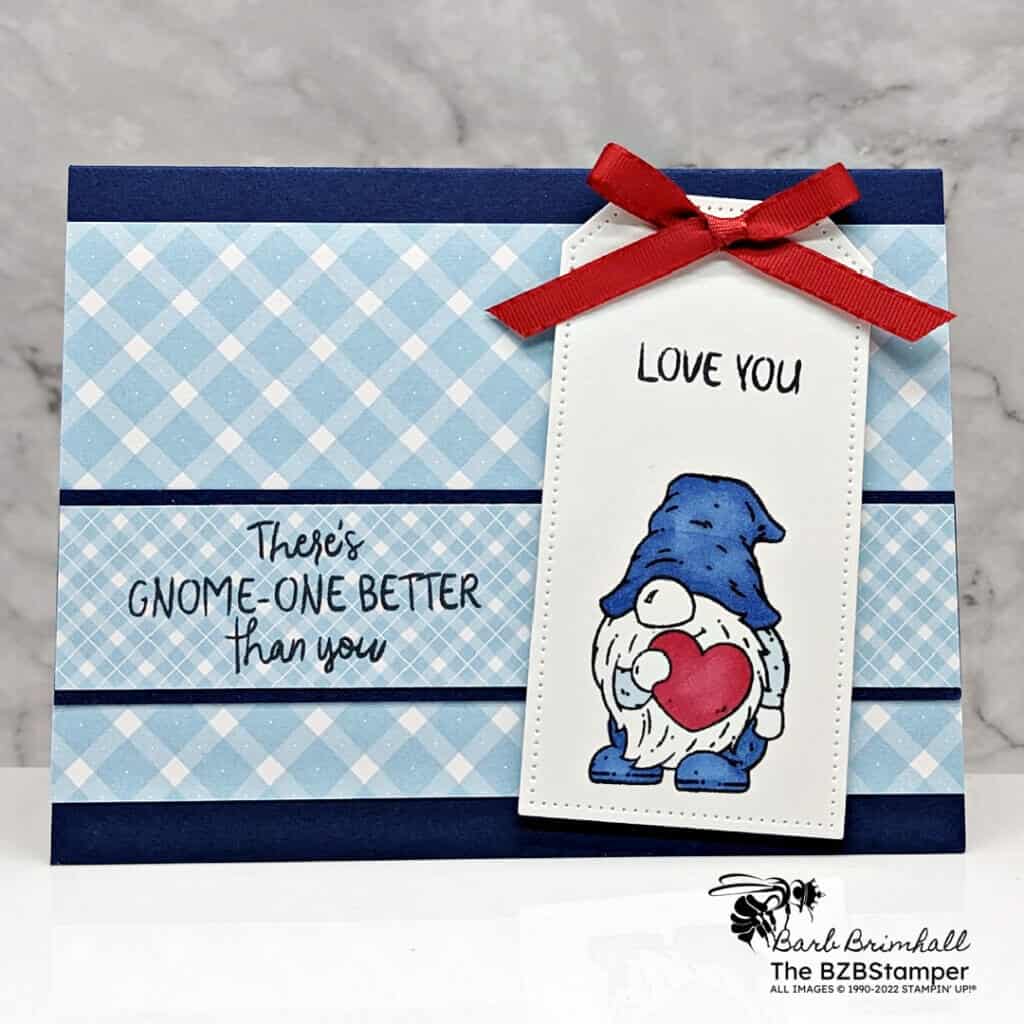
- Using the 1-1/8″ strip of Balmy Blue Country Gingham paper, stamp the sentiment on the left side of the paper. Adhere to the 1-1/4″ strip of Night of Navy cardstock and adhere to card base.
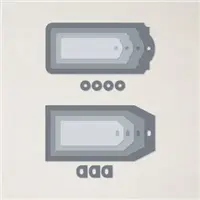
- Using the 3″ scrap of Basic White cardstock, run through the Cut & Emboss Machine and cut out the 4″ tag die using the Tailor Made Tags dies.
- Stamp the Gnome at the bottom of the tag. Color him in using the Night of Navy Blends and the Cherry Cobbler Light Blend for the heart.
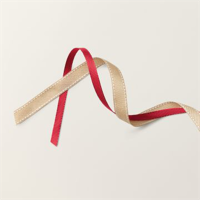
- Run the Real Red Ribbon through the hole in the tag and tie into a bow.
- Adhere the tag to the right side of the card using Stampin’ Dimensionals to finish.
Supplies Used in this Project
Pin It!
Save this to your Pinterest board where you save those quick and easy cards.
Thanks for stopping by for today’s card tutorial! My goal is to help you make quick & easy greeting cards for all occasions. If you’d like more detailed directions on how to make this card, feel free to email me. I hope you’ll join me again for more cardmaking ideas!


