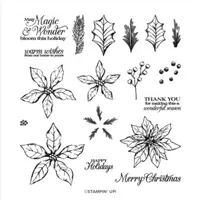
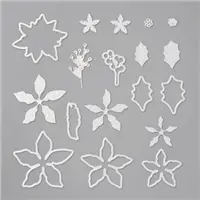
Create blooming Poinsettias using the Stampin Up Poinsettia Petals Stamp Set and Poinsettia Dies. Place the flowers on a card or add them to scrapbook pages for extra dimension.
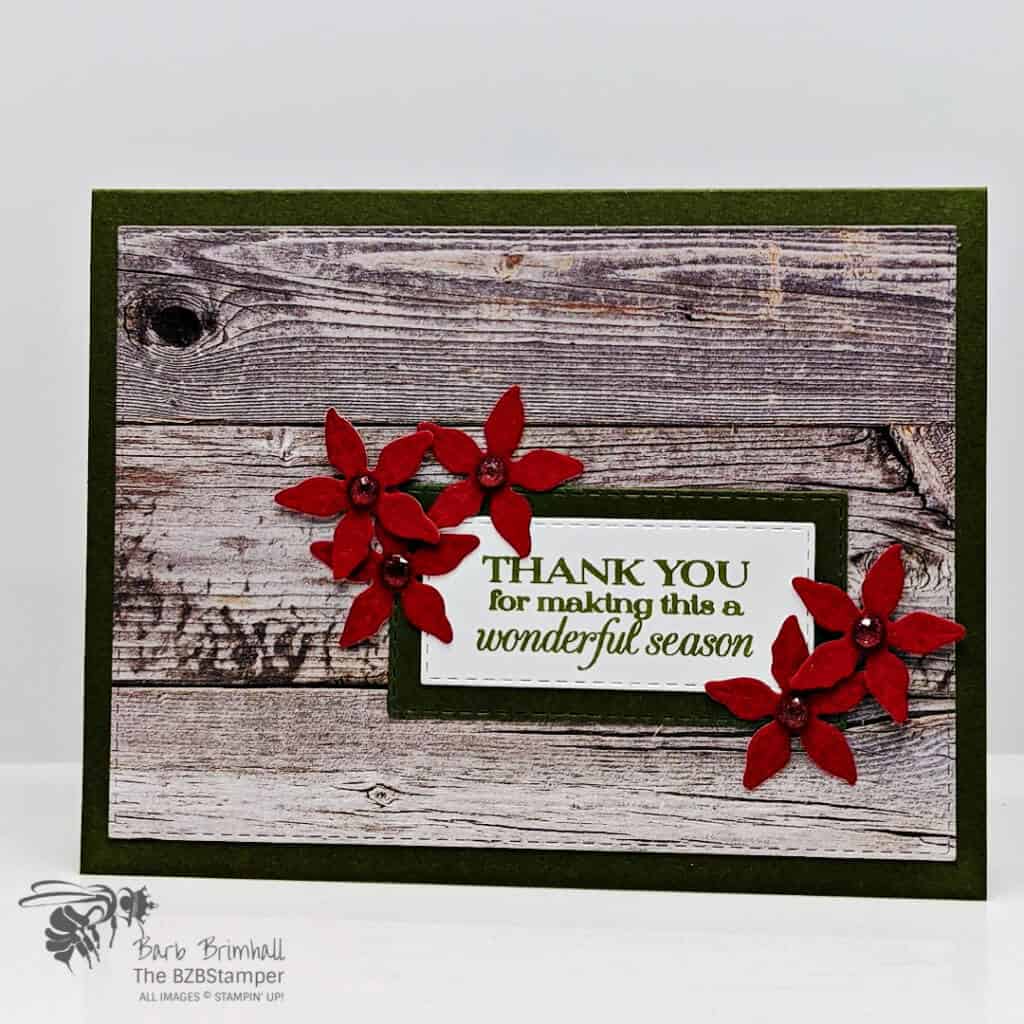
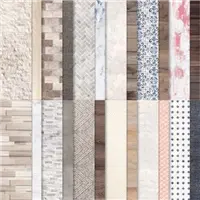
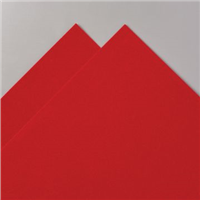
This card is definitely a sensory experience in real life! 😀 The background paper is so realistic and those poinsettia flowers! Swoon! They’re die-cut from our Red Velvet Paper and they are so gorgeous in person!
I wanted to keep the design of this card simple so I could show off those pretty poinsettia’s, so I went with Card Sketch #16 from my Card Sketch Library. It doesn’t get much easier than that!
If you’d like to try your hand at recreating this card, don’t forget you can download the complete tutorial via the link under the instructions below. Happy Creating!
Supplies Used on this Project
Project Measurements
- Mossy Meadow: 5-1/2” x 8-1/2” scored at 4-1/4” and 2” x 4” scrap
- In Good Taste Paper: 6” x 6”
- Red Velvet Paper: 2” x 4”
- Basic White: 4” x 5-1/4” and 2” x 3” scrap
Project Instructions
- Fold the Mossy Meadow cardstock in half at the score line and burnish well with your Bone Folder.
- Adhere the 4” x 5-1/4” piece of Basic White cardstock inside base card.
- Using the Cut & Emboss Machine, use the 3-3/4” x 5-1/8” Rectangle Stitched Die to cut out the rectangle from the In Good Taste Designer Paper.
- Using the Cut & Emboss Machine, use the 1-3/8” x 2-3/4” Rectangle Stitched Die to cut out the rectangle from the Mossy Meadow scrap and the 1” x 2-3/8” Rectangle Stitched Die from the Basic White Cardstock scrap.
- Using the Mossy Meadow ink pad, stamp the sentiment onto the Basic White Stitched die-cut and adhere to the Mossy Meadow stitched rectangle. Adhere to base card as shown in the sample.
- Using the Cut & Emboss Machine and the small stitched poinsettia from the Poinsettia Dies, cut out 5 of the poinsettia’s from the Red Velvet Paper.
- Adhere the 5 Red Velvet poinsettia die-cuts on either side of the sentiment strip using Glue Dots, except for one on each side that you’ll adhere with a Stampin’ Dimensional.
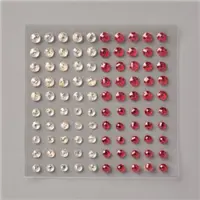
- To finish, adhere a red Wonderful Gem to the center of each Red Velvet Poinsettia.

Pin It
Here’s a handy pin for you to save to your board where you keep your quick and easy card ideas.
- Get a Free Tutorial Every Week!
- Shop 24/7 in your PJ’s
- Queen Bee Rewards – Earn FREE Stamps!
- View the 2024-2025 Annual Catalog
- View NEW Online Products
- Monthly Crafting Kit
Thanks for stopping by! I appreciate it every time you read a post, you share a project I have made,or you place an order – all of that helps support my small business and I appreciate you!


