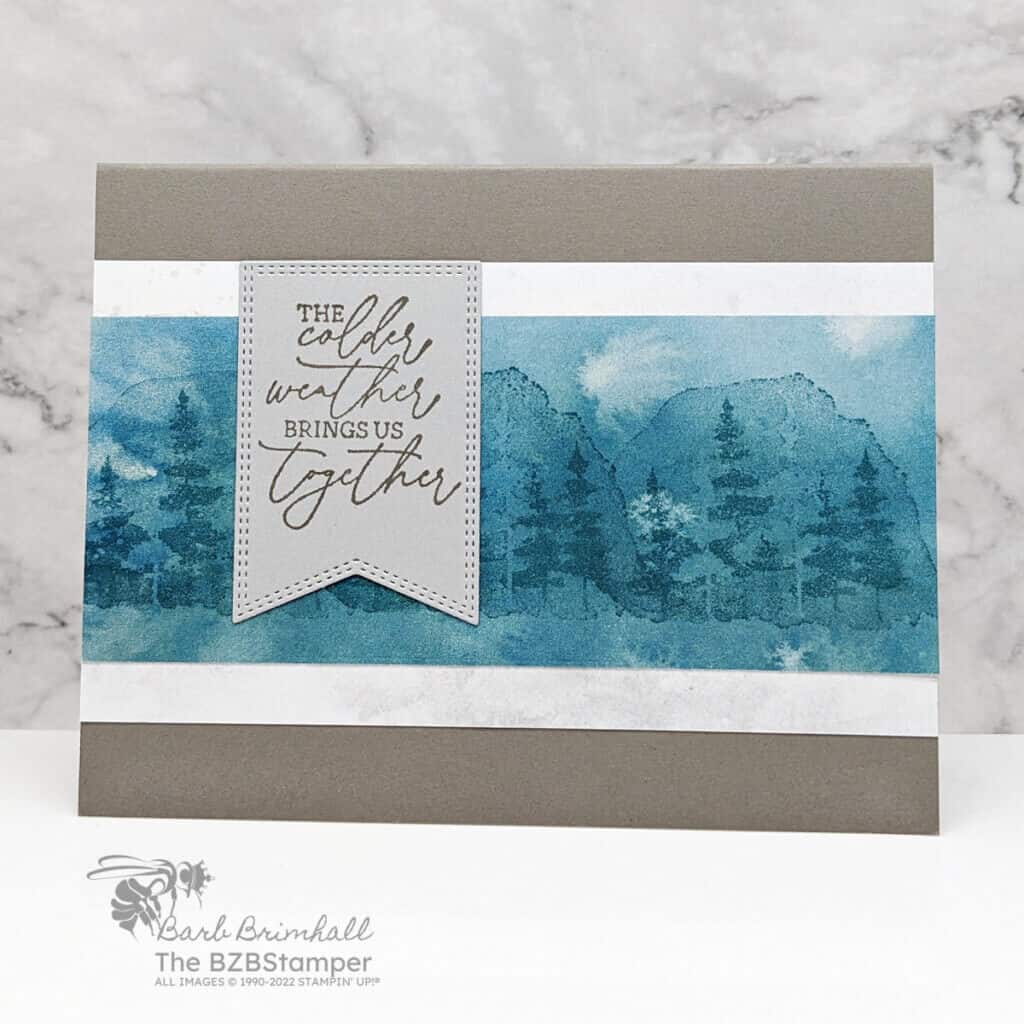
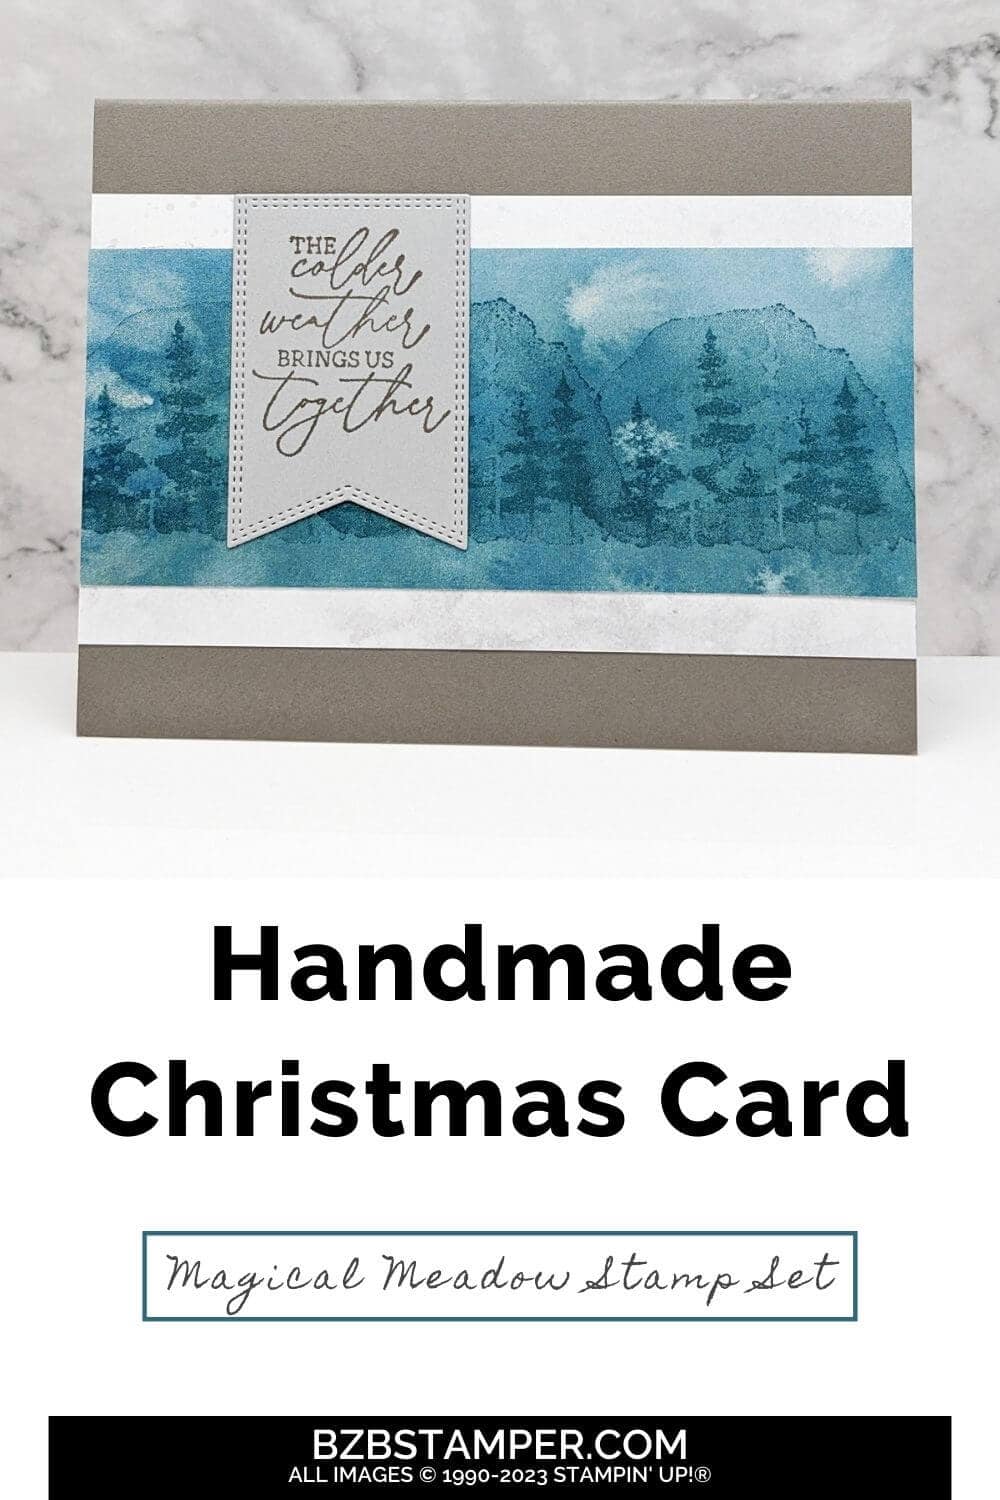
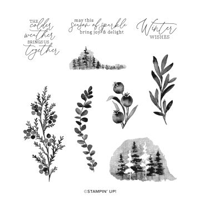
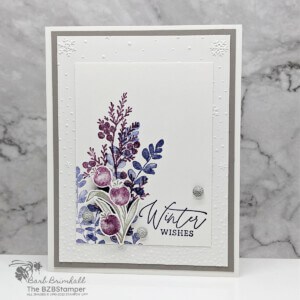
It’s so easy to create this handmade card for Winter, featuring the Stampin’ Up! Magical Meadow Stamp Set. As temperatures start to get colder, it’s time to warm up with some heartwarming papercrafts. And this gorgeous stamp set will be your new best friend this season, full of gorgeous sentiments and beautiful images. So, let’s gather around our crafting tables and concoct some winter magic, shall we? Let me show you how in this Tutorial!
How To Make This Card
Project Skill Level: Busy Bee
Busy Bee projects are designed for the beginner or busy papercrafter. This is a basic cardmaking project that can be achieved by someone who has never made a handmade card before. You can view more Busy Bee cards here.
Cardstock Measurements:
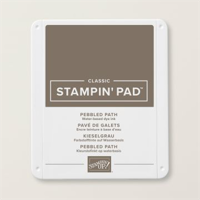
- Pebbled Path Cardstock: 5-1/2″ x 8-1/2″, scored at 4-1/4″
- Basic White Cardstock: 4″ x 5-1/4″
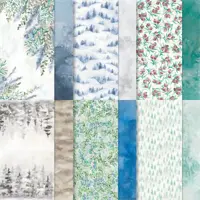
- Winter Meadows Designer Paper, Pattern 1: 3″ x 5-1/2″
- Winter Meadows Designer Paper, Pattern 2: 2-1/4″ x 5-1/2″
- Smoky Slate Cardstock: 2″ x 2-3/4″


Grab your Free copy
Get 5 Bee-utiful Exclusive
Card Sketches in Your Inbox
Join our newsletter and receive a honey of a package of five quick & simple cards guaranteed to make your creativity buzz! Sign up now and let the goodness flow straight to your inbox!
Step-by-Step Instructions:
- Fold the 5-1/2” x 8-1/2” piece of Pebbled Path cardstock in half at the 4-1/4” score line.
- Adhere the 4” x 5-1/4” piece of Basic White cardstock inside the card.
- Using the 2-1/4” x 5-1/2 piece of the Winter Meadows Designer Paper. ink up the trees image using Pretty Peacock ink and tap off some of the ink onto your scratch paper. Stamp the image onto the center of the paper – repeat the process 2 more times on either side. Adhere to the 3” strip of Designer Paper and then onto the card.
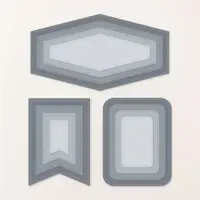
- Stamp the sentiment onto the Smoky Slate cardstock using Pebbled Path ink. Die-cut using the Nested Essentials Dies and the Stampin’ Cut & Emboss Machine. Adhere the sentiment tag onto the card as shown in the sample to finish.
A Tip from Barb
Although this card uses the Stampin’ Cut & Emboss Machine, I still considered it a quick and easy card that takes no time at all to create. If you don’t have a die-cutting machine or the Nested Essentials dies, simply cut a piece of Smoky Slate cardstock to 1-1/2″ x 2-1/2″ and “flag notch” the ends with your scissors. Easy Peasy! 😊
Thank you so much for stopping by! I hope you feel inspired to create and that you also feel you have all the info you need to make this card with these instructions. If you aren’t sure about something or would like more detailed directions on how to make this card, feel free to email me. I’m here to help!

Don’t forget to pin this for later!








Barb, Love the new look to your blog!! You always have such great ideas. I look forward to your Monday updates. You give us the best upbeat ideas. Thanks for sharing with us and being so encouraging in our love of paper crafting! Looking forward to seeing what your stamp creation is for being a million dollar demo! Happy Stamping and Hugs Georgia
Thank you so much for your kind words, Georgia! You made my day!
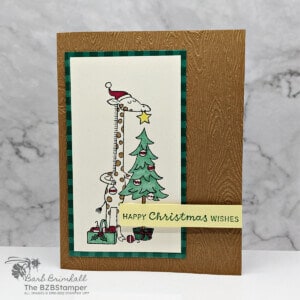
So elegant and can be used not just for Christmas!
Thank you Kylie! I’m a huge fan of your work, so you totally made my day! I love this Bundle and I agree – it can be used all Winter!