Stampin’ Up! Heron Habitat Bundle
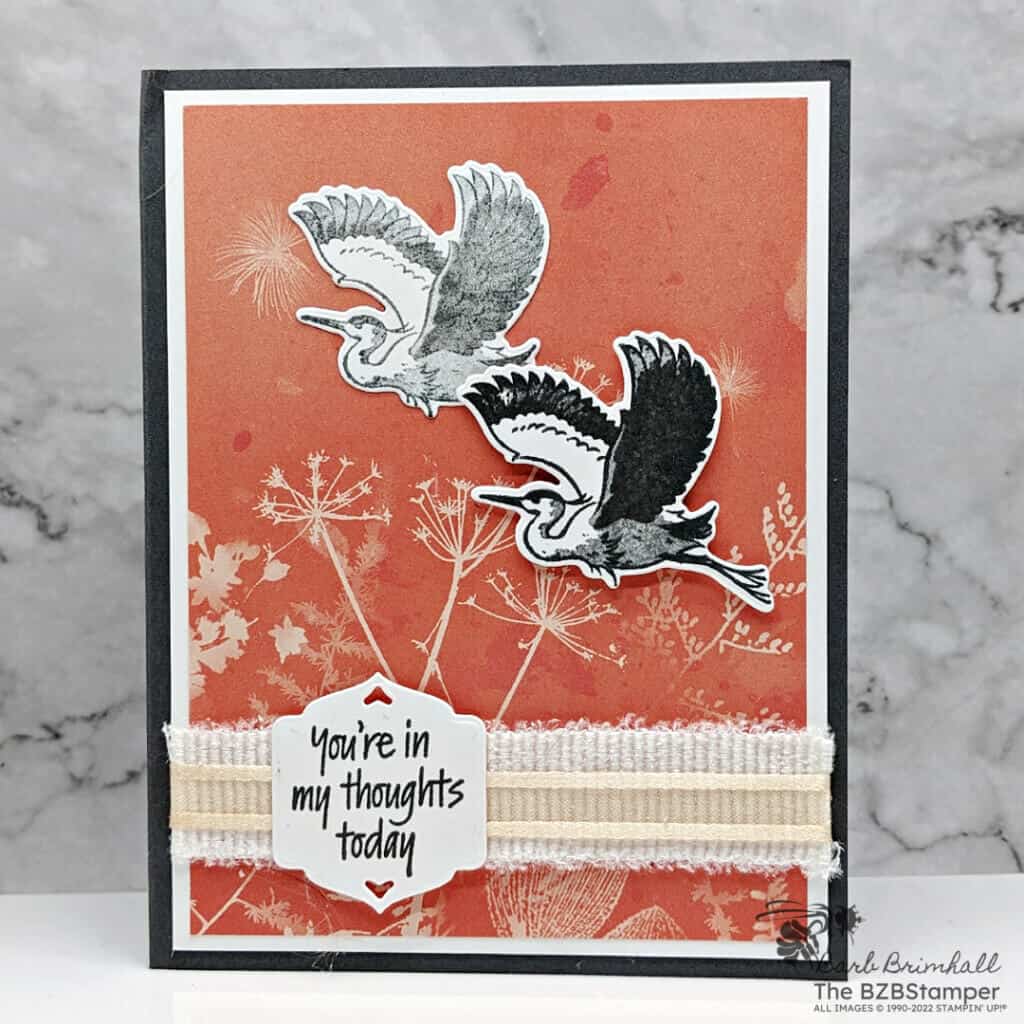
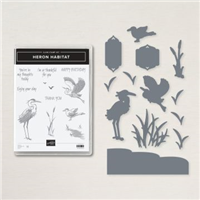
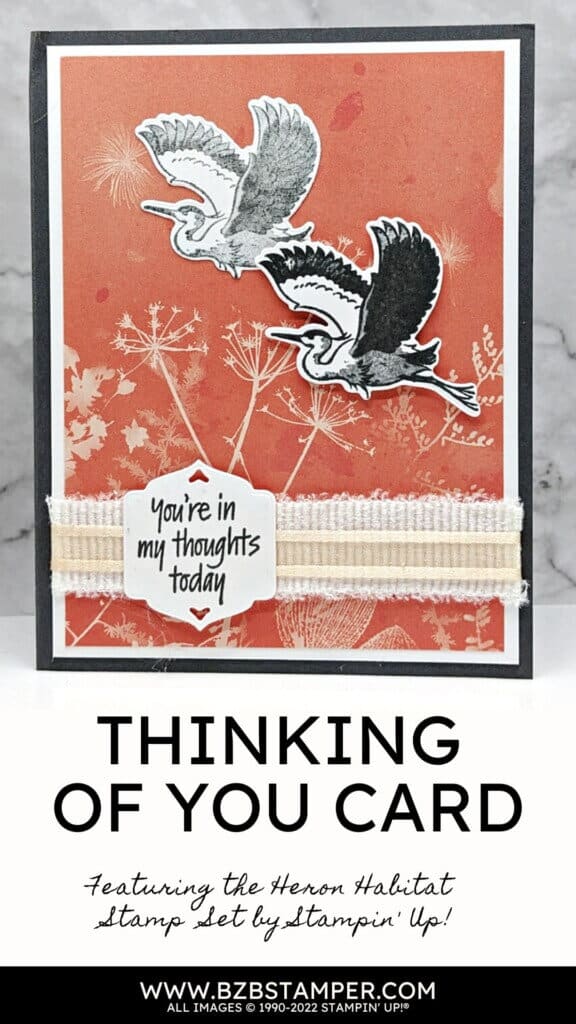
No need to wing it with the Stampin’ Up! Heron Habitat Bundle, which includes the Heron Habitat Stamp Set and the Heron Dies. Bring out the beauty of nature by combining cohesive environmental elements through stamps and dies. Stamp a heron in flight toward the top of your card with clusters of embossed coastal plants below and add a heartfelt sentiment of gratitude or joy. By mixing and matching stamps and dies—or even stamping on the dies—you can create tranquil, intricate scenes to share with those dearest to you.
View more stamped samples & inspiration here
Project Measurements
- Basic Gray Cardstock: 5-1/2″ x 8-1/2″, scored at 4-1/4″
- Basic White: 4″ x 5-1/4″ (x3)
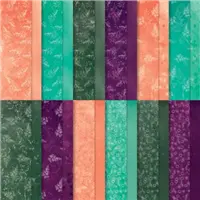
- Pretty Prints Paper: 3-3/4″ x 5″
Instructions
- Fold the Basic Gray cardstock in half at the scoreline, burnishing well with your Bone Folder to create your card base.
- Adhere one of the 4″ x 5-1/4″ pieces of Basic White cardstock inside your card.
- Adhere the Pretty Prints paper onto another of the 4″ x 5-1/4″ pieces of Basic White cardstock.
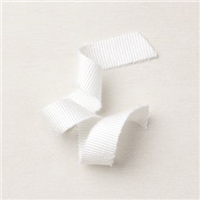
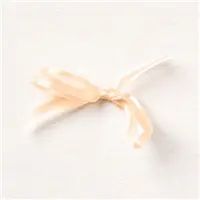
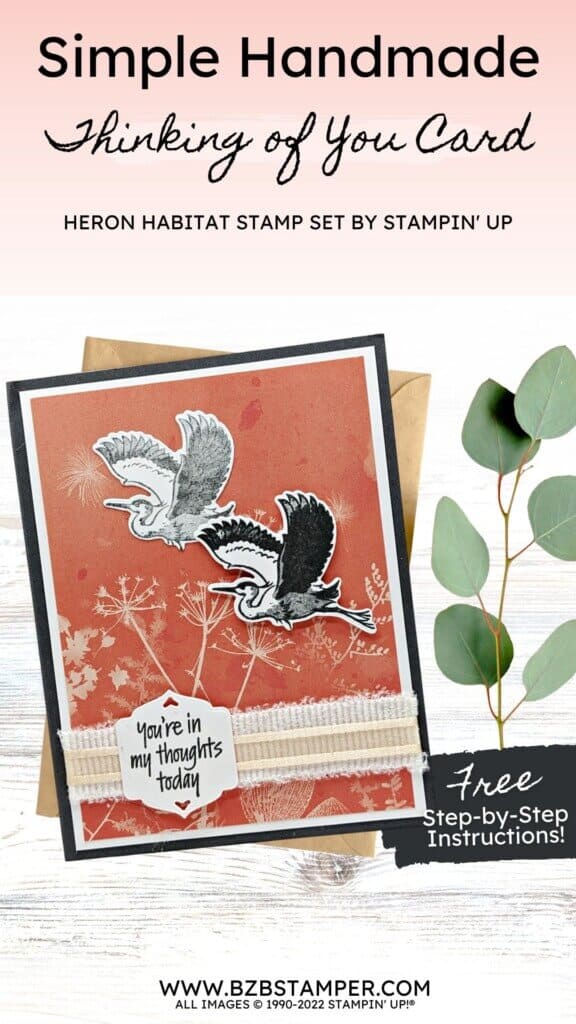
- Cut 6″ of the White 3/4″ Frayed Ribbon and 6″ of the Pale Papaya 3/8″ Open Weave Ribbon. Adhere to the Pretty Prints paper, adhering the ends to the back of the White cardstock. (TIP: Use scotch tape to tape the ribbon to the back of the cardstock and easily line up the Pale Papaya Ribbon onto the center of the White Frayed Ribbon.) Adhere to the front of the card base.
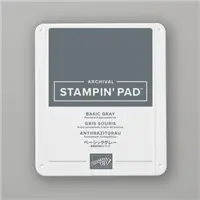
- Using the last piece of the 4″ x 5-1/4″ Basic White cardstock, stamp the sentiment using Basic Gray ink. Leaving room between the next 2 images to allow for die-cutting, stamp the Heron image in Basic Gray ink, then stamp again without reinking.
- Run the cardstock through the Cut & Emboss Machine and cut out the 2 Herons using the Heron Dies from the Bundle. Cut out the sentiment using the tag die from the same Bundle.
- Adhere the lighter Heron to the card front using adhesive. Adhere the 2nd Heron, slightly overlapping the first, using Stampin’ Dimensionals.
- Adhere the sentiment tag to the ribbon using Stampin’ Dimensionals to finish.
Supplies Used in this Project
Like It? Pin It!
Like this project? Be sure to pin it so you can easily find it again. It will take you right back here to all the details of the card.
Thank you for stopping by today! If you’d like more detailed directions on how to make this card, feel free to email me. Be sure to give this card idea a try and mail it to a friend who needs some cheering up. It’s so fun to make a card but it’s even more fun to send! #makeacardsendacard


