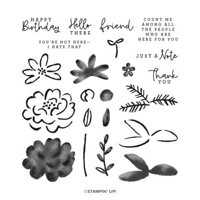
Stampin’ Up! Darling Details Stamp Set
View more stamped samples & inspiration here
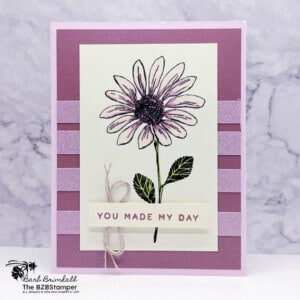
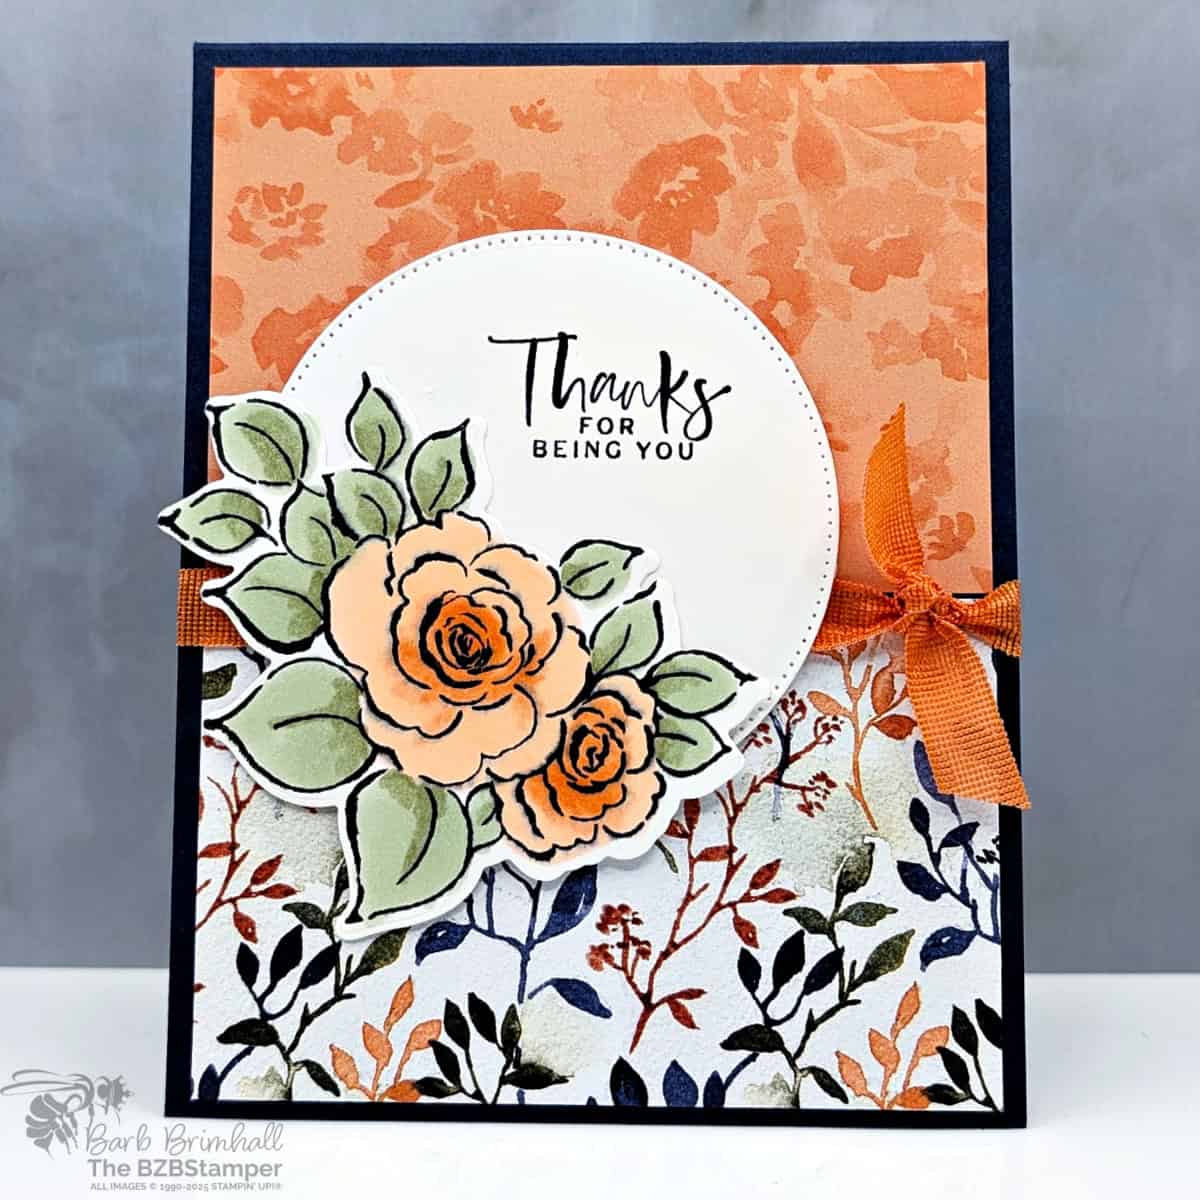
Attention, all card-making enthusiasts! Prepare to fall head over heels for the Stampin’ Up! Darling Details Stamp Set! Packed with sweet floral designs and sentiments that tug at the heartstrings, this stamp set is a dream come true for every creative soul. Whether you’re a seasoned crafter or just starting your journey, its versatility and charm will inspire you to create masterpieces. Get ready to unleash your inner artist and spread love, one card at a time!
The Darling Details stamp set is a Two-Step stamp set. The two-step stamping process lets you layer images using different stamps from the set. It’s like building an image piece by piece. You might use one stamp to make the outline of a flower and another stamp to color in the petals. When you put it all together, you get one detailed picture that looks like it pops off the page! You can also easily use different ink colors for each stamp. This gives your picture more color and detail than you’d get using just one stamp. Try two-step stamping to add more life and color to your papercrafting projects!
Find this post helpful?
Share it on Pinterest
Be sure to pin this project to your card-making boards on Pinterest if you like this project
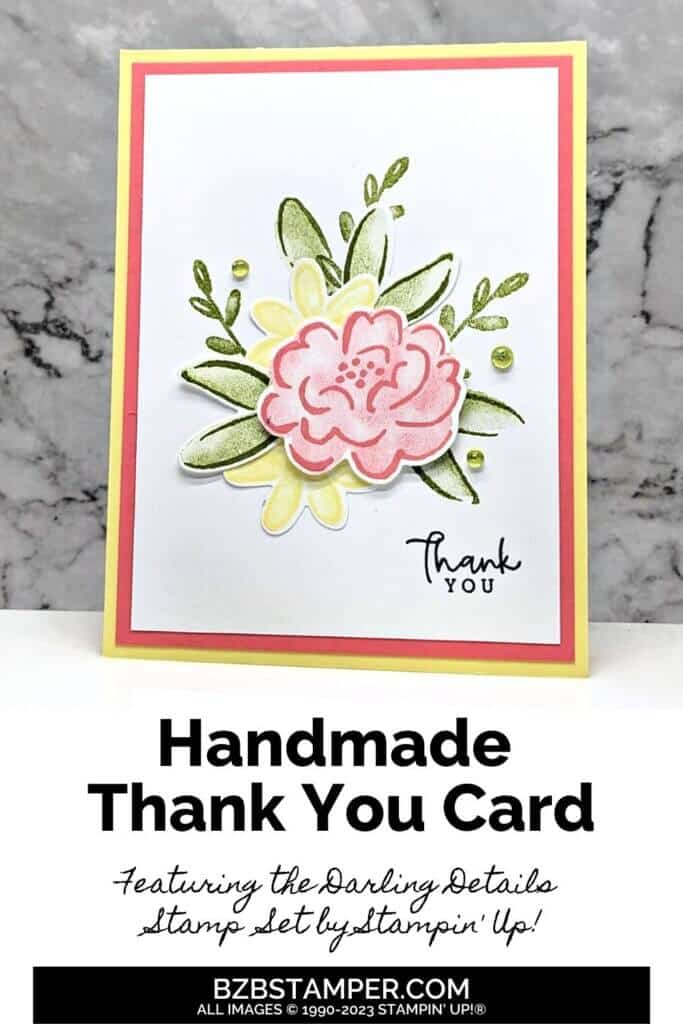
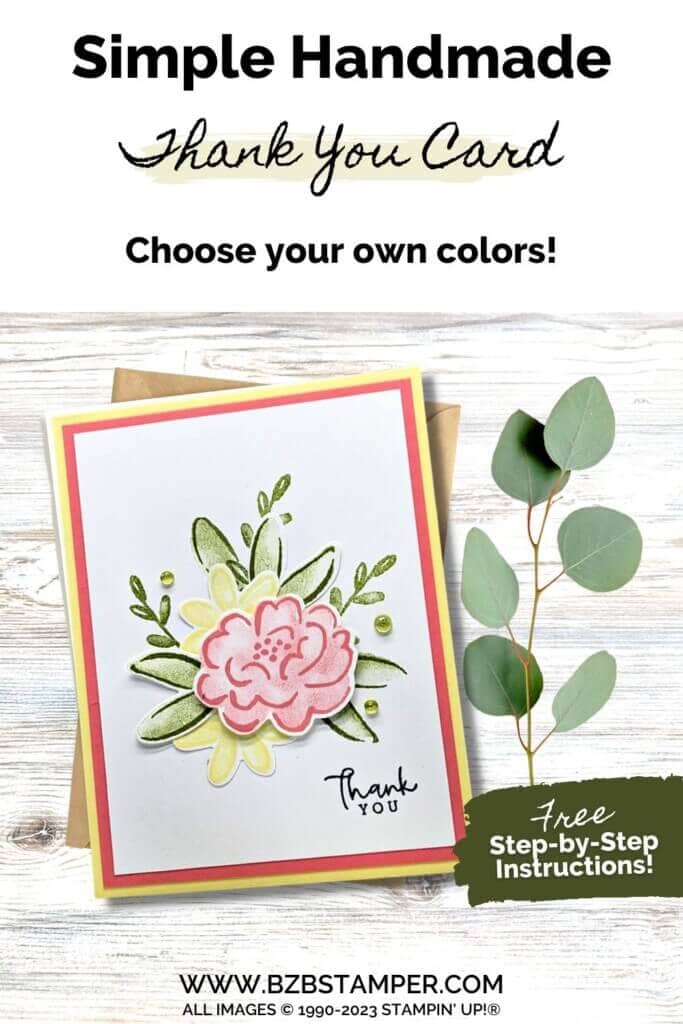
How To Make This Card
Cardstock Measurements:
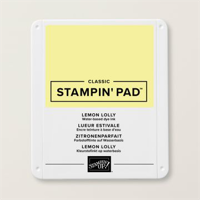
- Lemon Lolly Cardstock: 5-1/2″ x 8-1/2″, scored at 4-1/4″
- Flirty Flamingo Cardstock: 4″ x 5-1/4″
- Basic White: 4″ x 5-1/4″ (2 pieces) and 3-3/4″ x 5″ (1 piece)
Step-by-Step Instructions:
- Fold the Lemon Lolly cardstock in half at the scoreline and burnish well with the Bone Folder.
- Adhere one of the 4″ x 5-1/4″ pieces of Basic White cardstock inside the card.
- Adhere the 4″ x 5-1/4″ piece of Flirty Flamingo cardstock to the front of the card.
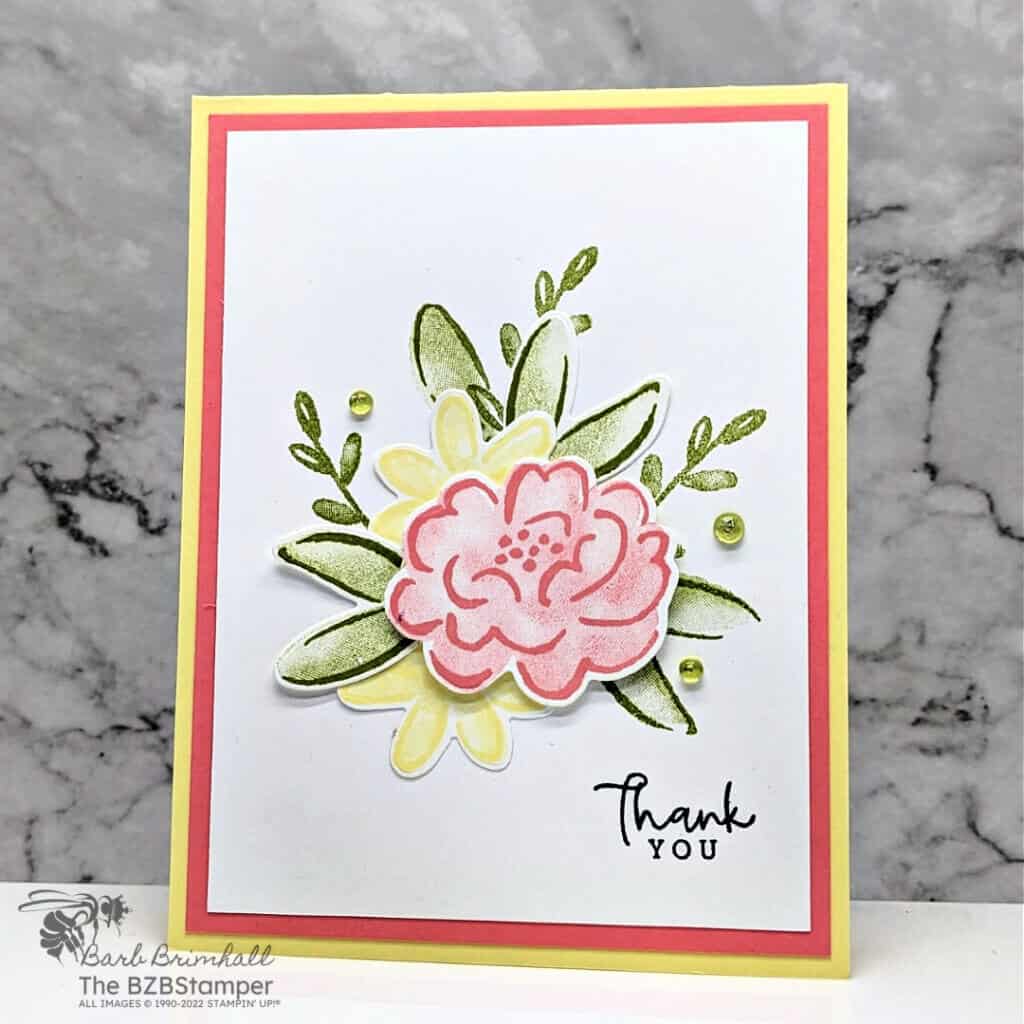
- Using the 3-3/4″ x 5″ piece of Basic White cardstock, stamp the leaf outline randomly around the center of the cardstock using Old Olive ink. Tip: leave about a quarter-sized circle in the center as this will be covered by the flowers. Ink the bold leaf image using Old Olive ink, tap off on your scrap paper, and stamp inside one of the outline leaves. Repeat process until all the outlined leaves are colored in.
- Stamp the sentiment in the lower right corner using Black Memento ink. Adhere the stamped White cardstock to the Flirty Flamingo cardstock on the front of the card.
- On the other piece of 4″ x 5-1/4″ Basic White cardstock, stamp the large outline flower using Flirty Flamingo ink. Stamp the medium outline flower using Lemon Lolly ink; repeat. Using the large bold flower image, ink with Flirty Flamingo ink, tap off on your scrap paper and stamp inside the outline image. Do the same with the smaller floral image, using Lemon Lolly ink and tapping off on your stamp paper before stamping inside the both outline images.
- Use your Paper Snip scissors to cut out the 3 floral images.
- Adhere the floral images onto the center of the card as shown in the sample using Stampin’ Dimensionals.
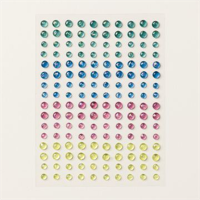
- Adhere 3 of the green Tinsel gems as desired onto the card to finish.
Easy Peasy! This card comes together quickly thanks to the two-step stamping images in this stamp set. Try this in different color combinations for an entirely different look! You can find more color combinations here.
Thank you so much for stopping by! I hope you are inspired to make simple handmade cards for friends this week! If you’d like more detailed directions on how to make this card, feel free to email me. Give this papercrafting tutorial a try 🙂 Check back soon for more card-making ideas!

- Get a Free Tutorial Every Week!
- Shop 24/7 in your PJ’s
- Queen Bee Rewards – Earn FREE Stamps!
- View the 2024-2025 Annual Catalog
- View NEW Online Products
- Monthly Crafting Kit
Don’t forget to pin this for later!
