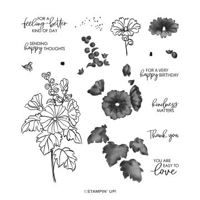
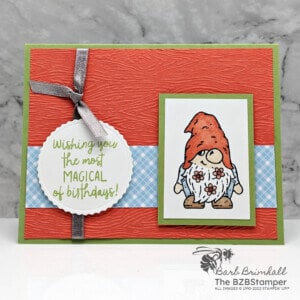
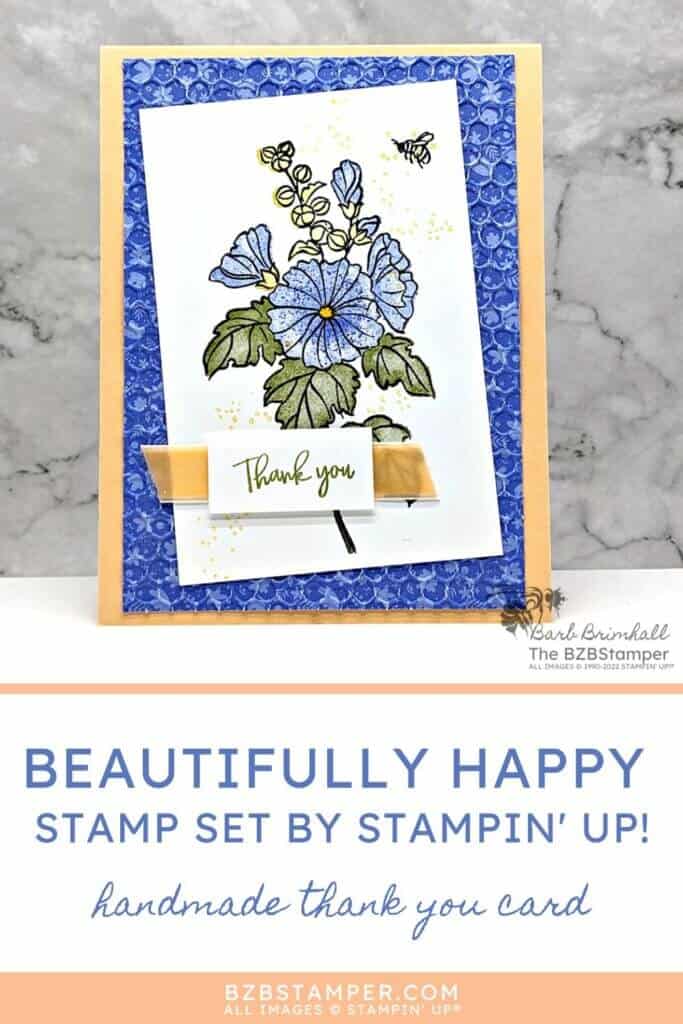
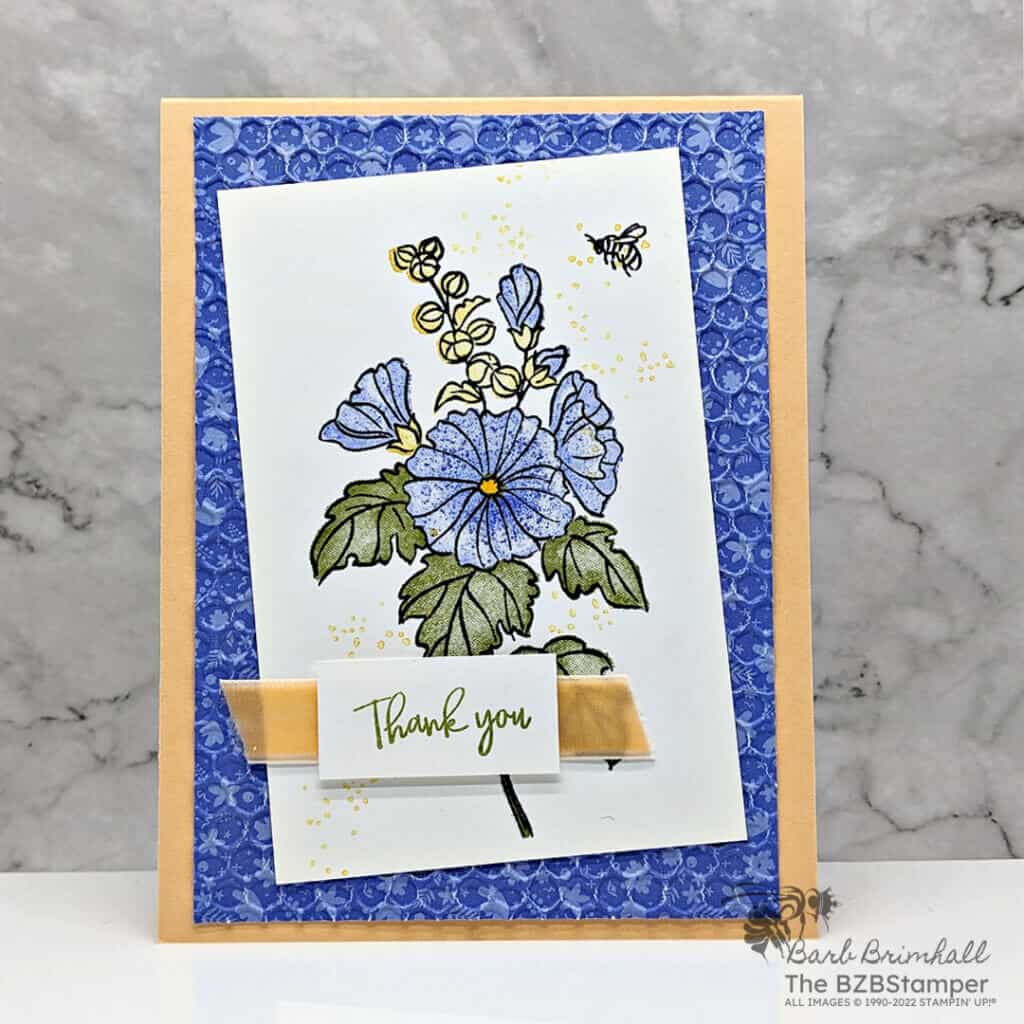
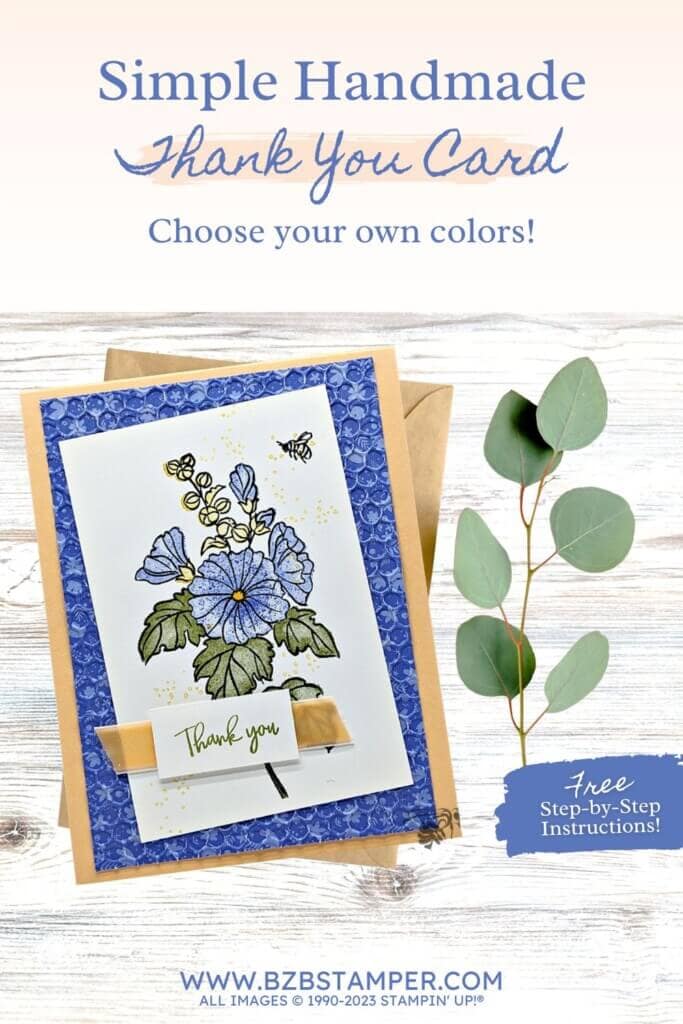
Today’s Beautifully Happy Thank You Card features a Stampin’ Up! Sale-A-Bration stamp set that is available for free with a qualifying order between now and February 28th. This unique two-step stamp set creates beautiful and stunning handmade cards with ease! Let me show you how.
View more stamped samples & inspiration here
Project Measurements
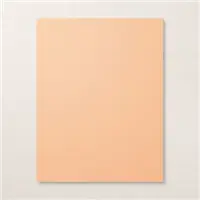
- Pale Papaya: 5-1/2″ x 8-1/2″, scored at 4-1/4″
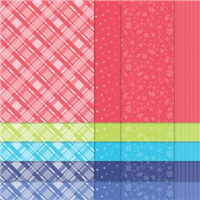
- Orchid Oasis In-Color Desiger Paper: 3-3/4″ x 5-1/4″
- Basic White: 4″ x 5-1/4″
- Basic White: 3″ x 4-1/2″
- Basic White: 3/4″ x 1-1/2″
Instructions
- Fold the Pale Papaya Cardstock in half to create your base card.
- Adhere the 4” x 5-1/4” piece of Basic White cardstock inside your card.
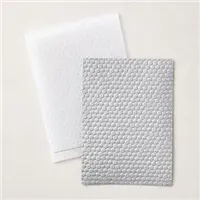
- Run the Orchid Oasis paper through the Cut & Emboss Machine using the Hive Embossing Folder. Adhere to the base card at a slight angle.
- Using the 3” x 4-1/2” piece of Basic White cardstock, stamp the large floral outline image using Black Memento Ink. Stamp the bee in the right corner using the same ink.
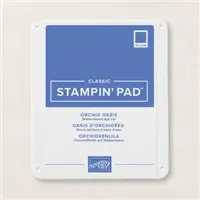
- Using the large bold floral stamp, ink with Orchid Oasis ink, tap off once on your scratch sheet and stamp onto the outline image.
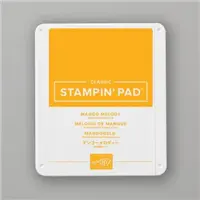
- Using the small bold floral image, ink up with Mango Melody ink, tap off 2x on your scratch sheet and stamp onto the large floral outline image. Using the small round stamp, ink up with Mango Melody ink and stamp directly in the center of the large flower.
- Ink the bold leaves image using the Old Olive ink pad, stamp off once on your scratch sheet and stamp onto the large floral outline image.
- Using the Mango Melody ink pad, ink the “splatter” stamp, tap off 2x on your scratch sheet and stamp in the upper right corner so that it covers the bee.
- Adhere the White cardstock to the base card at a slight angle.
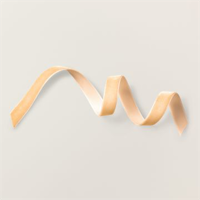
- Cut 3” of the Pale Papaya Trim, cut both ends at an angle using your scissors, and adhere to the card as shown in the sample, only applying adhesive in the center.
- Using the 3/4” strip of White cardstock, stamp the sentiment using Old Olive ink and adhere to the front of the card using Stampin’ Dimensionals.
Supplies Used in this Project
Pin It
Now it’s your turn to make this project! Pin this to your favorite cardmaking Pinterest Board so you can find it quickly!
Thank you so much for stopping by today. I hope you are inspired to create today, whether it is this simple and cute handmade card or another cardmaking project. My goal is to help you carve out some creative joy! If you’d like more detailed directions on how to make this card, feel free to email me. Keep checking back for more projects.


