Sending Smiles Bundle by Stampin’ Up!
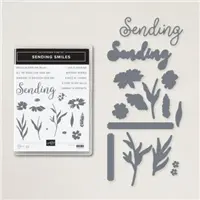
Looking for an all-inclusive bundle that celebrates life’s moments, big or small? The Sending Smiles Bundle is for you! From birthdays to hellos, big hugs to sunny smiles, you can create meaningful cards, notes, and more to convey your love.
View more stamped samples & inspiration here
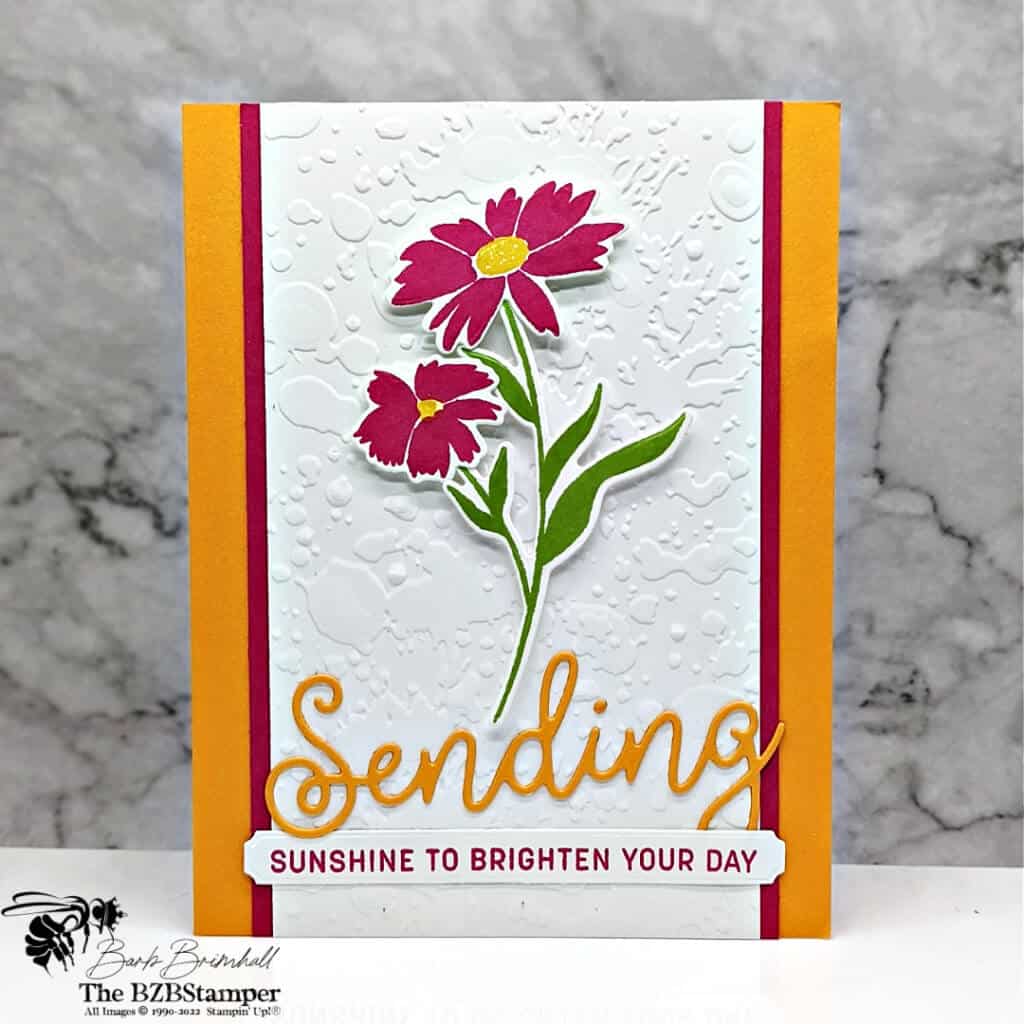
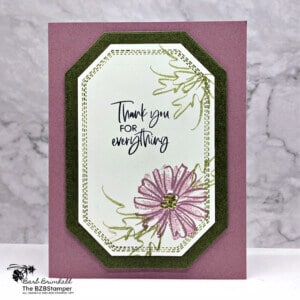
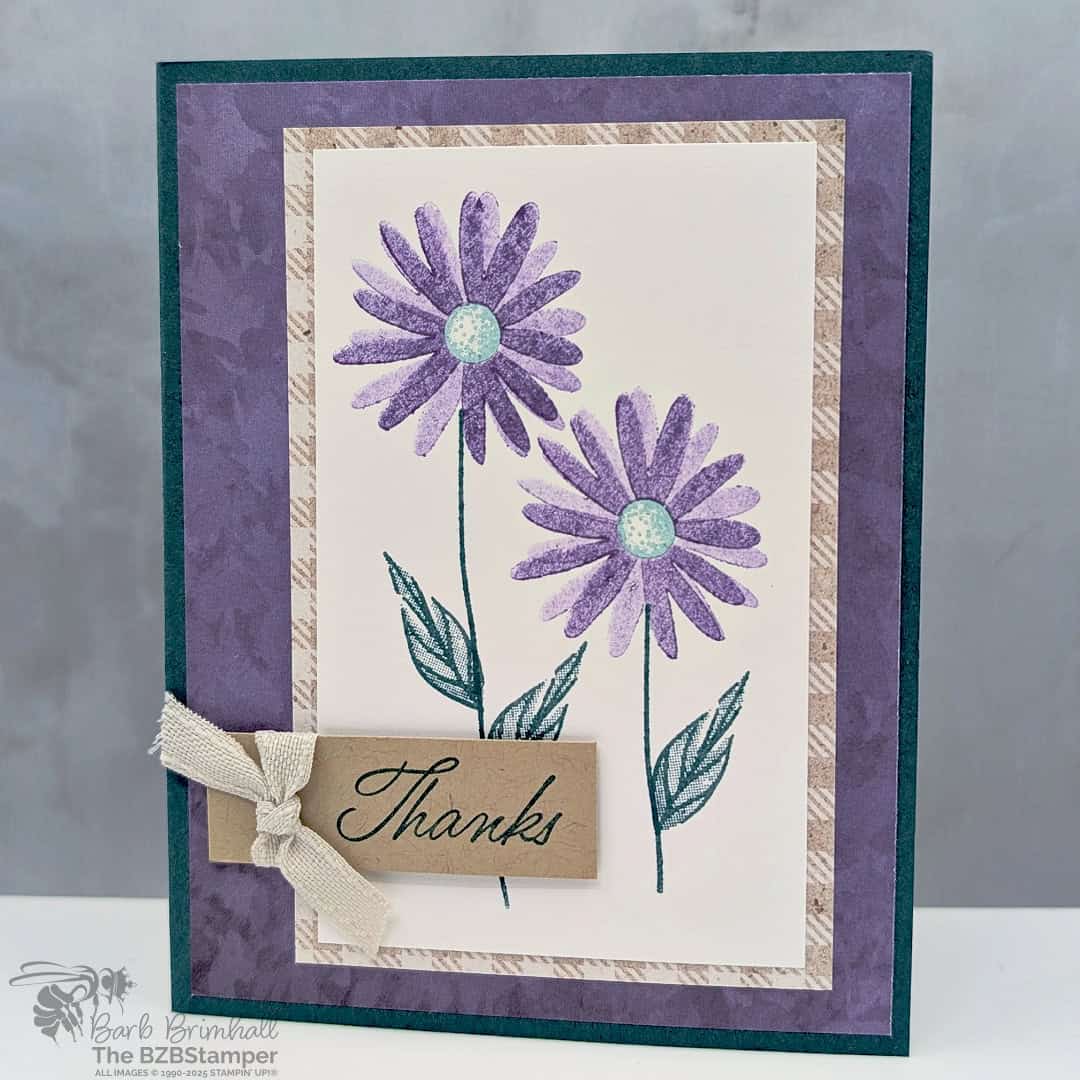
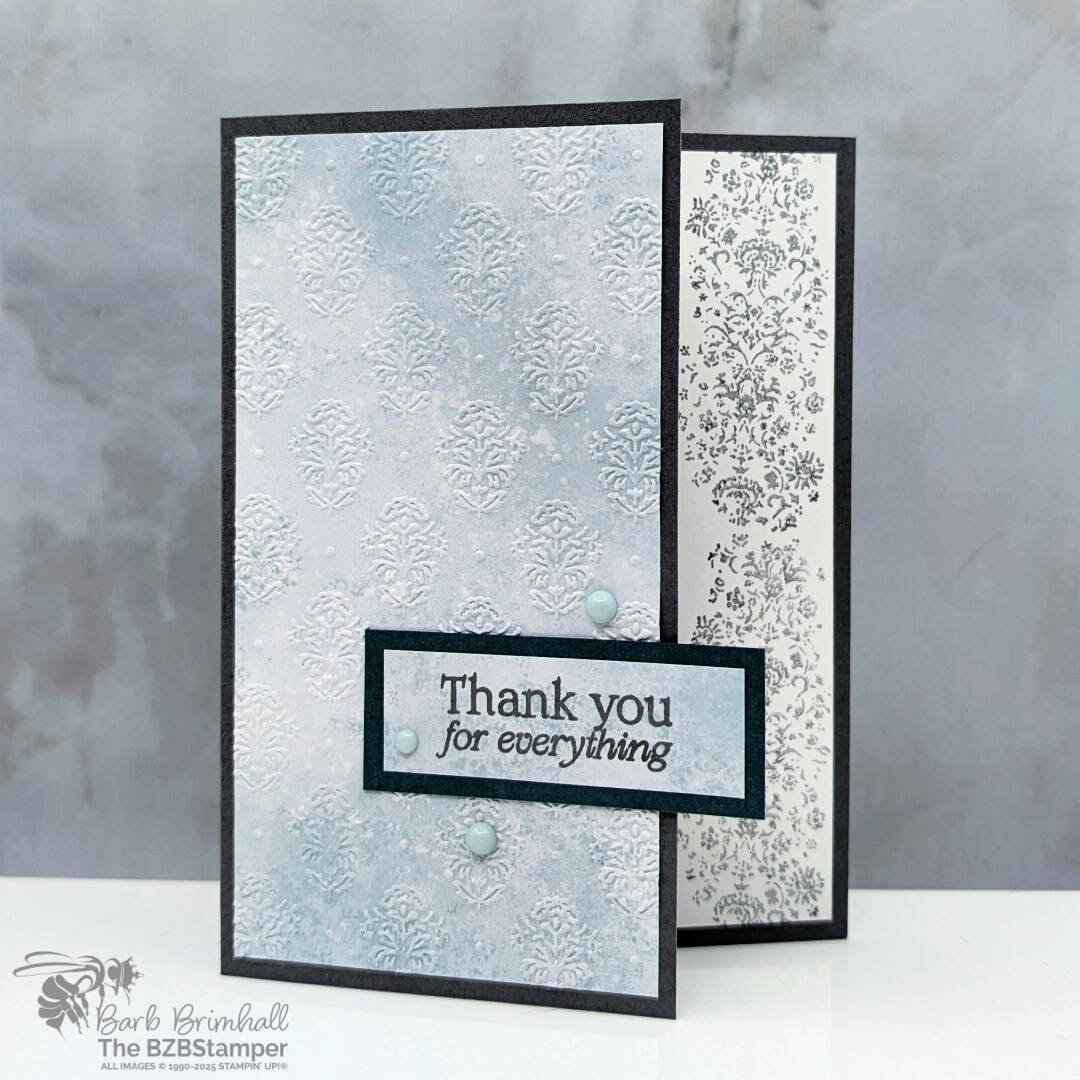
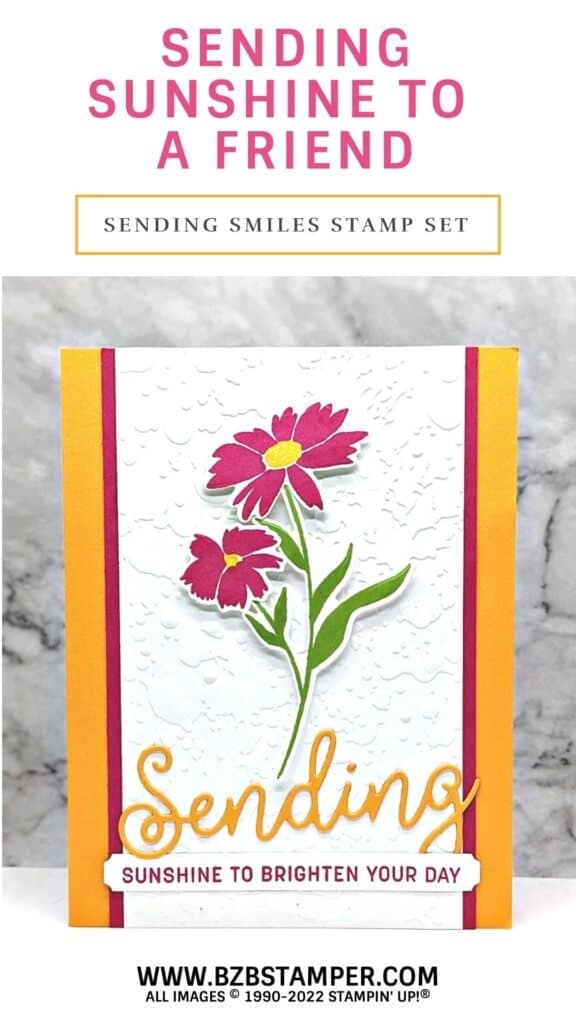
This is such an easy card to create thanks to the Stampin’ Up! Cut & Emboss Machine! It makes quick work of all those fabulous die-cuts and that spectacular background.
To really show off this card, I decided to go with one of my favorite color combinations:
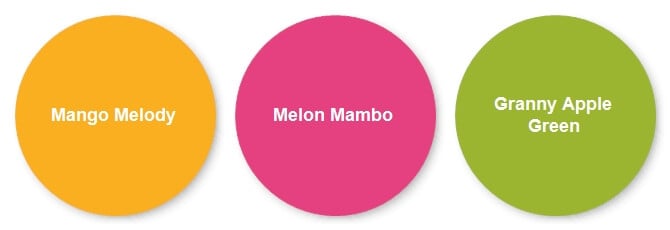
If you’re looking for something a bit softer, make sure you check out my Color Combination Library which has tons of color inspiration for you! Here’s how I made this card:
Project Measurements
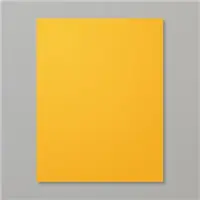
- Mango Melody: 5-1/2” x 8-1/2”, scored at 4-1/4” and 2” x 4” for die-cutting
- Basic White: 4” x 5-1/4” (2) and 3-1/4” x 5-1/2”
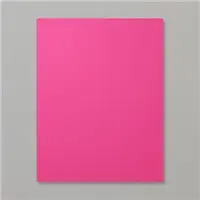
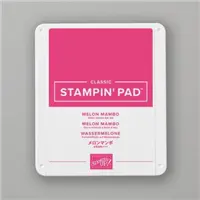
- Melon Mambo: 3-1/2” x 5-1/2”
Project Instructions
1. Fold Mango Melody cardstock in half at score line; burnish well with Bone Folder.
2. Adhere one of the 4” x 5-1/4” pieces of Basic White cardstock inside the card.
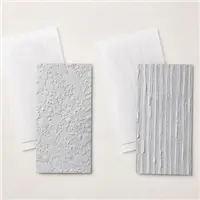
3. Run the 3-1/4” x 5-1/2” piece of Basic White cardstock through the Cut & Emboss Machine using the Splatters 3D Embossing Folder. Adhere to the Melon Mambo cardstock and adhere to front of card.
4. Using the 2” x 4” scrap of Mango Melody cardstock, cut out the sentiment using the Sending Dies that come in the Bundle. Set aside.
5. Using the other piece of 4” x 5-1/4” Basic White Cardstock, stamp the sentiment using Melon Mambo ink.
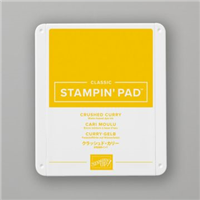
6. Stamp the 2 flowers using Melon Mambo ink and stamp the center of each flower using Crushed Curry ink. Stamp the stem using Granny Apple Green ink.
7. Using the Cut & Emboss Machine and the Sending Dies that come in the Bundle, cut out the sentiment using the Tag Die, and cut out the flowers and stem using the appropriate dies.
8. Adhere the flower/stem to the card using Stampin’ Dimensionals, leaving room at the bottom for the 2 sentiments.
9. Adhere the sentiment die from Step #4 to the card, just below the flower stem, using little dots of Multipurpose Liquid Glue adhesive.
10. Adhere the sentiment tag strip at bottom of card of the card using adhesive.

Supplies Used on this Project
Pin This
Pin the image below to your board for all those handmade card ideas you have saved so when you have an opportunity for a fun cardmaking session you will be able to get right to the creative part!
- Get a Free Tutorial Every Week!
- Shop 24/7 in your PJ’s
- Queen Bee Rewards – Earn FREE Stamps!
- View the 2024-2025 Annual Catalog
- View NEW Online Products
- Monthly Crafting Kit
Thanks for stopping by today, I hope you enjoyed this papercrafting tutorial. If you have a question or if I can help you with anything, please leave me a comment. I’d love to hear from you!


