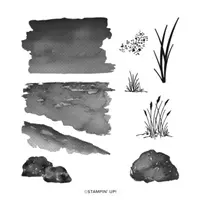
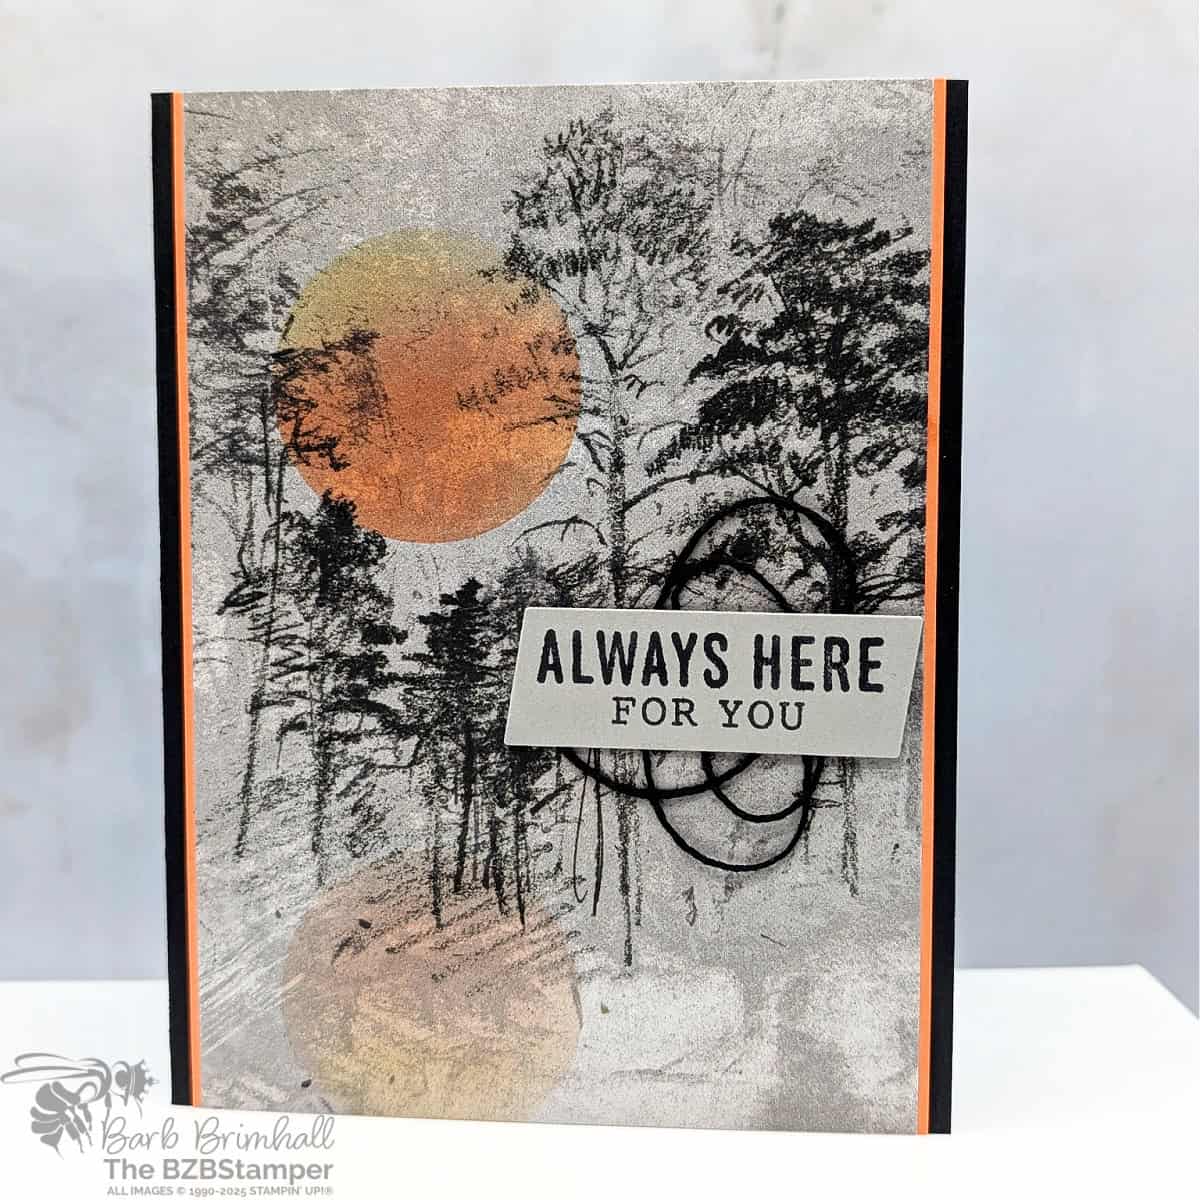
Oceanfront Stamp Set by Stampin’ Up!
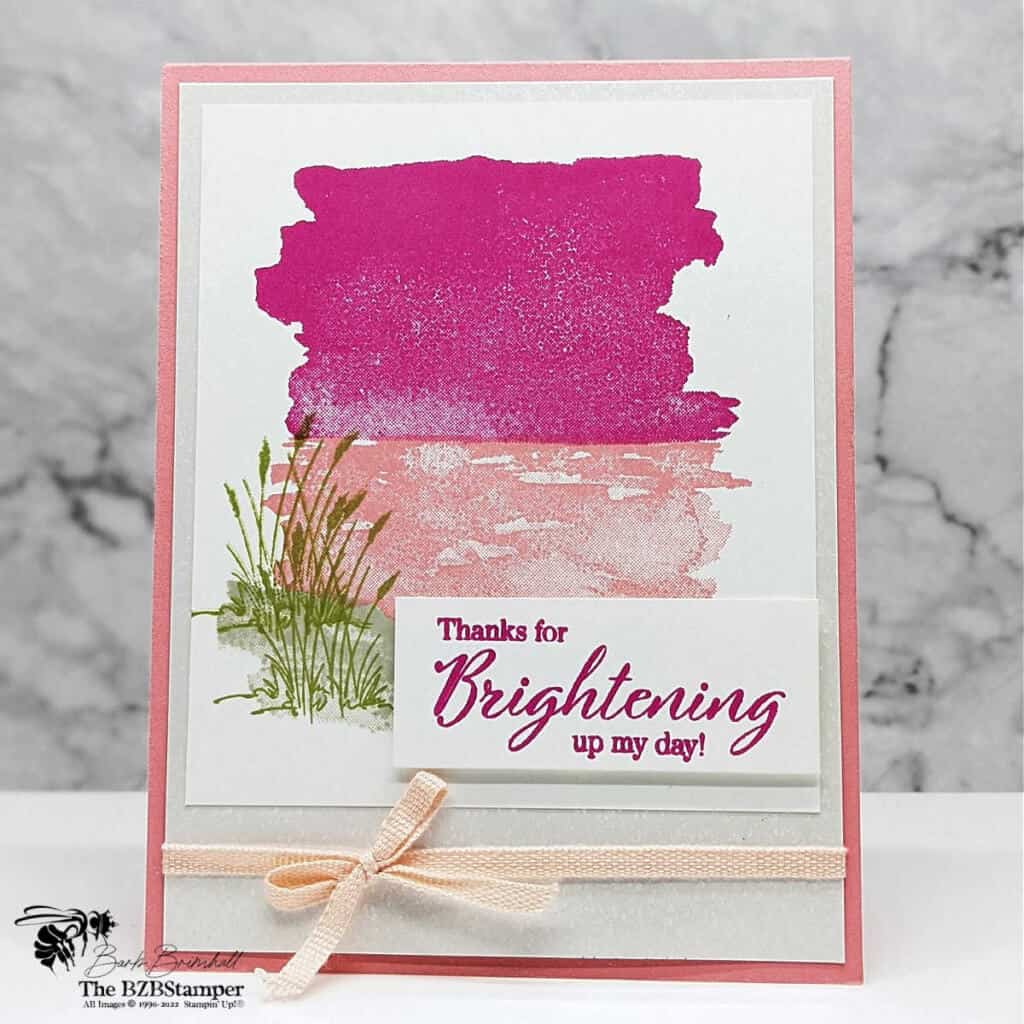
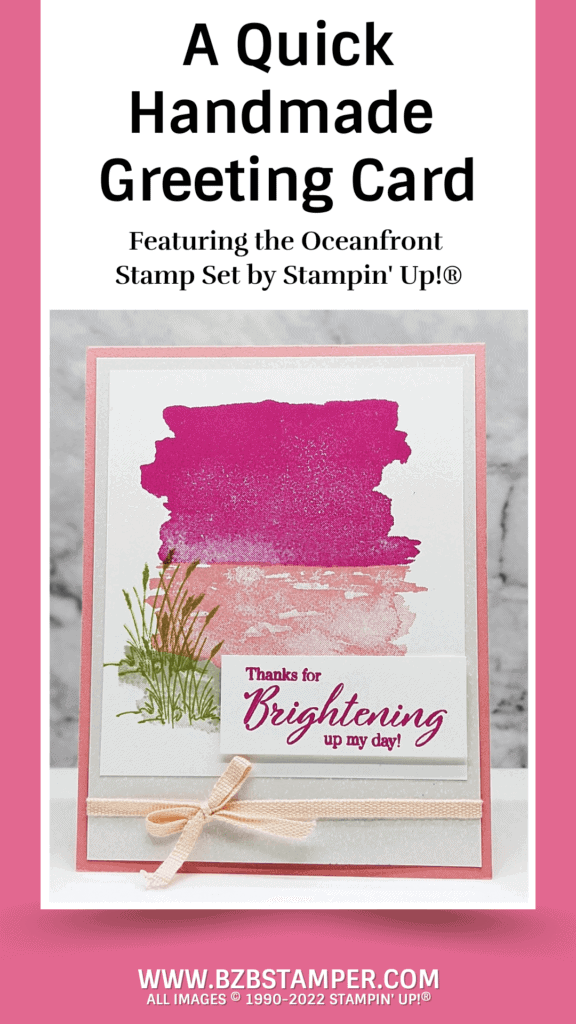
If you need an easy handmade All-Occasion card for a friend, how about this pretty one using the Oceanfront Stamp Set by Stampin’ Up!?
View more stamped samples & inspiration here
How gorgeous is this handmade greeting card? Between the bright colors and the beautiful Pearlescent Specialty Paper used as a focal point for this card, you’re sure to make someone’s day if you make and send this card to them!
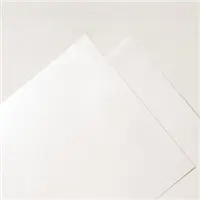
The Pearlescent Specialty Paper was the perfect paper to use on this beachy project as its pearlescent sheen adds a lot of sparkle and shimmer! I love this paper as it takes your paper crafting projects to the next level with no effort on your part!
This is a Distinktive stamp set which means it has a special texture that gives added depth and dimension to your stamped images. In a single step, you can create photo-realistic images. You can find other cards made with Distinktive stamp sets here.
For the color palette on this card, I wanted something fresh and bright so I went with this color combination:
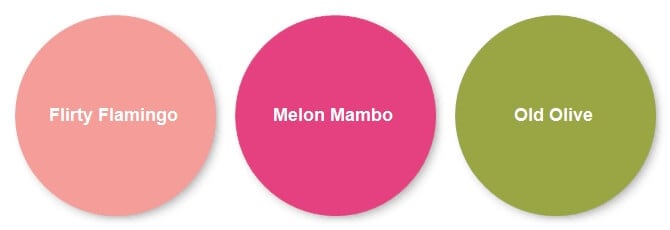
It’s so bright and cheery and sure to make anyone’s day!
Project Measurements
- Flirty Flaming: 4-1/4” x 11”, scored at 5-1/2” and 1-1/2” x 5-1/2”
- Pearlescent Paper: 4” x 5-1/4”
- Basic White:
- 4” x 5-1/4”
- 3-3/4” x 4-1/4”
- 1” x 2-1/2”
Project Instructions
1. Fold the Flirty Flamingo cardstock in half and burnish well with Bone Folder to create the base card.
2. Adhere the 4” x 5-1/4” piece of Basic White cardstock inside the card.
3. Wrap about 15” of Petal Pink Ribbon from the Combo Pack and tie into a bow on the left side. Adhere the Pearlescent Paper to the front of the base card.
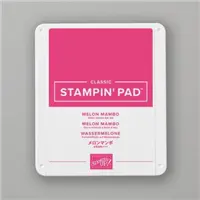
4. Using the 3-3/4” x 4-1/4” Basic White paper, stamp the largest “blob” stamp using Melon Mambo ink.
5. Using the next smallest “blob” image, stamp below the previous image using Flirty Flamingo ink.
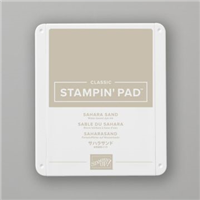
6. Using the smallest “blob”, stamp below the Flirty Flamingo image using Sahara Sand ink. Using the grass stamp, stamp using Old Olive ink. Reink the image again using same ink and stamp again, just below the first image as shown in the sample.
7. Adhere the stamped cardstock to the card base so that it leaves a border at the top and on the sides.
8. Using the 1” piece of Basic White cardstock, stamp the sentiment using Melon Mambo ink. Adhere to the base card using Stampin’ Dimensionals.

Supplies Used in this Project
Pin This
Save this to your favorite Pinterest Board where you save all of your quick & easy cards!
- Get a Free Tutorial Every Week!
- Shop 24/7 in your PJ’s
- Queen Bee Rewards – Earn FREE Stamps!
- View the 2024-2025 Annual Catalog
- View NEW Online Products
- Monthly Crafting Kit
Thanks for stopping by for today’s card tutorial! My goal is to help you make quick & easy greeting cards for all occasions. I hope you’ll join me again for more card-making ideas!


