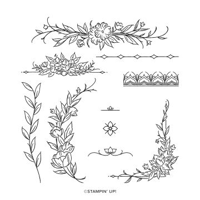
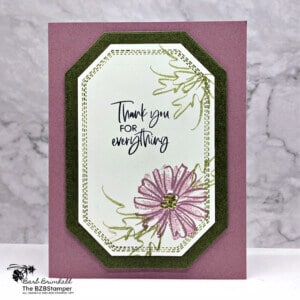
Decorative Borders Stamp Set by Stampin’ Up!
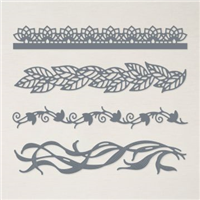
Bring a unique touch to your homemade greeting cards with the Decorative Borders Stamp Set by Stampin’ Up! With this beautiful stamp set, your cards will look expertly crafted and make a lasting impression. With a wide variety of designs and borders, you’ll love the intricate details that this set adds to your card. Whether you’re a beginner or a seasoned crafter, the Decorative Borders Stamp Set is a must-have in your collection. Start creating stunning projects today!
To get started, free tutorials are available on our blog. Get creative and let your own style shine!
View more stamped samples & inspiration here
Project Measurements
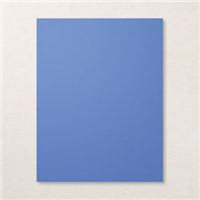
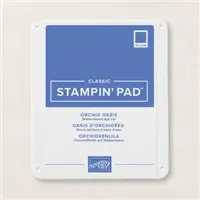
- Orchid Oasis: 5-1/2” x 8-1/2”, scored at 4-1/4” and 1-3/4” x 5-1/2”
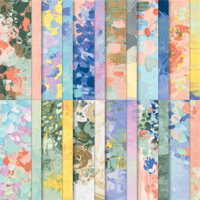
- Fancy Flora Paper: 4” x 5-1/4”
- Basic White:
- 4” x 5-1/4”
- 2-1/4” x 4”
- 3/4” x 2-1/2”
Instructions
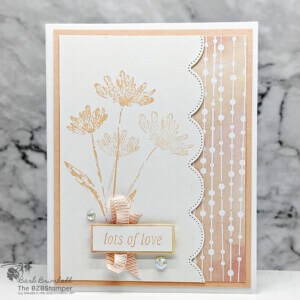
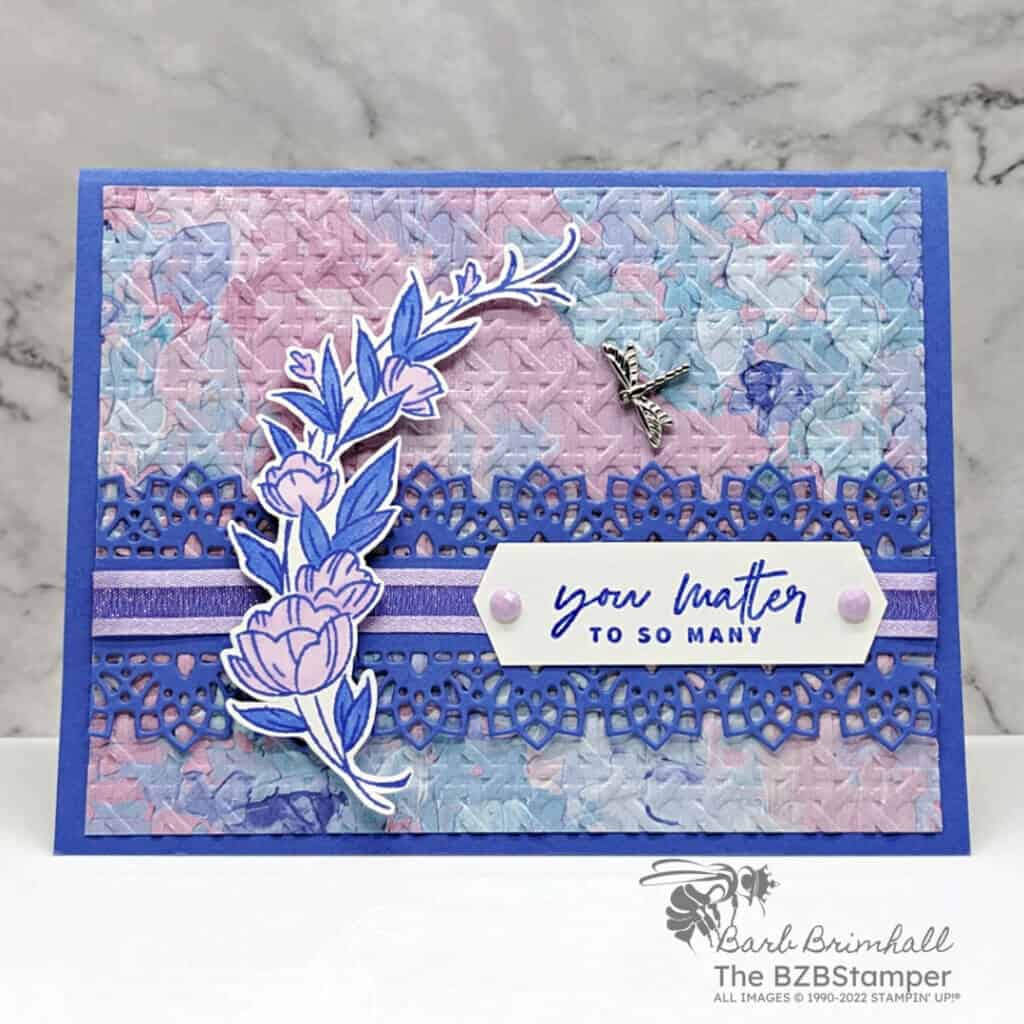
- Fold the Orchid Oasis Cardstock in half to create your base card.
- Adhere the 4” x 5-1/4” piece of Basic White cardstock inside your card.
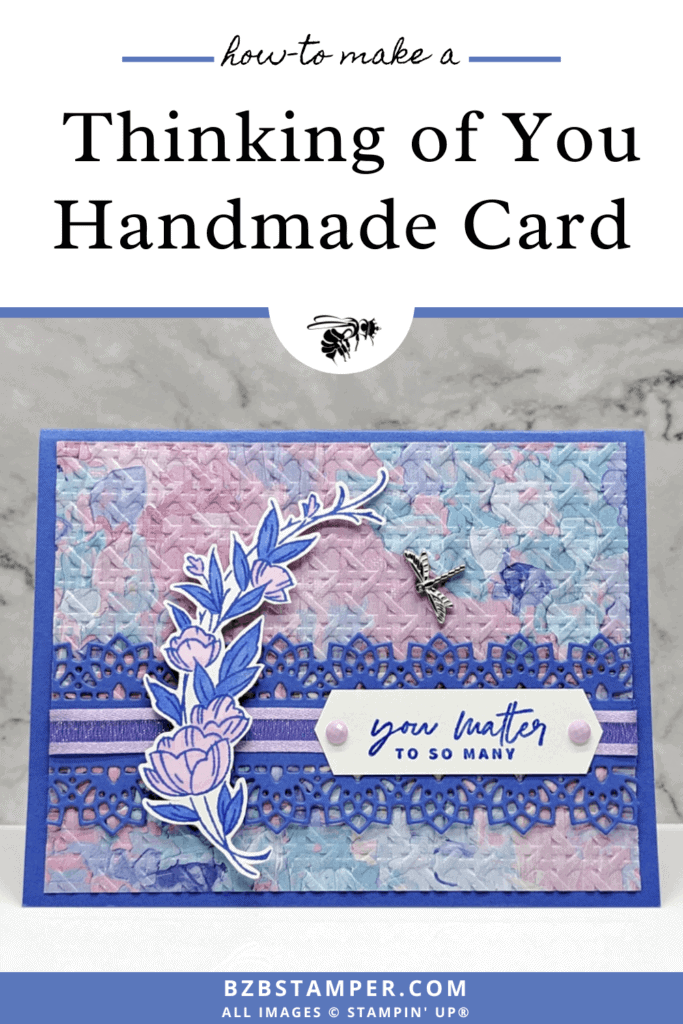
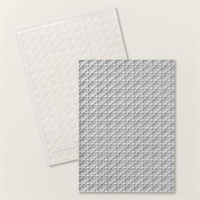
- Run the Fancy Flora paper through the Cut & Emboss Machine using the Cane Weave 3D Embossing Folder. Adhere to front of card.
- Using the border die from the Delicate Edges dies, run the 1-3/4” strip of Orchid Oasis cardstock through the Cut & Emboss Machine, die-cutting one edge; flip die and die-cut the other edge.
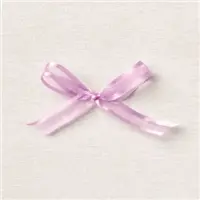
- Cut 6” of the Fresh Freesia Ribbon and tape it on the back of the Orchid Oasis cardstock. Adhere to the front of the card.
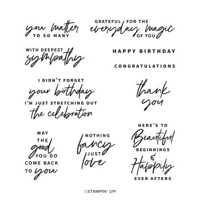
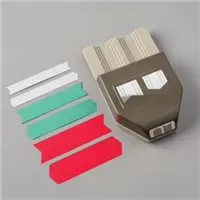
- Using the 3/4” strip of Basic White cardstock, stamp the sentiment in the center of the cardstock using Orchid Oasis ink. Punch both ends using the Banners Pick a Punch. Adhere to the right side of the card, centering on the ribbon by using adhesive.
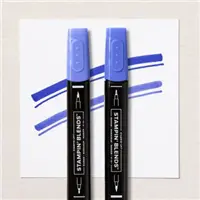
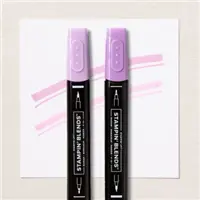
- Using the 2-1/4” x 4” piece of Basic White cardstock, stamp the floral image using Orchid Oasis ink. Color in the leaves using the Light Orchid Oasis Blend and the flowers using the Light Fresh Freesia Blend. Adhere to the left side of card using Stampin’ Dimensionals.
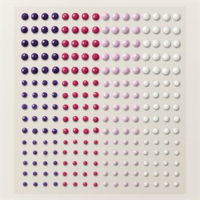
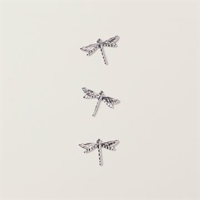
- To finish, add one of the Dragonfly Trinkets above the sentiment using a Glue Dot and add 2 of the Fresh Freesia Opaque Gems on either side of the sentiment tag.
Supplies Used in this Project
Pin It!
Like this project? Be sure to pin it so you can easily find it again. It will take you right back here to all the details of the card.
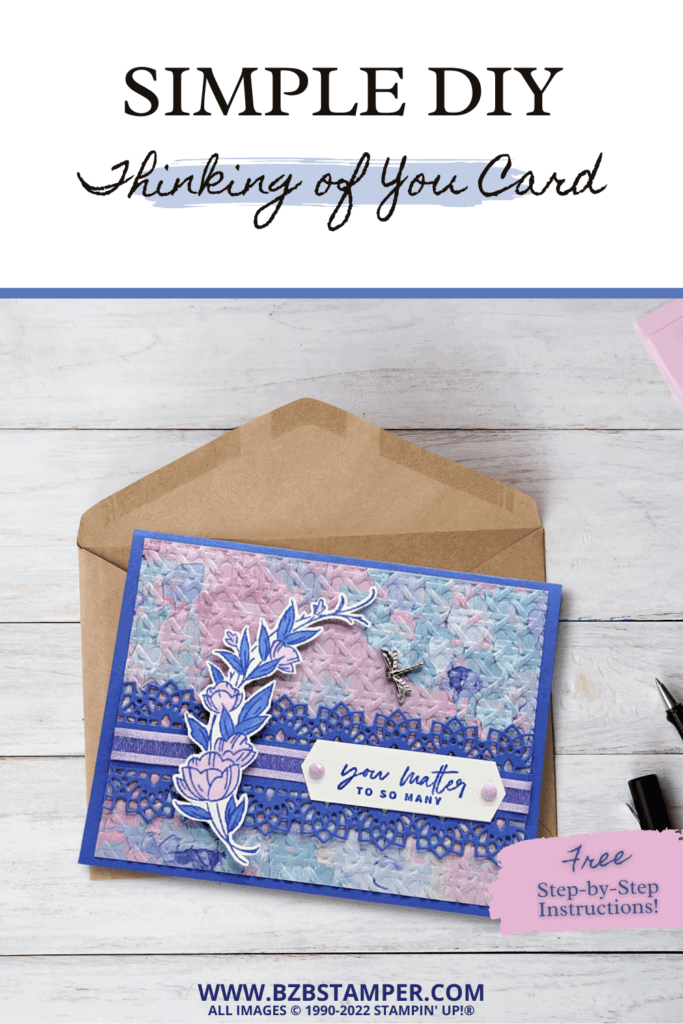
Thanks so much for stopping by today! If you’d like more detailed directions on how to make this card, feel free to email me. Be sure to give this card sketch idea a try and mail it to a friend who is celebrating something! It’s so fun to make a card, but it’s even more fun to send! #makeacardsendacard


