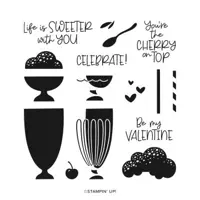
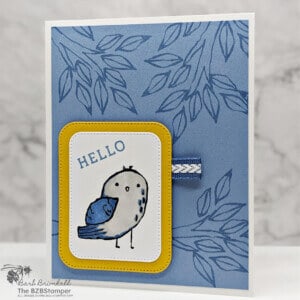
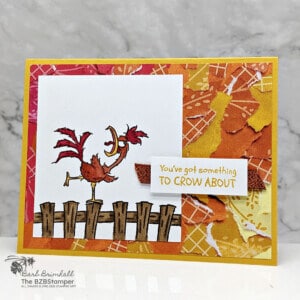
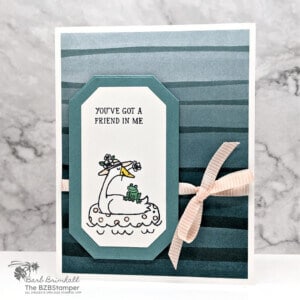
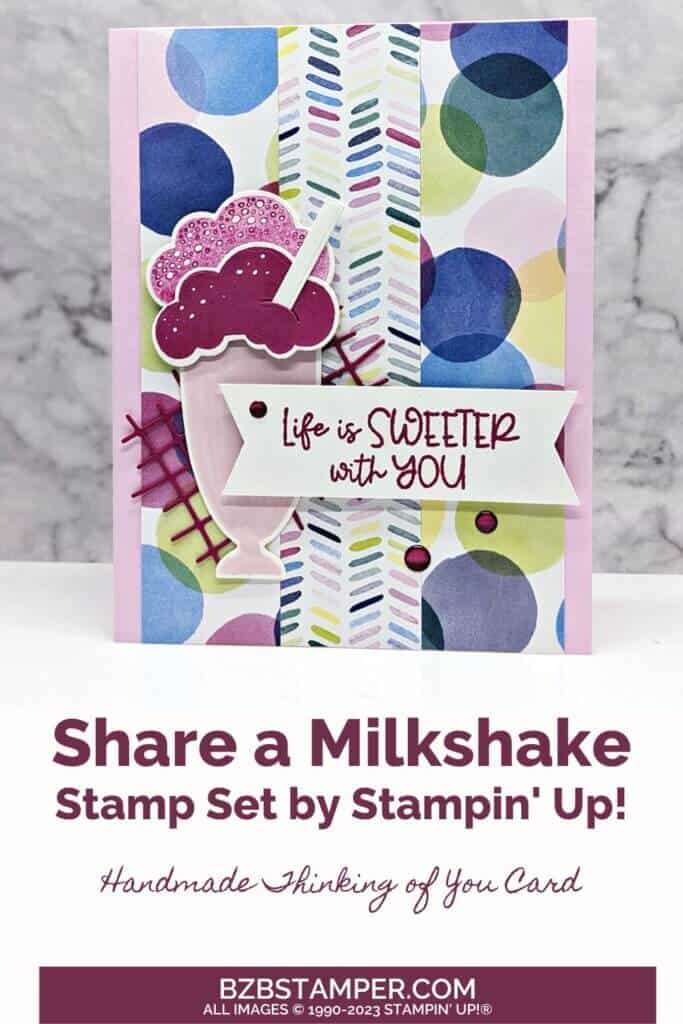
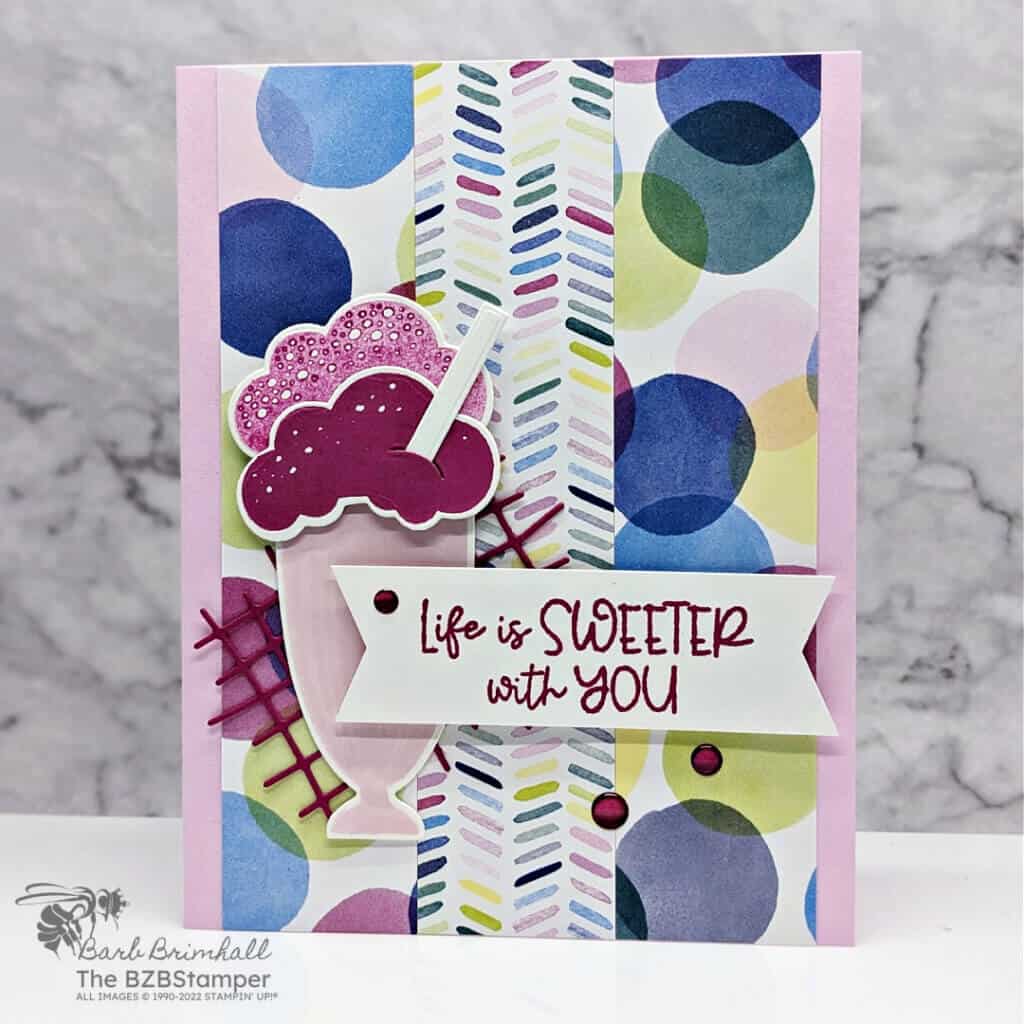
Looking for a new way to express your love? Check out the Share a Milkshake stamp set & dies by Stampin’ Up! With its easy layering and mixing, you can create the perfect ice cream treat complete with whipped cream and a cherry on top. So why not whip up some fun and make someone’s day sweeter? This Photopolymer Stamp set includes clear stamps, which are perfect for versatile card making.
View more stamped samples & inspiration here
Project Measurements
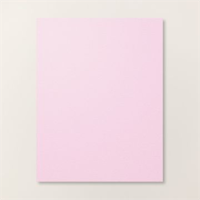
- Bubble Bath Cardstock: 5-1/2″ x 8-1/2″, scored at 4-1/4″
- Basic White: 4″ x 5-1/4″ (x2)
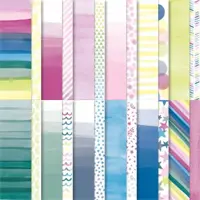
- Bright & Beautiful Paper (circles): 3-3/4″ x 5-1/2″
- Bright & Beautiful Paper (lines): 1-1/4″ x 5-1/2″
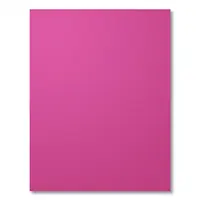
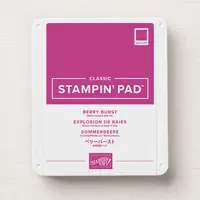
- Berry Burst Cardstock: 2″ x 3″ (for die-cutting)
- Basic White: 1″ x 3–1/4″
Instructions
- Fold the Bubble Bath cardstock in half at the scoreline and burnish well with your bone folder to create the card base.
- Adhere one of the 4″ x 5-1/4″ pieces of Basic White cardstock on the inside of the card.
- Adhere the Bright & Beautiful (circles) Paper onto the center of the card front.
- Adhere the other piece of Bright & Beautiful Paper onto the center of the card.
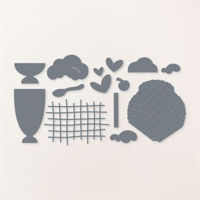
- Using the Berry Burst cardstock, run through the Cut & Emboss Machine using the “cross hatch” die from the Share A Milkshake dies and adhere to the bottom left of the card at an angle. (See sample for placement.)
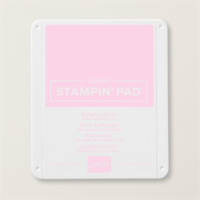
- Using the other 4″ x 5-1/4″ piece of Basic White cardstock, stamp the milkshake glass holder using Bubble Bath ink. Stamp the ice cream one time in Berry Burst ink and then stamp again without reinking. Run the cardstock through the Cut & Emboss Machine using the Share A Milkshake dies and cut out the images using the appropriate dies. Run through again and cut out the straw with the remaining scrap of Basic White cardstock.
- Adhere the die-cut images to the card using Stampin’ Dimensionals as shown in the sample.
- Using the 1″ strip of cardstock, stamp the sentiment using Berry Burst ink. Using scissors, “flag notch” both sides of the sentiment strip. Stack Stampin’ Dimensionals 2-3 high on the back of the sentiment strip and adhere to the card as shown in the sample.
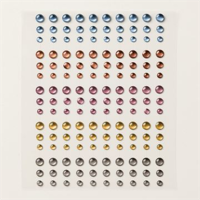
- To finish, add 3 of the Mauve In Color Dots in various sizes as desired.
Supplies Used in this Project
Pin It!
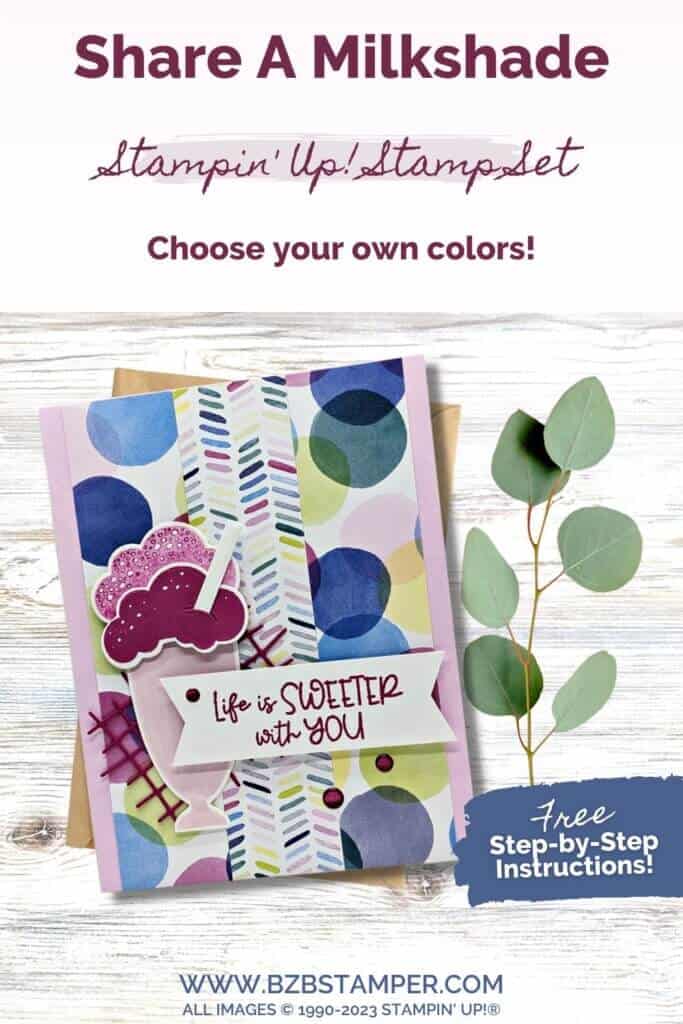
Like this project? Be sure to pin it so you can easily find it again. It will take you right back here to all the details of the card.
Thanks so much for stopping by today! If you’d like more detailed directions on how to make this card, feel free to email me. Be sure to give this card sketch idea a try and mail it to a friend who is celebrating something! It’s so fun to make a card, but it’s even more fun to send! #makeacardsendacard


