View more stamped samples & inspiration here
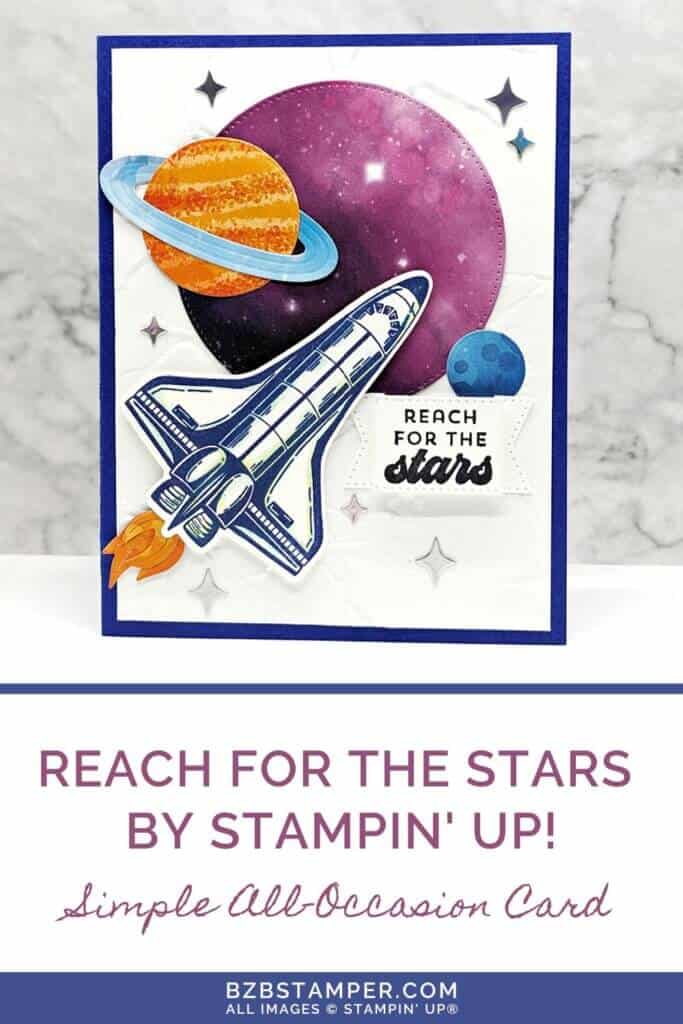
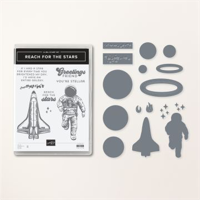
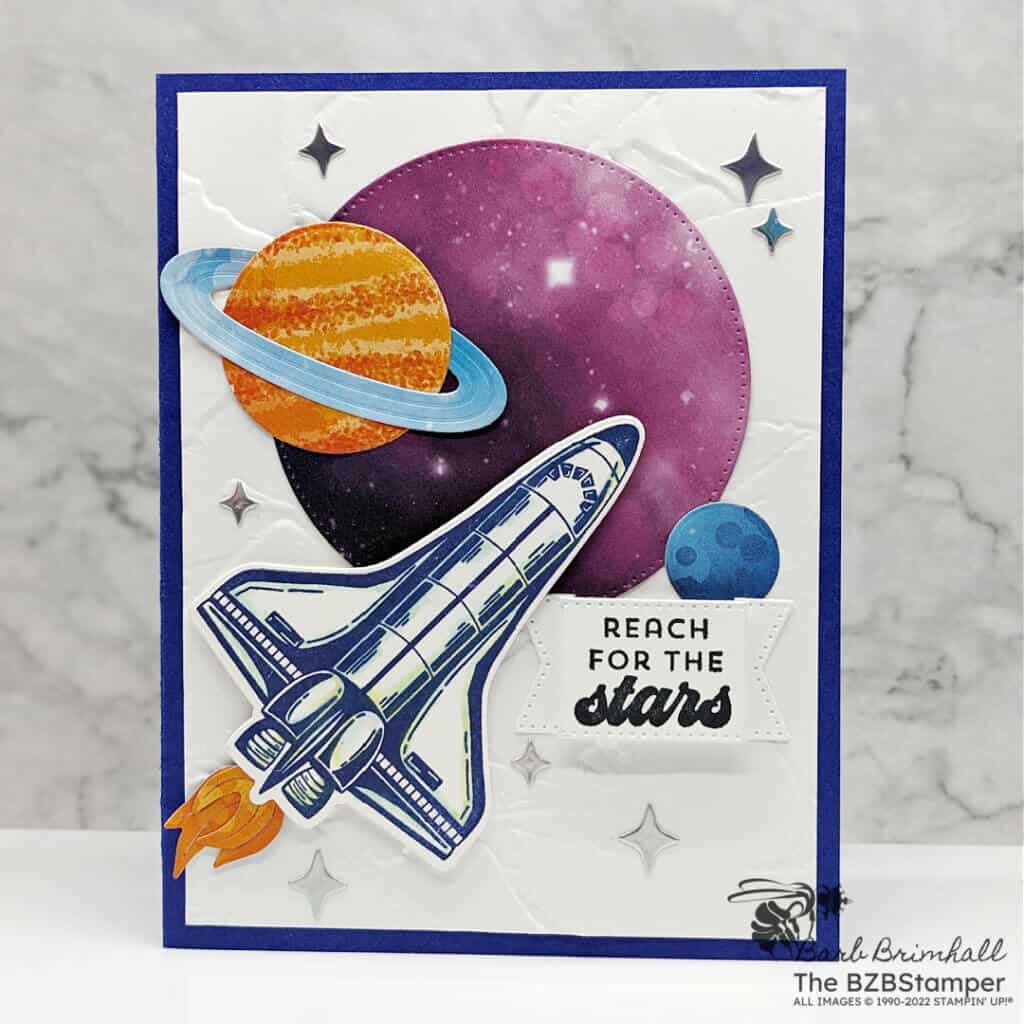
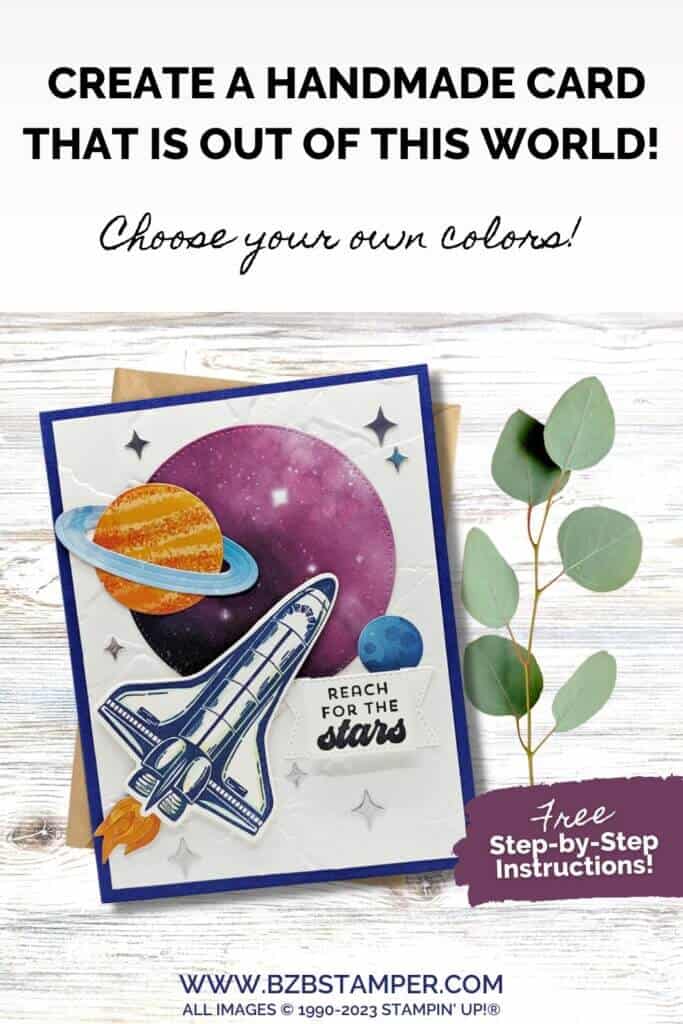
Hey, passionate papercrafters and dreamers! It’s easy to create out of this world cards with the Reach for the Stars Bundle by Stampin’ Up! Do you know someone who’s shooting for the stars, aiming high, and achieving their dreams? I bet they’d love a personalized card that not only acknowledges their hard work but also encourages them to keep reaching for their goals. With an adorable astronaut stamp, starry patterns, and die tools to craft your planets, you can create a unique card that shouts, Keep going, your dreams are within reach! Let’s dive into this wonderful craft galaxy and see how this bundle can inspire us and those around us!
Find this post helpful?
Share it on Pinterest
Save this to your Pinterest board where you save those quick and easy cards.
How To Make This Card
Cardstock Measurements:
- Starry Sky: 5-1/2” x 8-1/2”, scored at 4-1/4”
- Basic White: 4” x 5-1/4” (3 pieces)
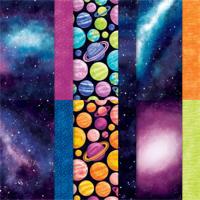
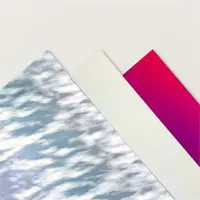
- Stargazing Paper: 4” x 4” or scraps of various pieces (see sample)
- Holographic Trio Paper: 2” x 2”
Step-by-Step Instructions:
- Fold the Starry Sky Cardstock in half to create your base card and burnish well with the Bone Folder.
- Adhere one of the 4” x 5-1/4” pieces of Basic White cardstock inside your card.
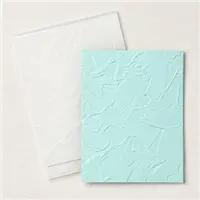
- Run the other piece of 4” x 5-1/4” Basic White cardstock through the Cut & Emboss Machine using the Painted Texture 3D Embossing Folder. Adhere to the front of the card.
- On the remaining piece of Basic White cardstock, stamp the Space Ship using Night of Navy ink and the sentiment using Black Memento ink. Cut out the Space Ship using the die from the Reach for the Stars Bundle. Die-cut the sentiment using the long 7/8” Banner from the Stylish Shapes Dies.
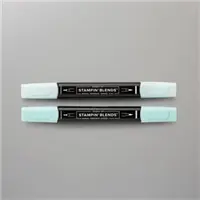
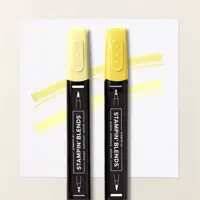
- Using the Light Pool Party and Light Lemon Lolly Blends, highlight parts of the Space Ship to add depth. Set aside.
- Using the 7/8” sentiment strip, score on either side of the sentiment and then score again 1/8” over (towards the end.) Fold so that the sentiment “pops out”. Set aside.
- Using the appropriate piece of Stargazing paper, cut out the “moon” using the 3” circle die from the Stylish Shapes dies. Adhere to the top of the card.
- Using the appropriate pieces of Stargazing paper, cut out both pieces for the ship “flame” and adhere together. Use adhesive to adhere to the bottom of the Space Ship from Step #5; adhere to card as shown in the sample using Stampin’ Dimensionals.
- Using the appropriate pieces of Stargazing paper, cut out the 1-1/2” and 3/4” circles for the planets. Cut out the 2-1/4” planet “ring” and place the larger planet inside the ring; adhere to the large “moon”.
- Adhere the smaller planet as shown in the sample using adhesive.
- Adhere the sentiment using adhesive on the end flaps as shown in the sample.
- Using the piece of Holographic paper, cut out the 7 stars and adhere randomly to the card using either Glue Dots or adhesive.
Easy Peasy! This card comes together quickly thanks to the colorful Stargazing Designer Paper – you can find more information about this paper below. So, who do you know who would love to receive this card?😊
Thanks for stopping by for today’s card tutorial! My goal is to help you make quick & easy greeting cards for all occasions. If you’d like more detailed directions on how to make this card, feel free to email me. I hope you’ll join me again for more card-making ideas!

- Get a Free Tutorial Every Week!
- Shop 24/7 in your PJ’s
- Queen Bee Rewards – Earn FREE Stamps!
- View the 2024-2025 Annual Catalog
- View NEW Online Products
- Monthly Crafting Kit
Don’t forget to pin this for later!
