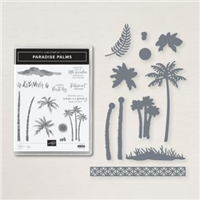
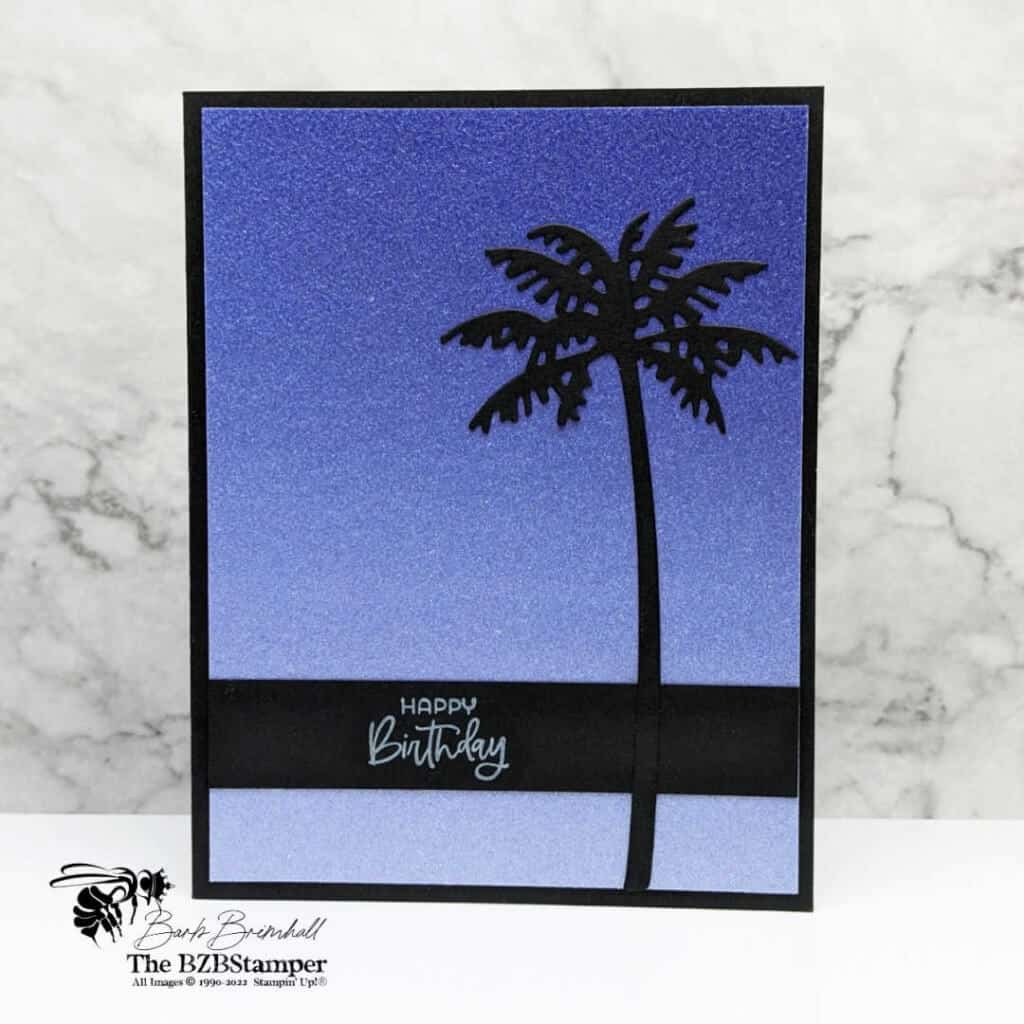
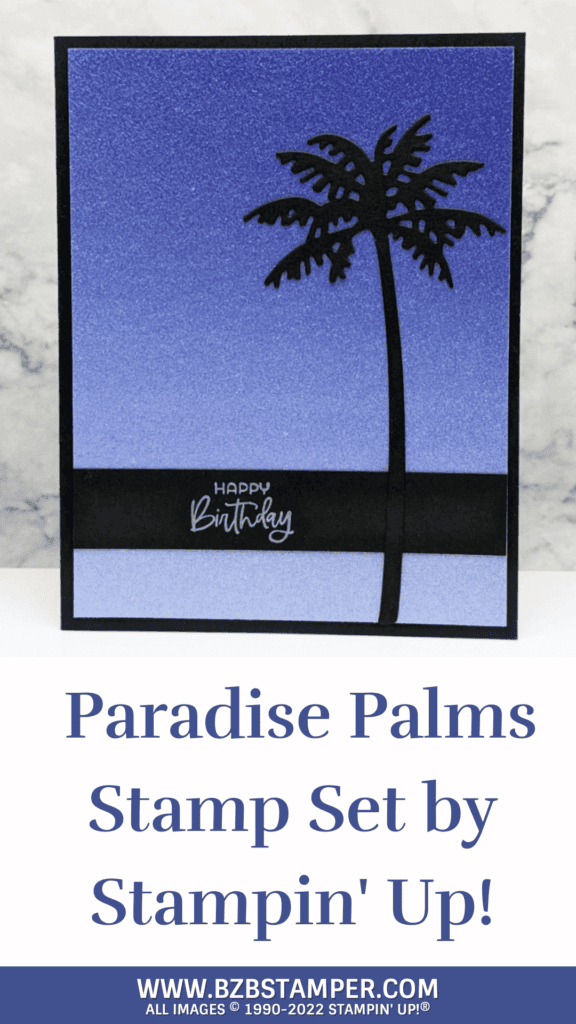
Use the Paradise Palms Bundle to make this gorgeous Happy Birthday Card! It comes together quickly thanks to the sparkly Glimmer Paper and Palm Dies.
View more stamped samples & inspiration here
A relaxing island getaway is always within reach when you craft with this Paradise Palms Bundle. All you need to do is put on your favorite tropical tunes (Jimmy Buffet is my music of choice!) and escape to the fun of some sun, sand, palm trees, and coconuts.
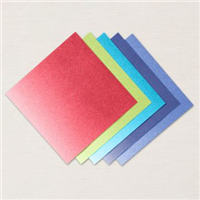
You can use these stamps to set the scene in so many ways: stamp a single palm tree ripe with coconuts just basking in the warm sunshine or several palm trees together for a coconut grove—you can’t go wrong! I kept this card super simple by using the Cut & Emboss Machine and the Palm Dies that come in the Bundle. But what really made this card special was the use of the Starry Sky Glimmer Paper! In person, it looks exactly like a starry sky night scene!
Here’s how I made this card in 6 easy steps:
Project Measurements
- Basic Black:
- 5-1/2” x 8-1/2”, scored at 4-1/4”
- 3/4” x 4”
- 3” x 5”
- Starry Sky Glimmer Paper: 4” x 5-1/4”
- Basic White: 4” x 5-1/4”
Project Instructions
1. Fold the Basic Black cardstock in half at the score line and burnish well with your Bone Folder.
2. Adhere the 4” x 5-1/4” piece of Basic White cardstock inside the card base.
3. Adhere the 4” x 5-1/4” piece of Starry Sky Glimmer Paper to the front of the card.
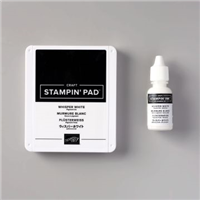
4. Make sure your Craft White ink pad is well inked. Ink the sentiment using the White Craft ink and stamp onto the middle left of the 3/4” x 4” piece of Basic Black cardstock. Set aside to let the ink dry.
5. Once dry, adhere to the front of the card, about 3/4” up from the bottom.
6. Using the 3” x 5” piece of Basic Black cardstock, run through the Cut & Emboss Machine and cut out the large Palm using the Palm Dies that come in the Bundle. Adhere the die-cut Palm to the right side of the card using adhesive and let dry.

Supplies Used on this Project
Save This
Save this to your Pinterest board where you save those quick and easy cards.
- Get a Free Tutorial Every Week!
- Shop 24/7 in your PJ’s
- Queen Bee Rewards – Earn FREE Stamps!
- View the 2024-2025 Annual Catalog
- View NEW Online Products
- Monthly Crafting Kit
Thanks for stopping by for today’s card tutorial! My goal is to help you make quick & easy greeting cards for all occasions. I hope you’ll join me again for more card-making ideas!


