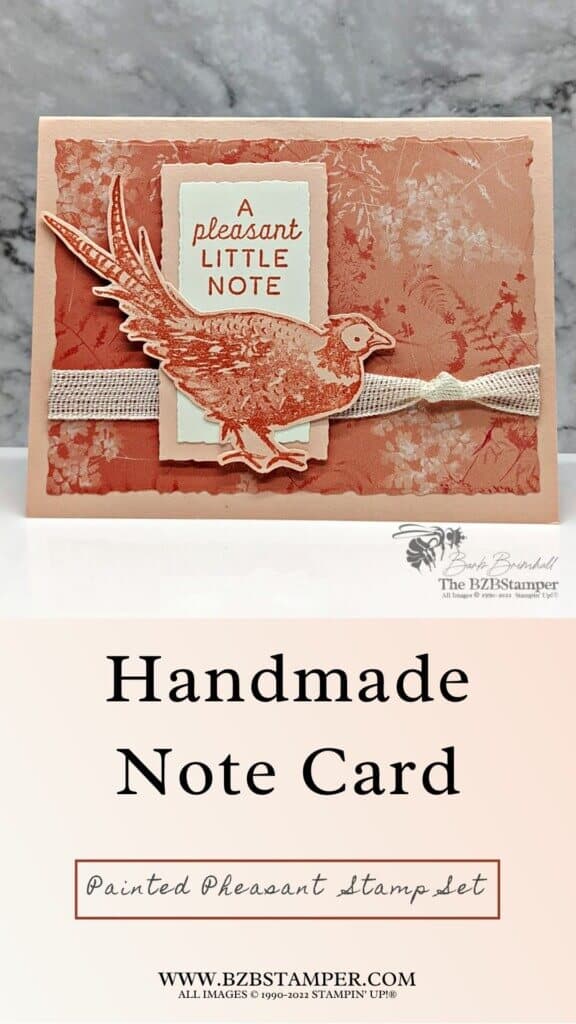
DIY Card Idea using Painted Pheasant Stamp Set
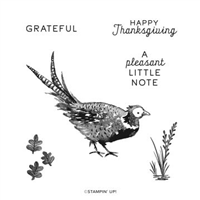
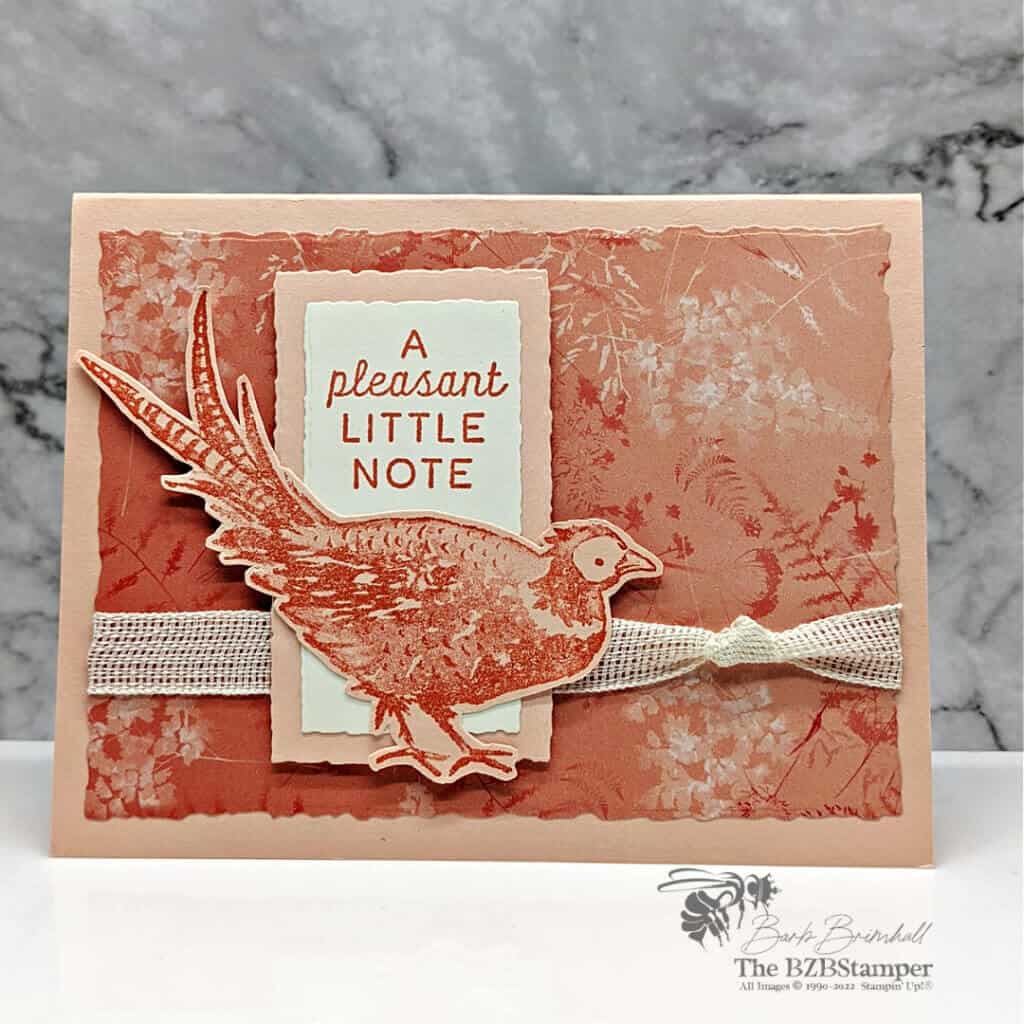
The Painted Pheasant Stamp Set by Stampin’ Up! was used to create this beautiful monocromatic card. And it’s ridiculously easy to make. Let me show you how!
View more stamped samples & inspiration here
Project Measurements
- Petal Pink: 5-1/2″x 8-1/2″, scored at 4-1/4″ and 4″ x 5-1/4″ for die-cutting
- Very Vanilla: 4″ x 5-1/4″ and 2″ x 4″ for die-cutting
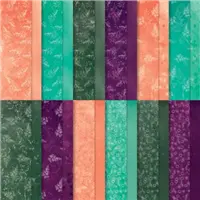
- Pretty Prints paper: 4″ x 6″ for die-cutting
Instructions
- Fold the Petal Pink cardstock in half to create your base card.
- Adhere the 4″ piece of Very Vanilla cardstock inside your card.
- Using the Cut & Emboss Machine and the Deckled Rectangle Dies, use the largest die (3-3/4″ x 5″) to cut out the Pretty Prints Paper; the 1-3/4″ x 3-1/4″ to cut out the Petal Pink scrap and the 1-1/4″ x 2-3/4″ die to cut out the Very Vanilla mat.
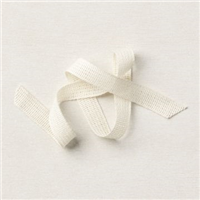
- Using a 6″ piece of the Natural Woven Ribbon, tie a loose knot on the right side and tape both ends to the back of the Pretty Prints paper. Adhere to the base card.
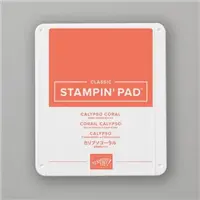
- Using the Very Vanilla die-cut, stamp the sentiment at the top using Calypso Coral ink. Adhere to the Petal Pink die-cut and then adhere to the base card using Stampin’ Dimensionals.
- Using the remaining scrap of Petal Pink cardstock, stamp the Pheasant using Calypso Coral ink. Fussy cut out using your scissors. Adhere the body to the sentiment mat using adhesive to finish.
Supplies Used in this Project
Thank you so much for stopping by and checking out this papercrafting tutorial. I hope you are inspired to create and send cards. If you’d like more detailed directions on how to make this card, feel free to email me. I love sharing how to make cards here on the BZBStamper blog and I can’t thank you enough for all of your support!
- Get a Free Tutorial Every Week!
- Shop 24/7 in your PJ’s
- Queen Bee Rewards – Earn FREE Stamps!
- View the 2023-2024 Annual Catalog
- View the 2023 Winter Holiday Catalog
- View NEW Online Products
- Monthly Crafting Kit


