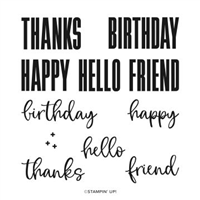
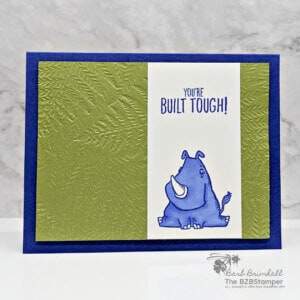
The sentiments in the Biggest Wish Stamp Set by Stampin’ Up! are sized to make an impact where it counts. The strong bold fonts are gender-neutral, meaning you can use this stamp set for all the people in your life.
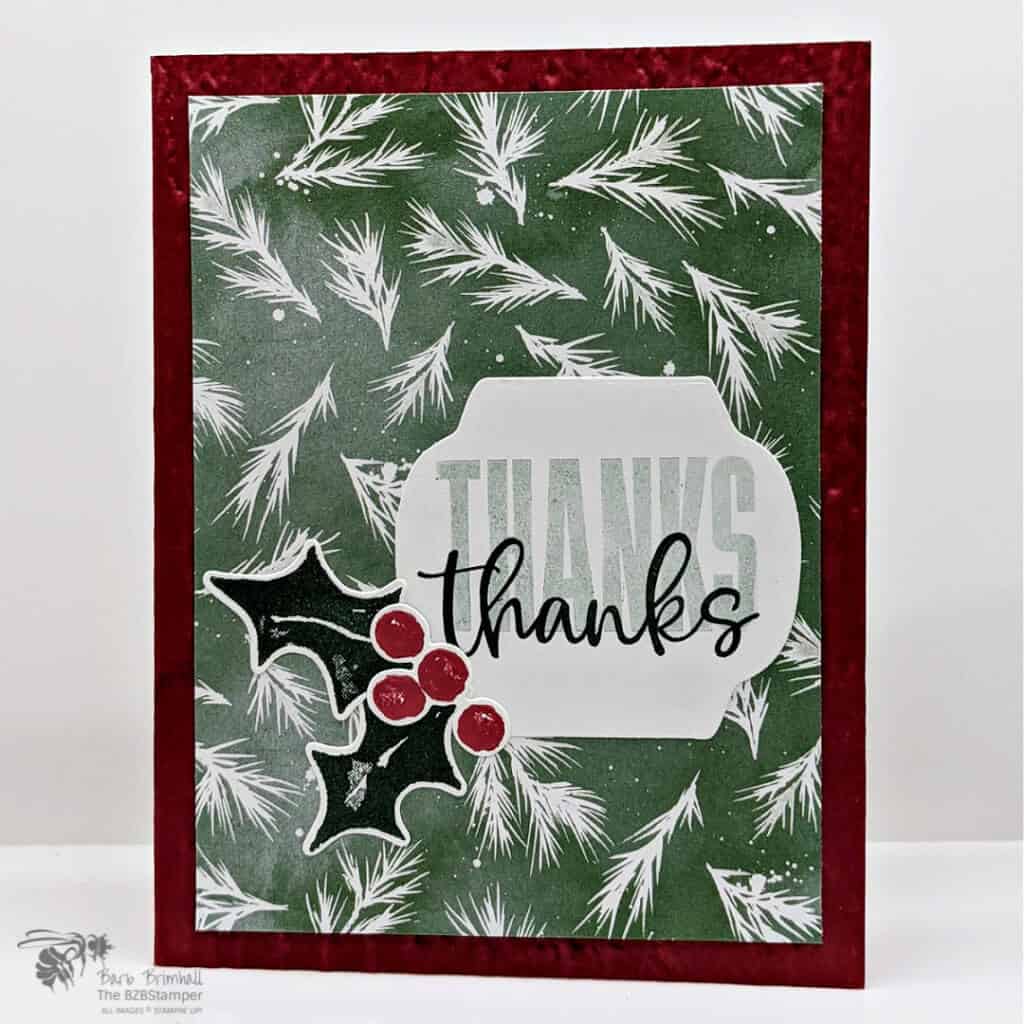
I love the large bold fonts of this stamp set so much, it was one of the first stamps I purchased from the Holiday Catalog! Pair them with the smaller script fonts in this stamp set, which are designed to pair together in perfect balance, and you have the perfect combination to use with your favorite image or designer paper!
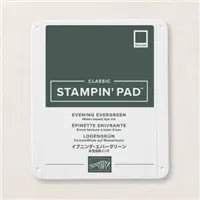
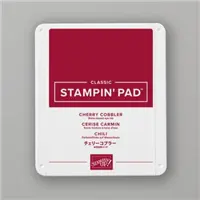
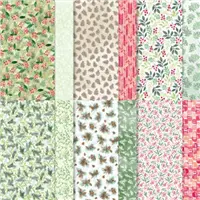
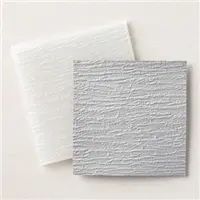
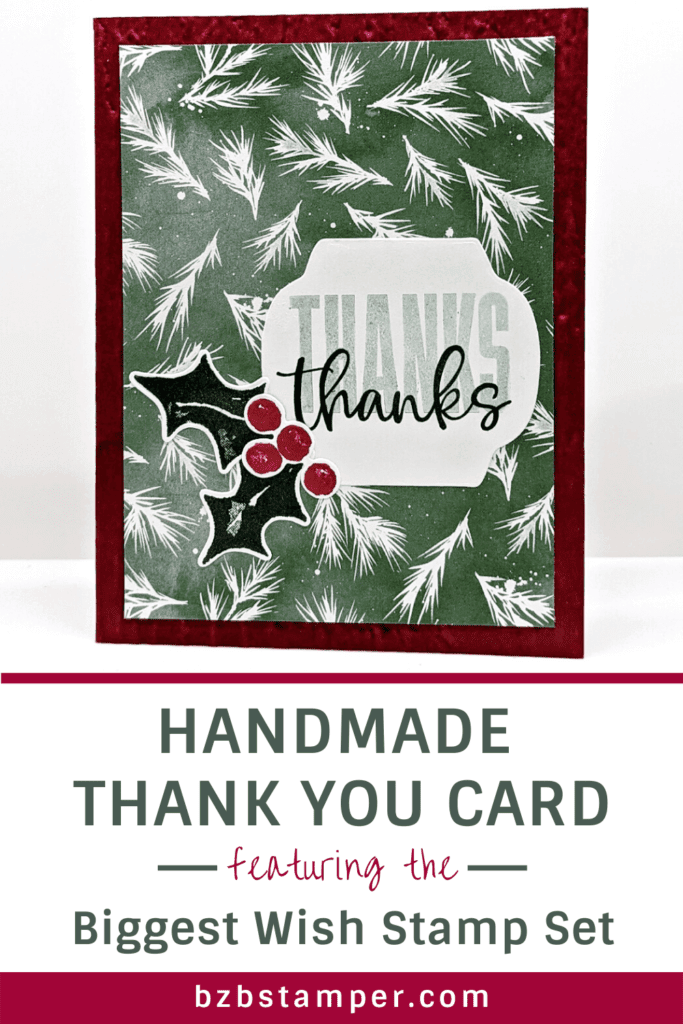
To keep this card simple, I used Card Sketch #2 in our Card Sketch Gallery, altering it slightly. I then went with the gorgeous Painted Christmas Paper and pulled the colors of Evening Evergreen and Cherry Cobbler straight from the paper. I also used the Bark 3D Embossing Folder to add some depth to the base card, but this is entirely optional and if you don’t have a Cut & Emboss Machine, you can leave this off!
Supplies Used on this Project
Project Measurements
- Cherry Cobbler: 4-1/4” x 11”, scored at 5-1/2”
- Basic White: 4” x 5-1/4” (x2)
- Painted Christmas Paper: 3-3/4” x 5”
Project Instructions
1. Fold the Cherry Cobbler cardstock in half at the score line and re-open. Using the Cut & Emboss Machine, run the front half of the base card thru the Bark 3D Embossing folder. Fold in half again and burnish well with your Bone Folder.
2. Adhere one of the 4” x 5-1/4” pieces of Basic White cardstock inside base card.
3. Adhere the Painted Christmas paper to the front of the base card.
4. Using the other piece of Basic White cardstock, stamp 2 holly leaves using Evening Evergreen ink; the holly berries using Cherry Cobbler at one end if the cardstock.
5. On the other end, ink the bold “thanks” using the Evening Evergreen ink; stamp off once on your scratch sheet and stamp again onto the 4” White Cardstock mat. Using the script “thanks”, ink with Evening Evergreen ink and stamp just slightly over the bottom of the previous thanks.
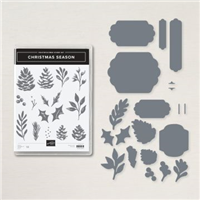
6. Using the Cut & Emboss machine and the Seasonal Dies that are part of the Christmas Season Bundle, cut out the leaves, berries and sentiment using the appropriate dies.
7. Adhere the sentiment label to the base card using adhesive. Adhere the 2 holly leaves to the bottom left of the label; adhere the berries on top of the leaves to finish.

Like It? Pin It!
Be sure to pin this project to your card making boards on Pinterest if you like this project
- Get a Free Tutorial Every Week!
- Shop 24/7 in your PJ’s
- Queen Bee Rewards – Earn FREE Stamps!
- View the 2024-2025 Annual Catalog
- View NEW Online Products
- Monthly Crafting Kit
Thank you so much for stopping by today. I hope you are inspired to create today, whether it is this simple and cute handmade card or another cardmaking project. My goal is to help you enjoy some creative joy! Keep checking back for more projects.


