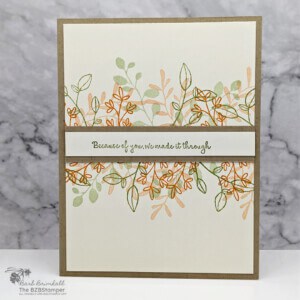
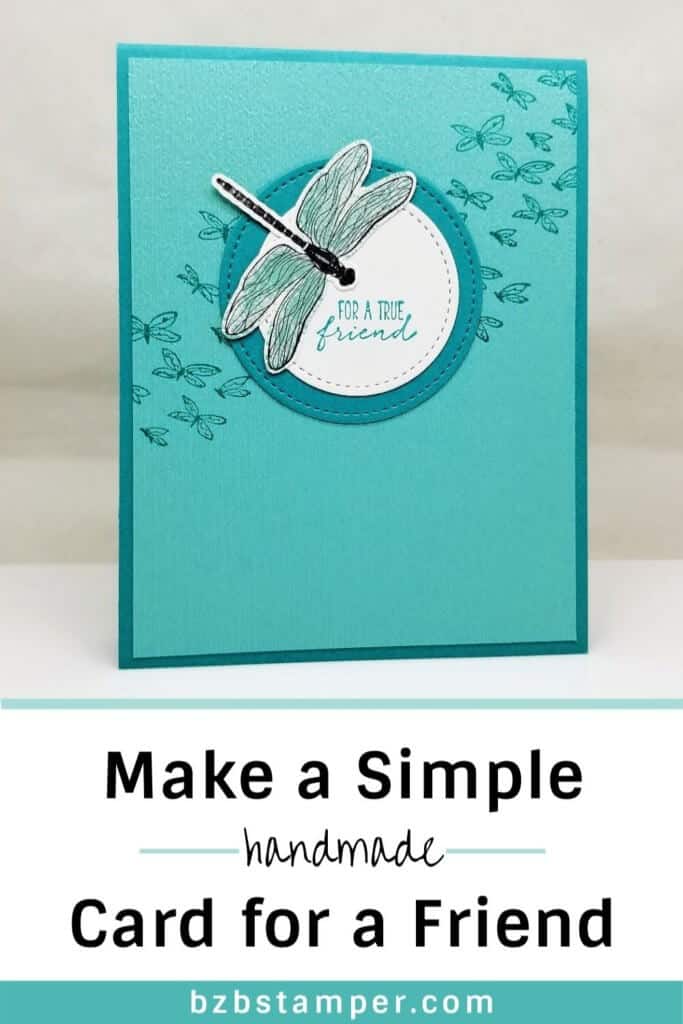
Sending cards in the mail to your friends is a great way to say “hi!” and add a bit of sunshine to someone’s mailbox. If you’d like to make a handmade card for a friend, this card would make a great choice!
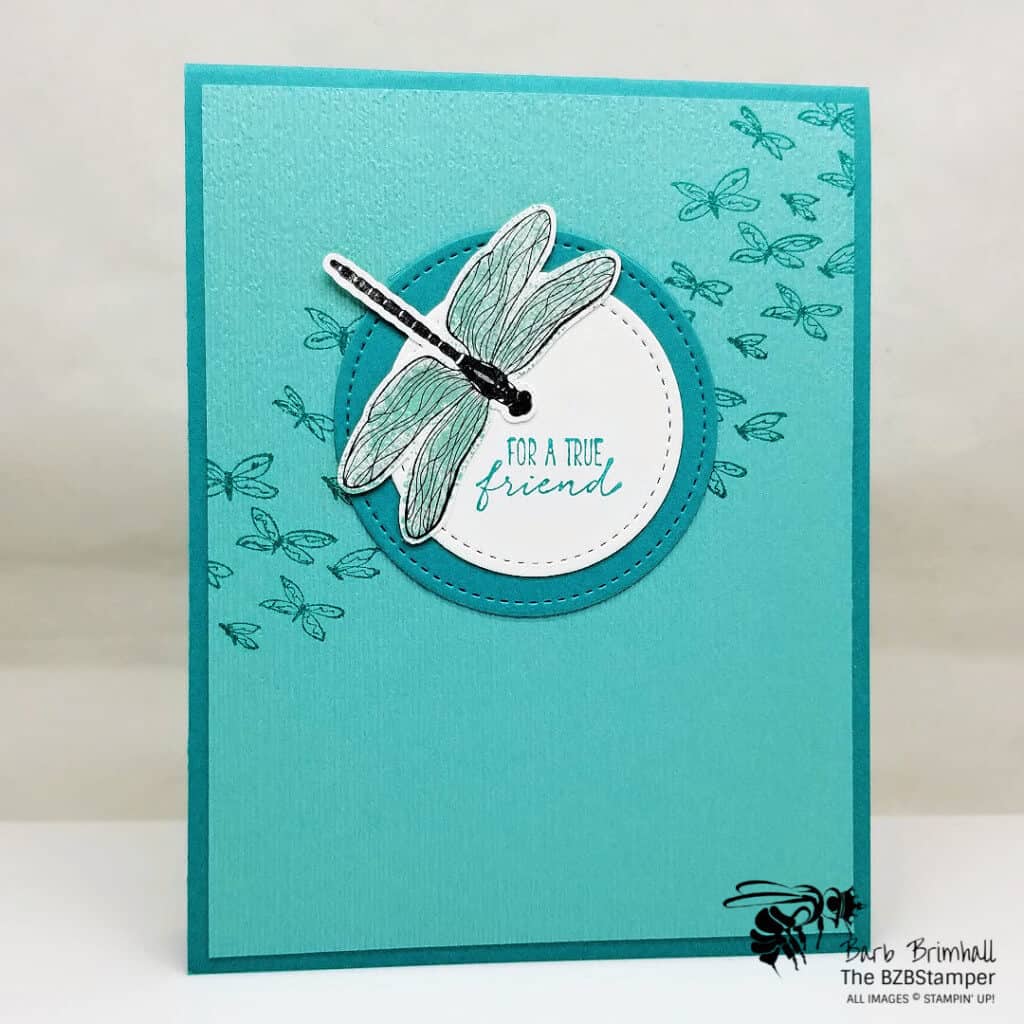
The simplicity of this monocromatic card can be deceiving – the depth added by the Stampin’ Cut & Emboss Machine truly makes this card special. There is some subtle embossing on the first mat layer, and then the stitched circles really add a lot of interest.
But the beauty of papercrafting is that if you don’t have something, you can adjust! In this case, simply leave off the mat embossing and used punched circles (or even cut squares) instead. Easy peasy – and no one but you will know the difference! 😄
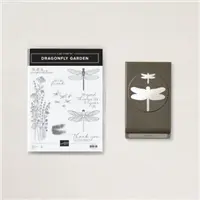
Supplies Used on this Project
Card Measurements
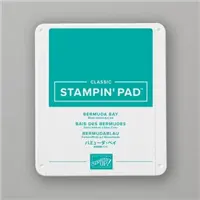
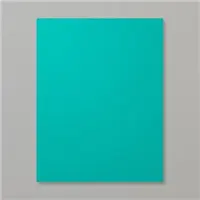
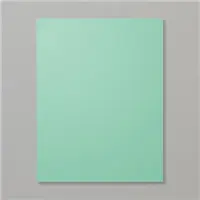
- Bermuda Bay Cardstock: 5-½” x 8-½” and scrap for die-cutting
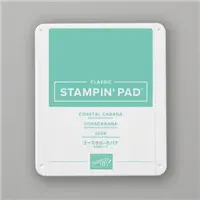
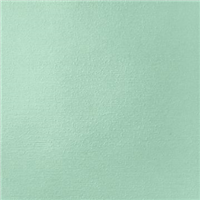
- Coastal Cabana: 4” x 5-¼”
- Basic White: 4” x 5-¼” and scraps for punching & die cutting
Project Instructions
- Cut a piece of Bermuda Cardstock to 5-1/2” x 8-1/2”, score at 4-1/4” and fold at score line to create your base card.
- Cut a 4” x 5-1/4” piece of Basic White cardstock and place inside your folded card base.
- Cut a 4” x 5-1/4” piece of Coastal Cabana cardstock and run through the Cut & Emboss Machine using the 3D Subtle Embossing Folder. Set aside
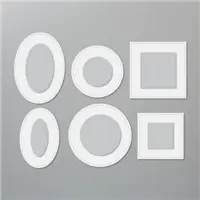
- Using the scraps of Basic White & Bermuda Bay cardstock, use the Cut & Emboss Machine and the Stitched Shape dies to cut a 2-7/8” Basic White Stitched Circle and a 2-3/8” Bermuda Bay Stitched Circle.
- Stamp the sentiment in Bermuda Bay ink onto the Basic White circle. Layer onto the Bermuda Bay circle, slightly off-setting to the right. Set aside.
- Using the Bermuda Bay ink pad, stamp the butterflies from the mid-lower left to the upper right corner. (See sample picture.) Tip: use the circle as a guide to see where you want the main focal image to go when the card if finished to help place the butterflies.
- Stamp the dragonfly using Black Memento ink. Using the “bold” wing image, ink the image in Coastal Cabana ink, tap off some of the ink and stamp on 1 side, repeat for 2nd side flipping stamp.
- Using the Wink of Stella Glitter Brush, glitter the wings (this will slightly blend the ink for a softer effect.

Pin It!
Pin away, my friends, pin away!
- Get a Free Tutorial Every Week!
- Shop 24/7 in your PJ’s
- Queen Bee Rewards – Earn FREE Stamps!
- View the 2024-2025 Annual Catalog
- View NEW Online Products
- Monthly Crafting Kit
Thanks for stopping by today, I hope you enjoyed this papercrafting tutorial. If you have a question or if I can help you with anything, please leave me a comment. I’d love to hear from you!


