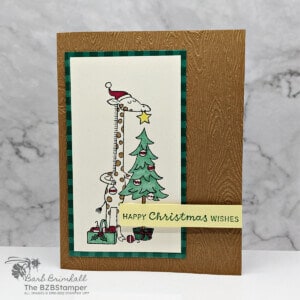
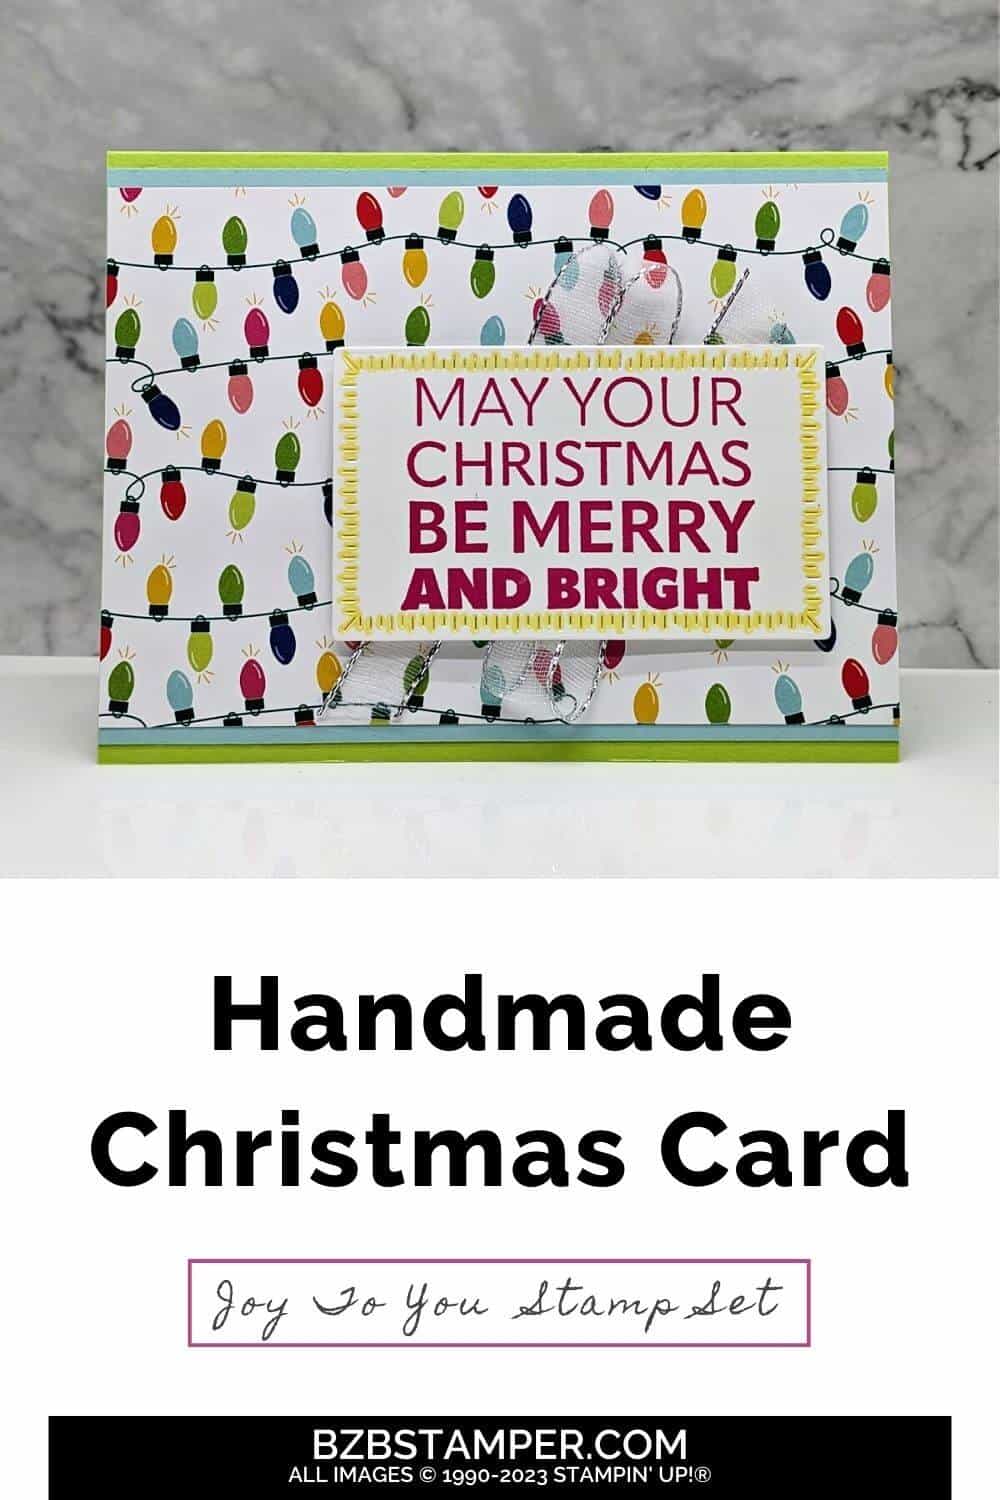
It’s that wonderful time of the year again, when we get to shower our loved ones with tokens of affection and joy. And what better way to begin than with the Joy To You Stamp Set by Stampin’ Up? Featuring beautiful and bold sentiments that will work for any kind of Christmas-themed paper craft. With a reliable rectangular design, these stamps are easy to cut around and place on the front or inside of all your holiday cards.
Let’s dive right and I’ll walk you through crafting the perfect Christmas card that embodies the spirit of love, peace, and joy. Trust me, your loved ones will be thrilled to receive a piece of your handcrafted holiday spirit!
How To Make This Card
Project Skill Level: Worker Bee
Worker Bee projects are designed for the crafter who has a bit more time and enjoys creating a handmade card that features a technique or tool. In many cases, a Stampin’ Cut & Emboss Machine is required for die-cutting and/or embossing.
Cardstock Measurements:
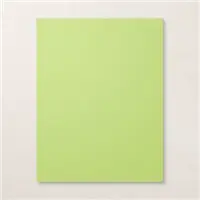
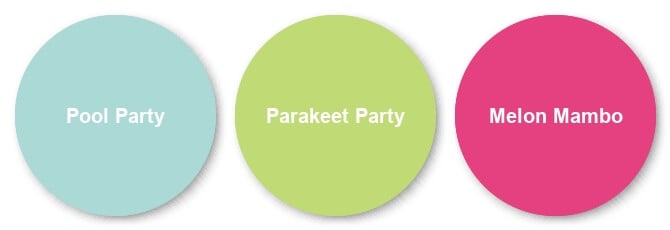
- Parakeet Party Cardstock: 5-1/2″ x 8-1/2″, scored at 4-1/4″
- Basic White Cardstock: 4″ x 5-1/4″
- Pool Party Cardstock: 4″ x 5-1/2″
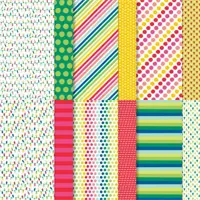
- Merry Bold & Bright paper: 3-3/4″ x 5-1/2″
- Basic White: 2-1/2″ x 4″ (for die-cutting)


Grab your Free copy
Get 5 Bee-utiful Exclusive
Card Sketches in Your Inbox
Join our newsletter and receive a honey of a package of five quick & simple cards guaranteed to make your creativity buzz! Sign up now and let the goodness flow straight to your inbox!
Step-by-Step Instructions:
- Fold the Parakeet Party cardstock in half at the scoreline and burnish well with the Bone Folder.
- Adhere the 4″ x 5-1/4″ piece of Basic White cardstock inside the card.
- Adhere the Merry Bold & Bright paper to the Pool Party cardstock and adhere to card front.
- Stamp the sentiment in the center of the 2-1/2″ x 4″ piece of Basic White cardstock. Using the Stampin’ Cut & Emboss Machine, cut out the sentiment using the 2″ x 3-1/2″ Radiating Stitches die.
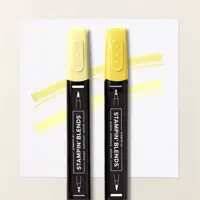
- Using the Dark Lemon Lolly Blend, fill in the “stiched” lines using the Bullet Point Tip.
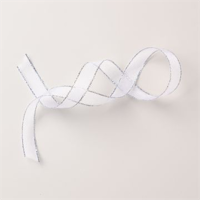
- Cut 12″ of the Ribbon and create a “z” with the ribbon. Adhere to the back of the sentiment mat using adhesive or scotch tape. Adhere to front of card using Stampin’ Dimensionals to finish.
A Tip from Barb
Although I categorized this card as a Worker Bee card due to the use of the Radiating Stitches dies, if you don’t have these dies, simply cut your sentiment mat to 2″ x 3-1/2″ and do your own “stitched” with the Lemon Lolly Dark Blend. The main focal point of this card is the gorgeous sentiment and pretty paper so just go for it!
Thanks for stopping by for today’s card tutorial! My goal is to help you make quick & easy greeting cards for all occasions. If you’d like more detailed directions on how to make this card, feel free to email me. I hope you’ll join me again for more card-making ideas!

Don’t forget to pin this for later!
Supplies Used On This Project:
Price: $12.50


