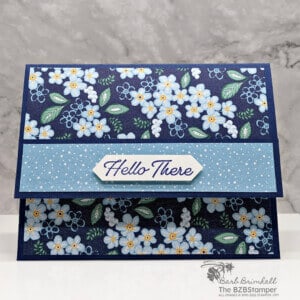
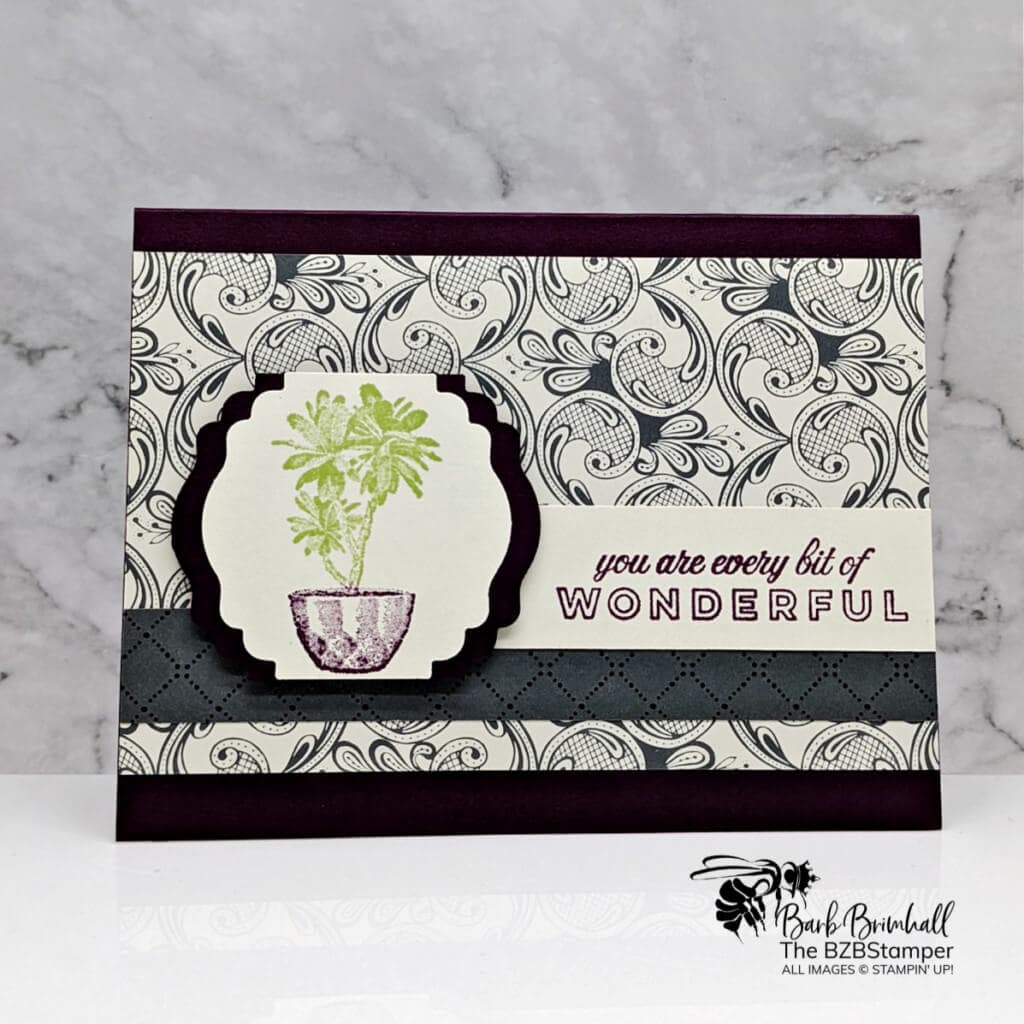
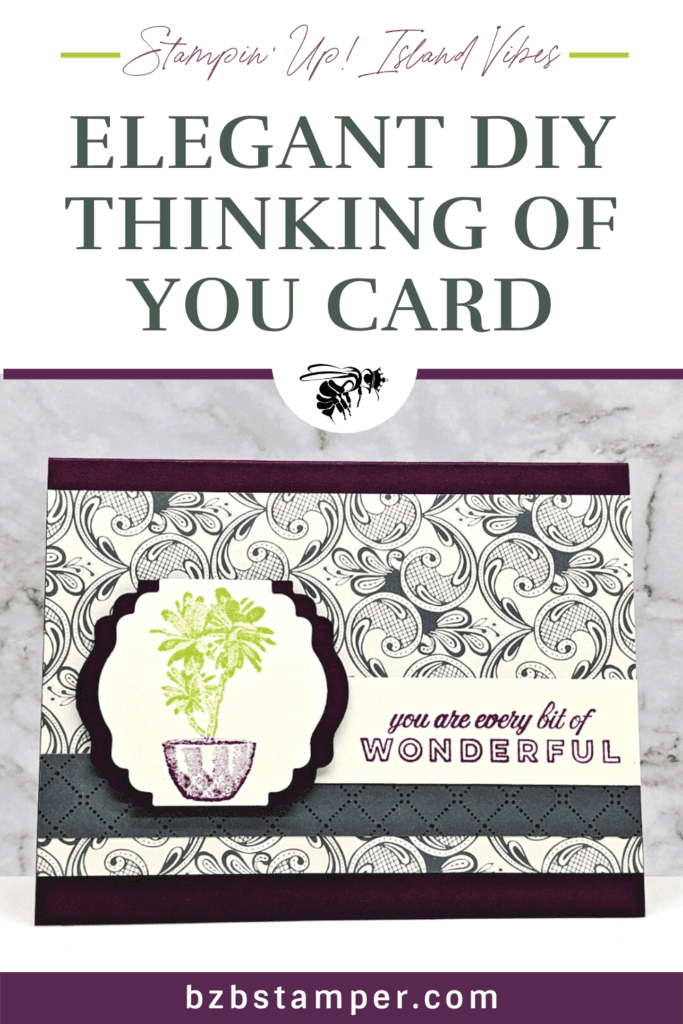
How elegant is this Island Vibes Handmade Card? Featuring deep rich colors and beautiful patterned paper, this card is perfect for that very special person in your life.
View more stamped samples & inspiration here
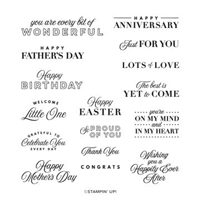
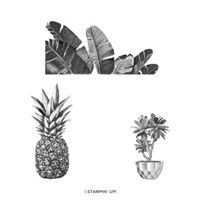
I love this Island Vibes Sale-A-Bration Stamp Set, which you can get for free with a qualifying $50 order between now and February 28, 2022. You can find more cards I’ve made with Sale-A-Bration stamp sets here.
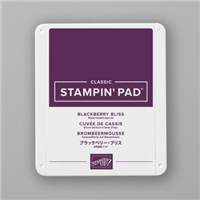
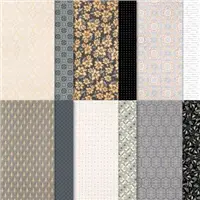
I usually pair it with bright, tropical colors but for today’s project, I decided to go with neutral colors in Blackberry Bliss and Basic Gray. The pretty patterned Simply Elegant Designer Paper gave it a simple elegance for a very quick & easy card. You can find complete instructions below on how to recreate this card – there’s even a printable Tutorial. Check it out!
Supplies Used on this Project
Project Measurements
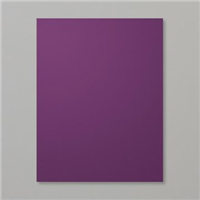
- Blackberry Bliss: 5-1/2” x 8-1/2”, scored at 4-1/4” and 3” scrap for punching
- Very Vanilla:
- 4” x 5-1/4”
- 1” x 3-1/4”
- 3” scrap for punching
- Simply Elegant Paper:
- 3-1/2” x 5-1/2” (light gray pattern)
- 3/4” x 5-1/2” (dark gray pattern)
Project Instructions
1. Fold the Blackberry Bliss cardstock in half at the score line and burnish well with your Bone Folder.
2. Adhere the 4” x 5-1/4” piece of Basic White cardstock inside the base card.
3. Layer the 3-1/2” x 5-1/2” piece of Designer Paper on the center of the card front, about 1/4” down from top of cardstock.
4. Layer the 3/4” piece of Designer Paper about 1/4” up from the bottom of the other paper.
5. Using the Blackberry Bliss ink pad, stamp the sentiment on the right side of the 1” strip of Very Vanilla cardstock and adhere to the top of the 3/4” Designer Paper so that it slightly overlaps, lining up with the right side of the card.
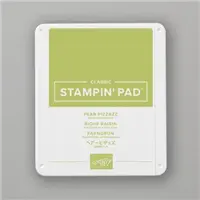
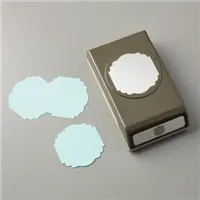
6. Using the scrap of Very Vanilla cardstock, ink the ferns using the edge of your Pear Pizzazz ink pad. Ink the pot using the edge of your Blackberry Bliss ink pad. Huff on the stamp to moisten the ink and stamp onto the Very Vanilla scrap. Punch out using the Label Me Lovely Punch.
7. Using the scrap of Blackberry Bliss cardstock, punch out the tag and cut in half the vertically. Layer each half behind the Vanilla stamped tag to create a frame.
8. Adhere the framed tag to the base card using Stampin’ Dimensionals.

Like It? Pin It!
Be sure to pin this project to your card making boards on Pinterest if you like this project
- Get a Free Tutorial Every Week!
- Shop 24/7 in your PJ’s
- Queen Bee Rewards – Earn FREE Stamps!
- View the 2024-2025 Annual Catalog
- View NEW Online Products
- Monthly Crafting Kit
Thank you so much for stopping by! I hope you are inspired to make simple handmade cards for friends this week! Give this papercrafting tutorial a try 🙂 Check back soon for more card-making ideas!


