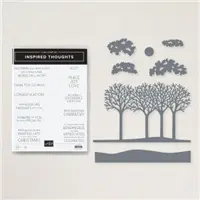
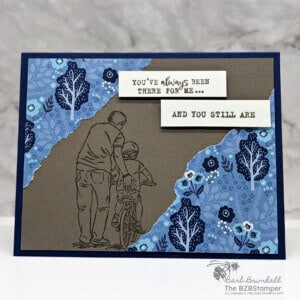
This Inspired Thoughts Father’s Day card isn’t your normal Father’s Day card but I love it! The Inspired Thoughts Stamp Set has many heartfelt sentiments designed specifically for card fronts and and inside the card. Plus, the font style in this stamp set is clean and neutral, perfect for a masculine card.
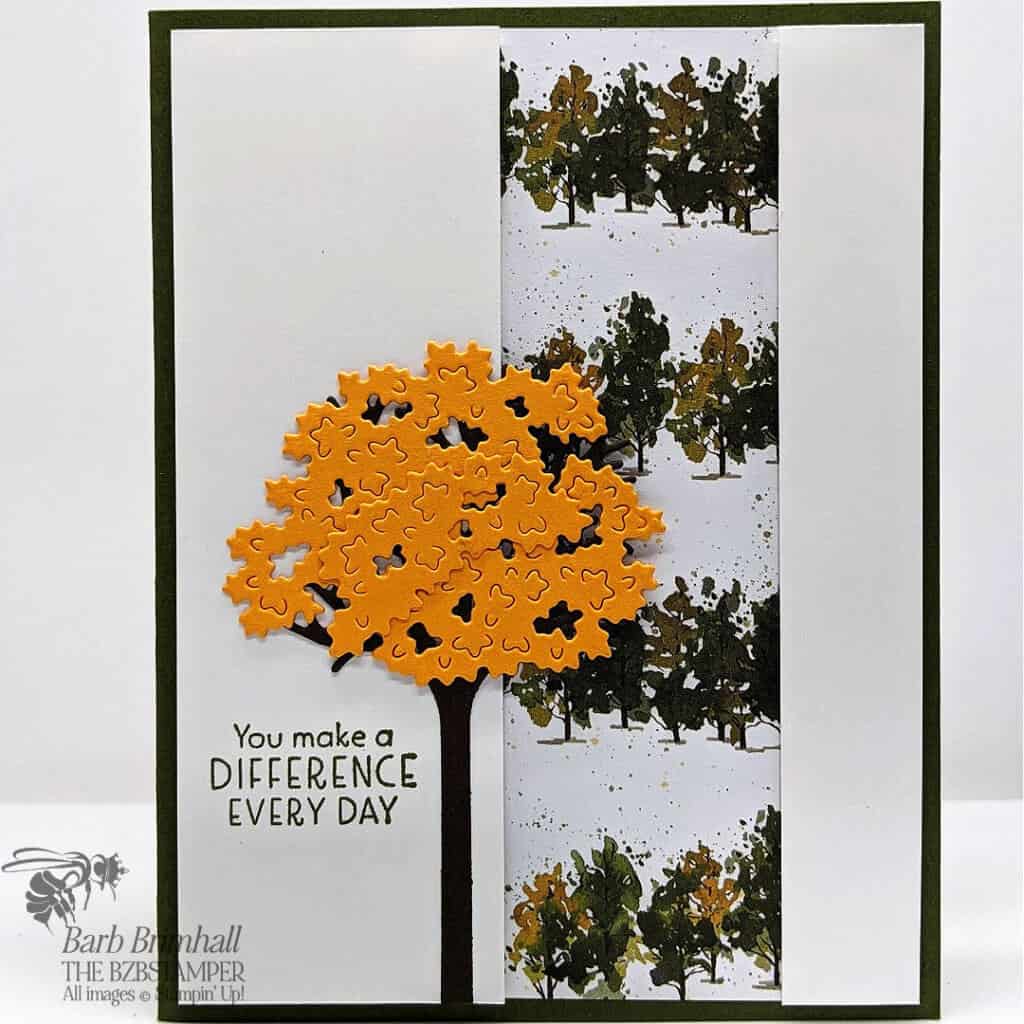
This is a different kind of layout but I think it works perfectly with this gorgeous patterned paper and die-cut images from the Inspiring Canopy dies.
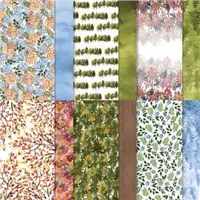
The colors in the Beauty of the Earth not only make it a good card for Fall, it also makes the perfect color combination for a masculine card.
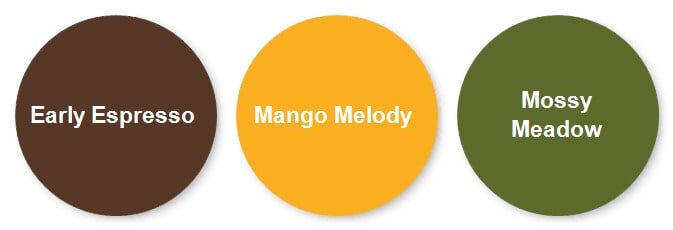
Supplies Used on this Project
Cardstock Measurements
- Mossy Meadow Cardstock: 5-½” x 8-½”
- Beauty of the Earth Designer Series Paper: 2-½” x 5-¼”
- Basic White Cardstock: 4” x 5-¼” and ¾” x 5-¼” and 1-½” x 5-¼”
- Early Espressor Cardstock: 4-¼” x 5-½” (for die cutting)
- Mango Melody Cardstock: 2-¾” x 4-¼” (for die cutting)
Project Instructions
- Cut a piece of Mossy Meadow Cardstock to 5-1/2” x 8-1/2”, score at 4-1/4” and fold at score line to create your base card.
- Cut a piece of 4” x 5-1/4” Basic White Cardstock and adhere to inside of card base.
- Cut a 2-1/2” x 5-1/4” piece of the Beauty of Earth Designer Series Paper. Adhere to the front of the Mossy Meadow card front about 1/2” to the left of the right side of base card.
- Cut a 3/4” x 5-1/4” and a 1-1/2” x 5-1/4” piece of Basic White Cardstock. Layer the 3/4” piece on the right side of card using Stampin’ Dimensionals. (This will slightly overlap the Designer Paper already adhered to the card front.
- Using the Cut & Emboss Machine and the Inspiring Canopy Dies included in the Bundle, cut out the 3-tree die using a scrap of Early Espresso cardstock and cut the 2 largest “leaf” dies using a scrap of Mango Melody cardstock.
- Cut the 3 trees down to one. Don’t worry if cut off some of the branches, you’ll cover this up with the next step. Adhere the 2 “leaf” dies onto the tree using Liquid Adhesive, arranging them as desired. Attach to the 1-1/2” White Cardstock from Step #4, making sure that some of the branches & leaves go off strip of White Cardstock. (See the sample picture.)
- Stamp the sentiment on the 1-1/2” White mat using Mossy Meadow ink just to left of tree. Using Stampin’ Dimensionals, adhere the White mat to the left side of the card base, about 1/4” over from fold line so it’s centered on the card.

Pin It For Later
Now it’s your turn to make this project! Get your supplies and think of who you can make and send these cards to. Showing that you noticed something someone else did or achieved is priceless! Pin this image below to easily find it again.
- Get a Free Tutorial Every Week!
- Shop 24/7 in your PJ’s
- Queen Bee Rewards – Earn FREE Stamps!
- View the 2024-2025 Annual Catalog
- View NEW Online Products
- Monthly Crafting Kit
Thank you so much for stopping by and checking out this papercrafting tutorial. I hope you are inspired to create and send cards. I love sharing how to make cards here on the BZBStamper blog and I can’t thank you enough for all of your support!


