Fun Handmade Card for Dog Moms
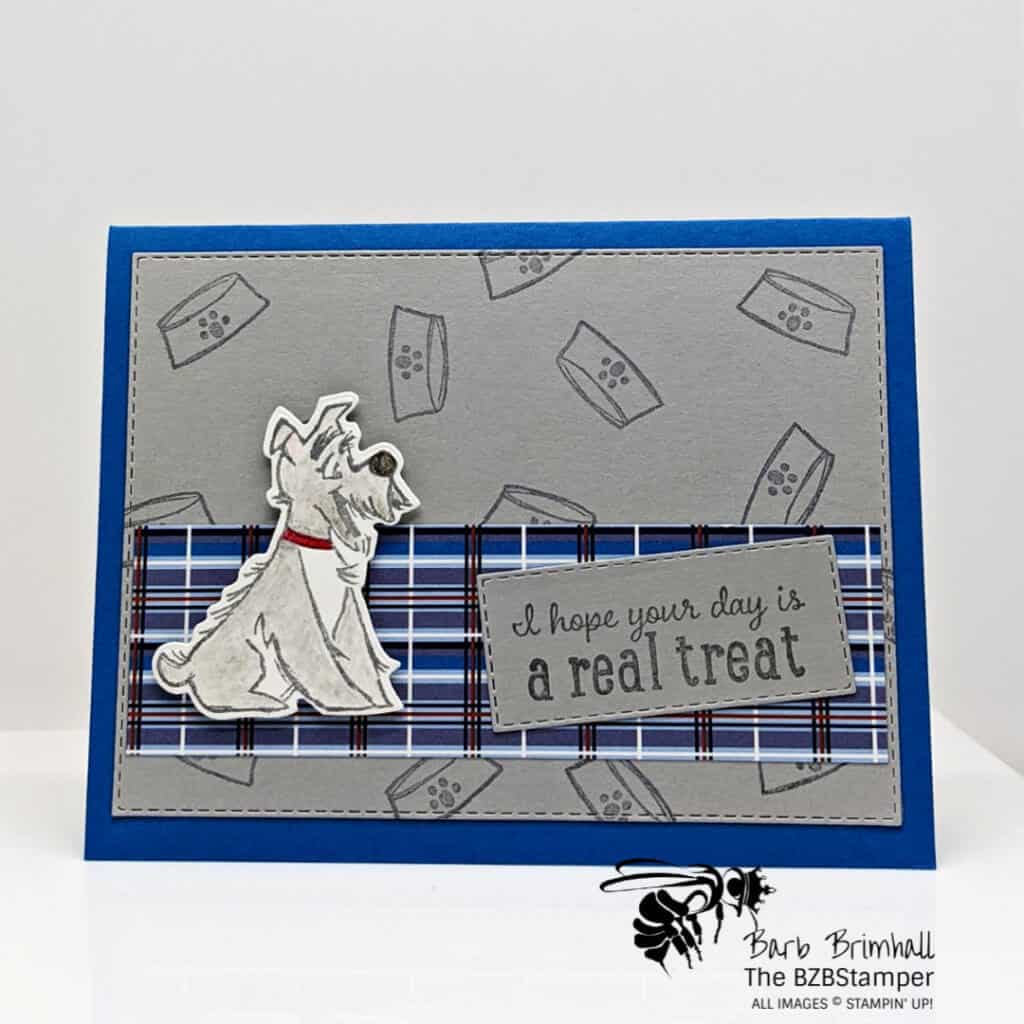
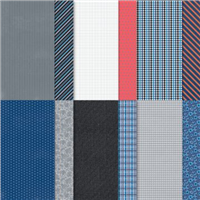
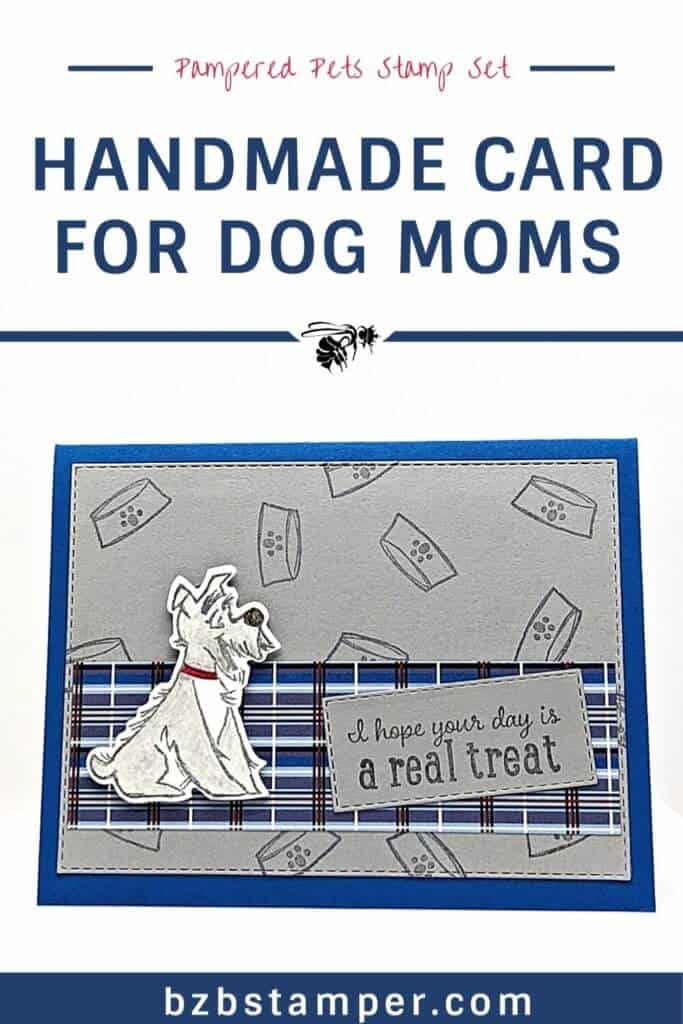
How cute is this handmade card for Dog Moms? It’s the little touches on this card that make all the difference – the stitched die cuts, the pop of red in his collar, and that fabulous plaid Designer Paper!
How cute is this card? If you have are a dog lover, this card will warm your heart.
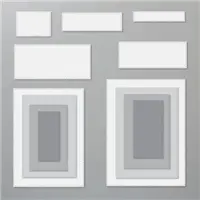
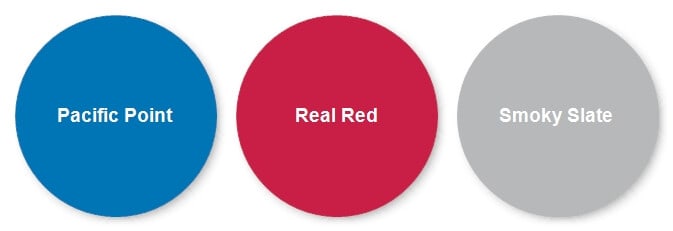
It came together quickly thanks to the Stampin’ Cut & Emboss Machine and the Rectangle Stitched Dies, but if you don’t have those, it’s easy to just cut the cardstock as normal. I pulled the color combination straight out of the Well Suited Designer Paper and I think it fit this card really well!
Below you’ll find the Tutorial (including one you can download) on how this card was made:
Supplies Used on this Project
Cardstock Measurements
- Pacific Point Cardstock: 5-½” x 8-½”
- Smoky Slate: 5-½” x 8-½” (for die cutting)
- Basic White Cardstock: 4” x 5-¼” and a scrap (3” x 3”) for dog
Project Instructions
- Cut a piece of Pacific Point Cardstock to 5-1/2” x 8-1/2”, score at 4-1/4” and fold at score line to create your base card.
- Cut a piece of 4” x 5-1/4” Basic White Cardstock and adhere to inside of card base.
- Using a half-sheet of Smoky Slate cardstock, run it through the Cut & Emboss Machine and using the Stitched Rectangle dies, cut out a 3-3/4” x 5-1/8” stitched rectangle and a 1” x 2-1/2” stitched rectangle.
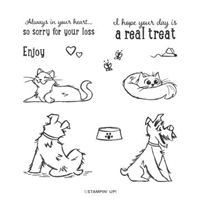
- Using the Basic Gray ink pad, stamp the dog dish randomly on the large Smoky Slate rectangle and adhere to front of base card. Stamp the sentiment on the smaller stitched rectangle and set aside.
- Cut a 1”x 5” piece of the Well Suite Designer Paper and adhere to the base card, about 1/2” up from the bottom of the Basic Gray stamped piece. Adhere the sentiment rectangle from Step #4 at a slight angle on the right side of the Designer Paper.
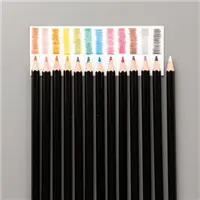
- Using a scrap of Basic White cardstock, stamp the dog using Basic Gray ink. Color in his body using Basic Gray pencil, lightly color his ears using the Melon Mambo pencil and heavily color his collar using the Real Red pencil. If desired, go over his nose with the Basic Black pencil to make it stand out.
- Fussy cut out the dog using your Paper Snip Scissors & adhere to card with Stampin Dimensionals.

Pin It For Later
Now it’s your turn to make this project! Get your supplies and think of who you can make and send these cards to. Showing that you noticed something someone else did or achieved is priceless! Pin this image below to easily find it again.
- Get a Free Tutorial Every Week!
- Shop 24/7 in your PJ’s
- Queen Bee Rewards – Earn FREE Stamps!
- View the 2024-2025 Annual Catalog
- View NEW Online Products
- Monthly Crafting Kit
Thanks for stopping by today, I hope you enjoyed this papercrafting tutorial. If you have a question or if I can help you with anything, please leave me a comment. I’d love to hear from you!


