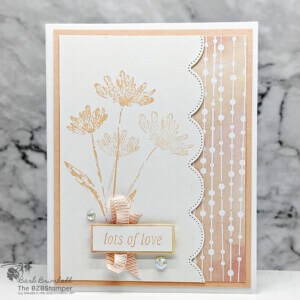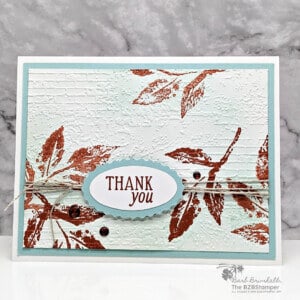
View more stamped samples & inspiration here
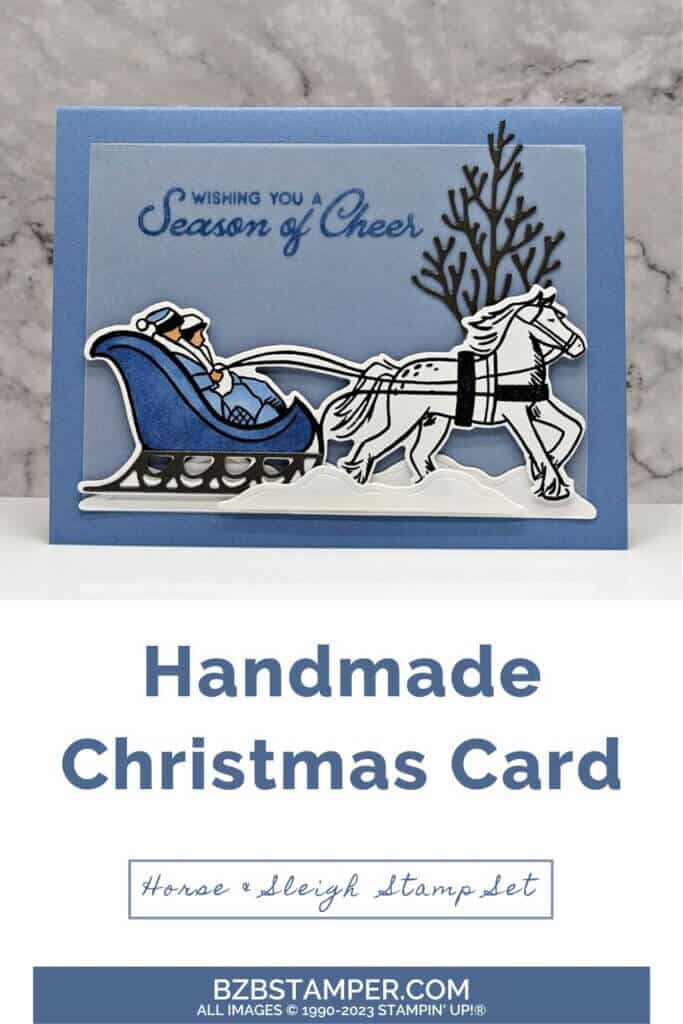
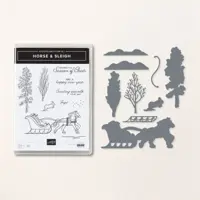
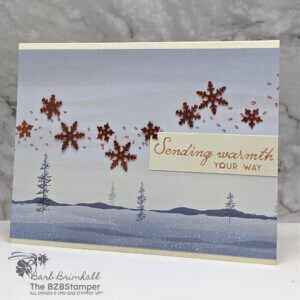
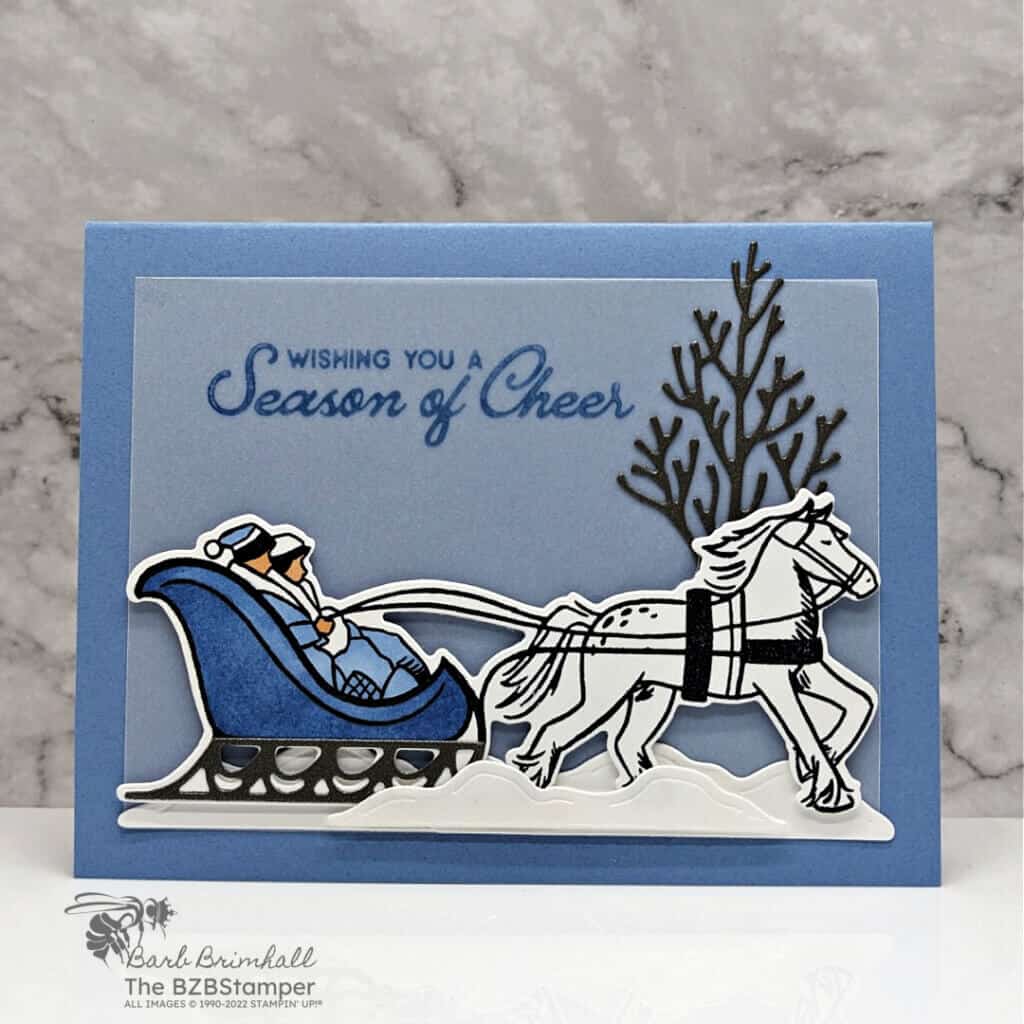
Experience the enchantment of a winter wonderland with the Horse and Sleigh Bundle from Stampin’ Up! This set captures the elegance and charm of a snowy scene, featuring intricate stamps of a horse and sleigh, delicate snowflakes, and graceful trees. Whether you prefer to create a lifelike natural setting or opt for a striking silhouette, these versatile stamps offer endless creative possibilities. Additionally, the set includes an adorable bunny stamp perfect for adding a focal point to your cards and a selection of delightful card greetings suitable for any recipient.
Find this post helpful?
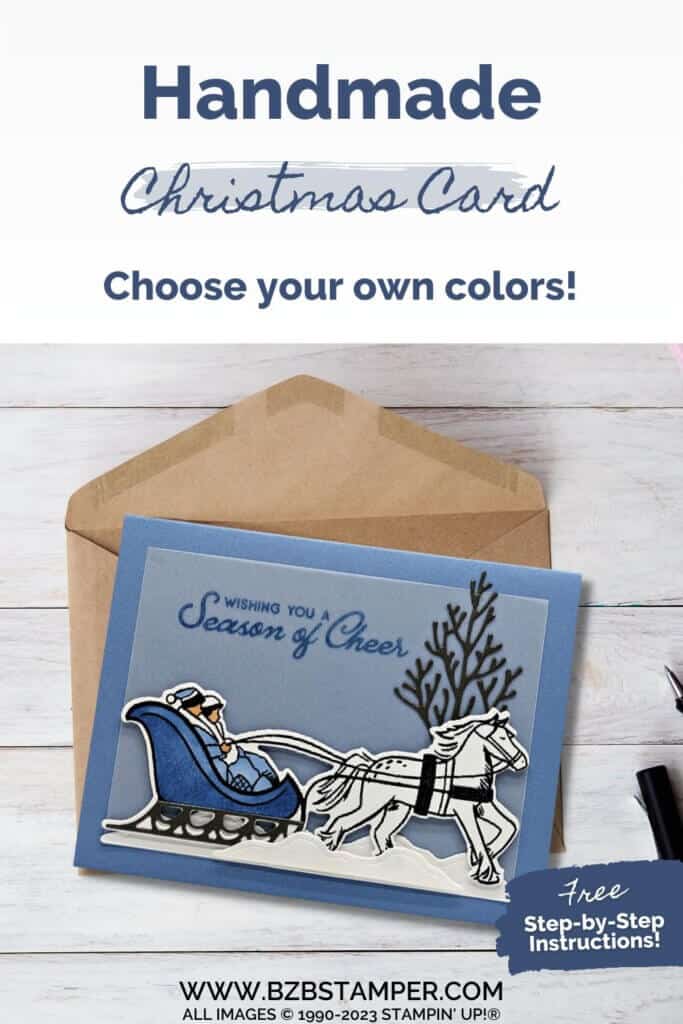
Share it on Pinterest
Pin to your board for all those Christmas card ideas you have saved, so when you have an opportunity for a fun cardmaking session, you will be able to get right to the creative part!
How To Make This Card
Cardstock Measurements:
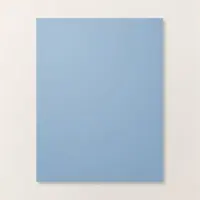
- Boho Blue Cardstock: 5-1/2″ x 8-1/2″, scored at 4-1/4″
- Basic White Cardstock: 4″ x 5-1/4″
- Vellum Cardstock: 3-1/2″ x 4-3/4″
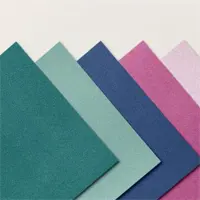
- Soft Shimmer Specialty Paper (Pebbled Path): 2″ x 4″
- Basic White Cardstock: 3″ x 5-1/2″ (for die-cutting)
Step-by-Step Instructions:
- Fold the 5-1/2” x 8-1/2” piece of Boho Blue cardstock in half at the 4-1/4” score line.
- Adhere the 4” x 5-1/4” piece of Basic White cardstock inside the card.
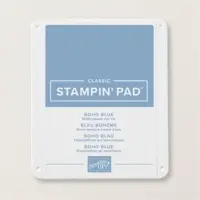
- Using the 3-1/2” x 4-3/4” piece of Vellum Cardstock, stamp the sentiment using Boho Blue ink on the top left side and set aside to dry.
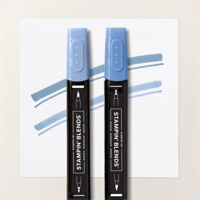
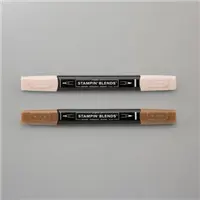
- Using the 2-1/2” x 5-1/2” piece of Basic White Cardstock, stamp sled image using Black ink. Color in using the Stampin’ Blends.
- Run through the Cut & Emboss Machine using the Horse & Sleigh Dies to cut out the sled image.
- With remaining scrap of white cardstock, die-cut 2 of larger snowbank & 1 of the smaller snowbank.
- Using Pebbled Path Soft Shimmer Specialty Paper, die-cut the tree image.
- Adhere the stamped Vellum cardstock to the card base using adhesive along the bottom and where it will be covered by sled & tree dies.
- Adhere the tree to right side of card.
- Adhere the two large snow banks to the bottom of the vellum (they will overlap in the middle.)
- Adhere the die-cut sled image using Stampin’ Dimensionals; add small snow bank onto sled image using adhesive to finish.
Although this card looks difficult to make, it actually comes together fairly quickly thanks to the Horse & Sleigh dies. Set up an assembly line and you could make a bunch of these cards for Christmas!
Thanks for stopping by for today’s card tutorial! My goal is to help you make quick & easy greeting cards for all occasions. If you’d like more detailed directions on how to make this card, feel free to email me. I hope you’ll join me again for more card-making ideas!

- Get a Free Tutorial Every Week!
- Shop 24/7 in your PJ’s
- Queen Bee Rewards – Earn FREE Stamps!
- View the 2024-2025 Annual Catalog
- View NEW Online Products
- Monthly Crafting Kit
Don’t forget to pin this for later!
