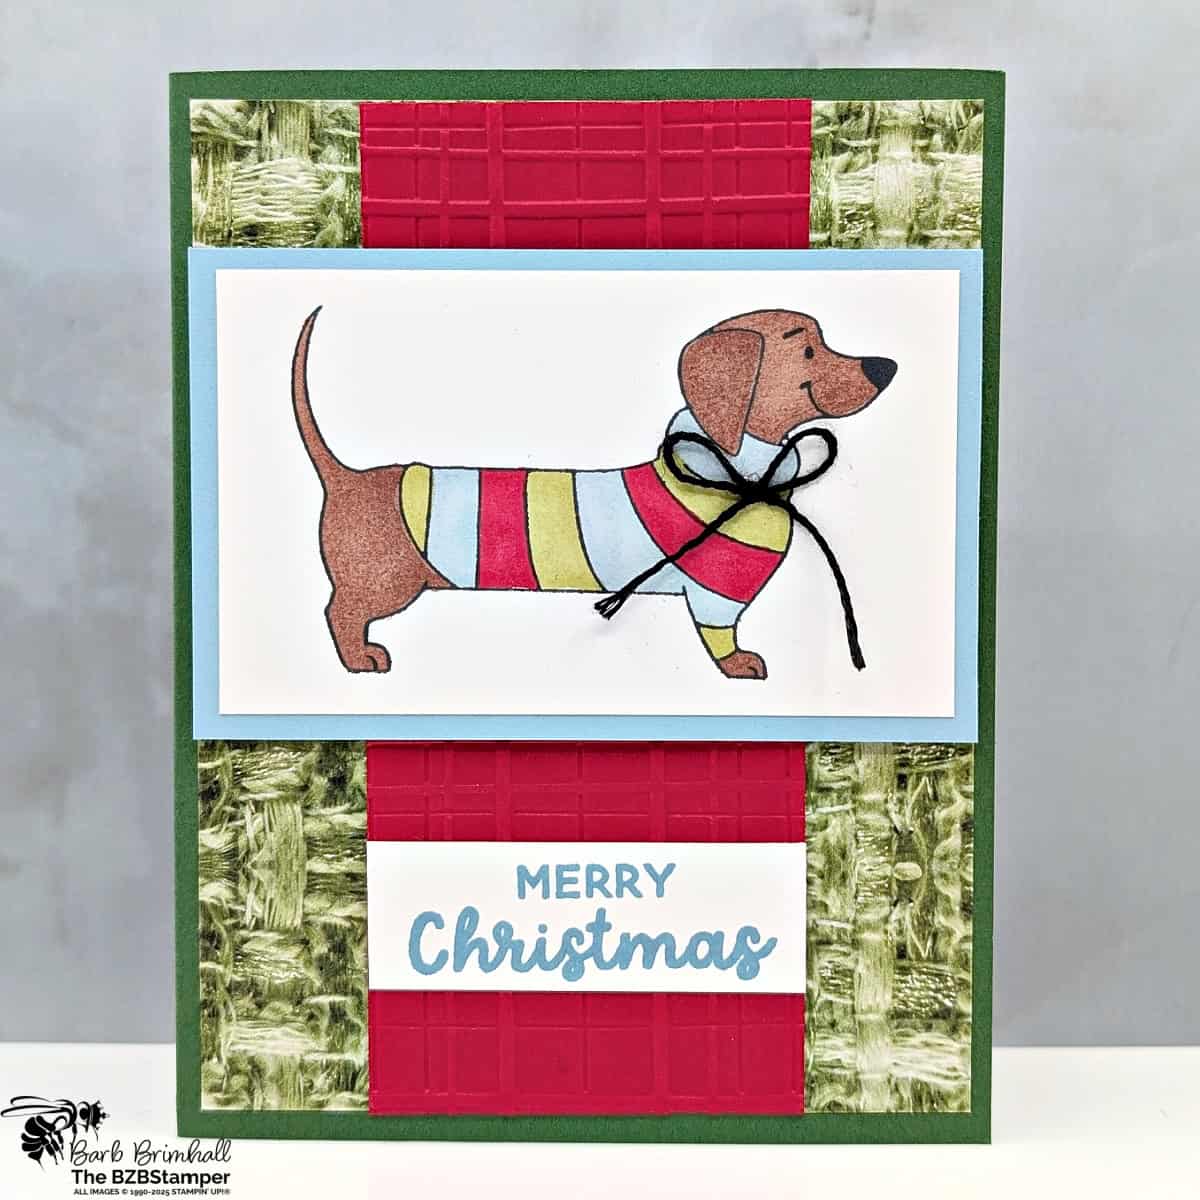
Handmade Christmas Greeting Card
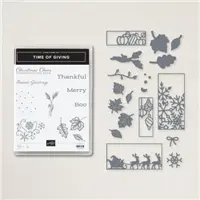
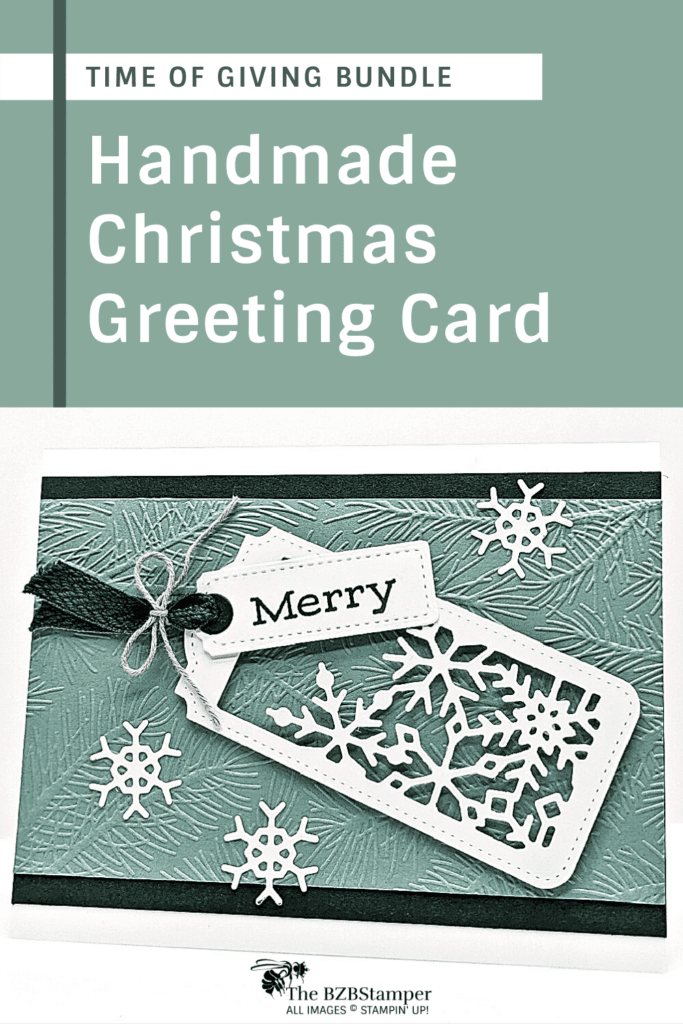
Need a special handmade Christmas Greeting Card? Then look no further than this elegant card featuring the Time Of Giving Bundle by Stampin’ Up!
This card came together so quickly thanks to the Stampin’ Up! Cut & Emboss Machine. (You can learn more about this Machine here.)
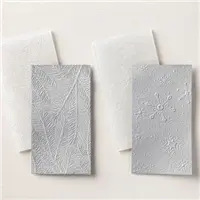
I can’t decide which I like more – the dies from the Time of Giving Bundle or that gorgeous pines Embossing Folder from the Wintry 3-D Embossing Folder. Together they make something quite spectacular. What do you think?
Here’s how I made this card – don’t forget you can download the written Tutorial using the link just under the instructions. Enjoy!
Supplies Used on this Project
Project Measurements
- Basic White: 5-1/2” x 8-1/2” scored at 4-1/4” and 4-/14” x 5-1/2” (die-cutting)
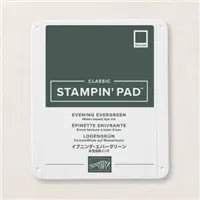
- Evening Evergreen: 3-3/4” x 5-1/2”
- Soft Succulent: 3-1/4” x 5-1/2”
Project Instructions
1. Fold the Basic White cardstock in half at the score line and burnish well with your Bone Folder.
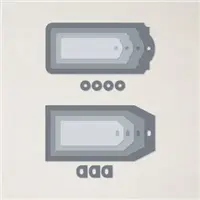
2. Using the Cut & Emboss Machine and the small circle die from the Tailor Made Tags die, die-cut a circle from the center of the 3-3/4” x 5-1/2” Evening Evergreen cardstock. Set the circle aside and layer the Evening Evergreen cardstock onto the center of the base card.
3. Run the Soft Succulent cardstock through the Cut & Emboss Machine using the Wintry 3D Embossing Folder. Layer onto the base card in the center of the Evening Evergreen cardstock.
4. Using the quarter sheet of Basic White cardstock, cut out the 1-3/4” x 3-3/4” stitched tag. Use the snowflake die from the Time of Giving Bundle Giving Gifts dies to cut out the center of the White stitched tag. Set aside.
5. Using the remaining scrap of Basic White cardstock, cut out the small 3/4” x 2-1/8” tag from the Tailor Made Tags dies and 3 of the snowflakes from the Giving Gifts dies.
6. Using the small 3/4” Basic White tag, stamp the sentiment using Evening Evergreen ink. Layer the Evening Evergreen circle from Step #2 onto the small sentiment tag using either Liquid Adhesive or glue dots.
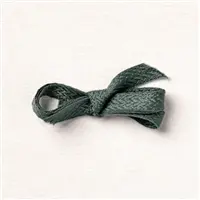
7. Run 4” of ribbon through both tags to tie them together and tie together using Gray Granite Baker’s Twine. Trim edges of ribbon & twine as desired. Tip: if you want to keep the sentiment tag at a certain angle, place a glue dot or small amount of glue between the 2 tags.
8. Adhere the combined tags onto the base card at an angle using Stampin’ Dimensionals.
9. To finish, adhere the 3 snowflakes around the tag using either Liquid Glue or Glue Dots.

Like It? Pin It!
Be sure to pin this project to your card making boards on Pinterest if you like this project
- Get a Free Tutorial Every Week!
- Shop 24/7 in your PJ’s
- Queen Bee Rewards – Earn FREE Stamps!
- View the 2024-2025 Annual Catalog
- View NEW Online Products
- Monthly Crafting Kit
Thank you so much for stopping by and checking out this papercrafting tutorial. I hope you are inspired to create and send cards. I love sharing how to make cards here on the BZBStamper blog and I can’t thank you enough for all of your support!


