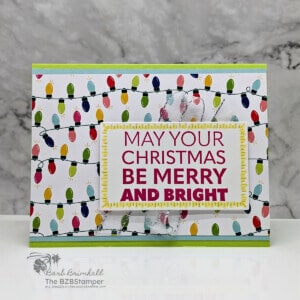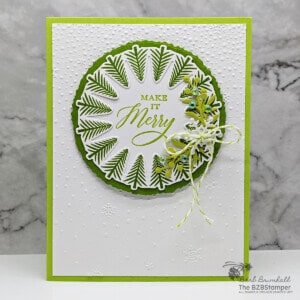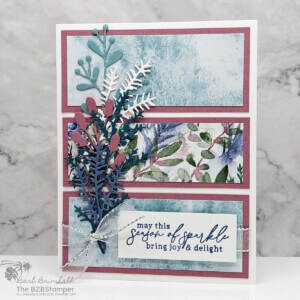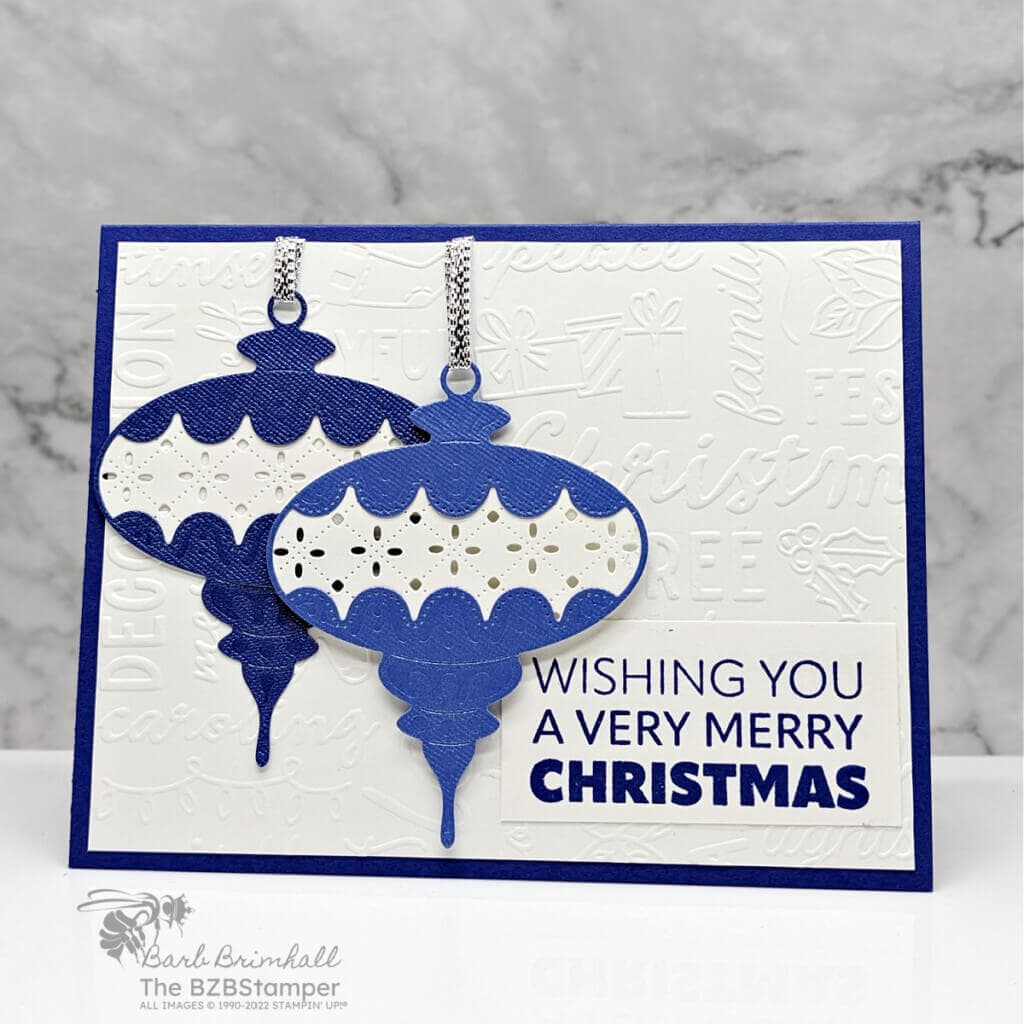
Send good tidings with the Joy To You Stamp Set by Stampin’ Up! Whether you’re an experienced paper crafter or new to the hobby, you’re going to love how easy it is to create handmade Christmas Cards using these bold sentiment stamps! Let’s create some heartwarming Christmas Card that spread cheer and love!
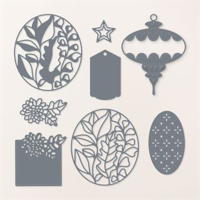
I paired this sentiment-only stamp set with the beautiful Handcrafted Elements Dies. These dies are a wonderful and easy way to add texture and design to your cards or gift tags! Included are round dies, a floral die, and square dies, each with their own unique elaborate and delicate design.
How To Make This Card
Project Skill Level: Worker Bee
Worker Bee projects are designed for the crafter who has a bit more time and enjoys creating a handmade card that features a technique or tool. In many cases, a Stampin’ Cut & Emboss Machine is required for die-cutting and/or embossing.
Cardstock Measurements:
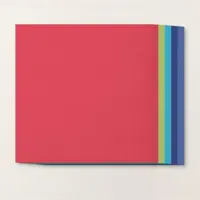
- Starry Sky Cardstock: 5-1/2” x 8-1/2”, scored at 4-1/4”
- Basic White Cardstock: 4” x 5-1/4” (2 pieces)
- Basic White Cardstock: 1-1/4” x 2-1/2”
- Basic White Cardstock: 2” x 5-1/2” (for die-cutting)
- Starry Sky Textured Paper: 4” x 6”


Grab your Free copy
Get 5 Bee-utiful Exclusive
Card Sketches in Your Inbox
Join our newsletter and receive a honey of a package of five quick & simple cards guaranteed to make your creativity buzz! Sign up now and let the goodness flow straight to your inbox!
Step-by-Step Instructions:
- Fold the 5-1/2” x 8-1/2” piece of Starry Sky cardstock in half at the 4-1/4” score line.
- Adhere one of the 4” x 5-1/4” pieces of Basic White cardstock inside the card.
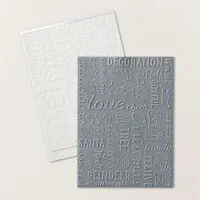
- Run the other 4” x 5-1/4” piece of Basic White cardstock through the Cut & Emboss Machine using the Christmas Tidings Embossing Folder. Set aside.
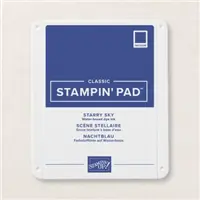
- Using the 1-1/4” x 2-1/2” piece of Basic White cardstock, stamp the sentiment using Starry Sky ink. Adhere to the bottom right of the Embossed White cardstock from previous step. Set aside.
- Using the 2” x 5-1/2” piece of Basic White cardstock, run through the Cut & Emboss Machine and cut out 2 of the ovals using the die from the Handcrafted Elements Dies. Run the 4” x 6” piece of Starry Sky Textured Paper through the Cut & Emboss Machine, cutting out 2 of the ornaments from the Handcrafted Elements Dies.
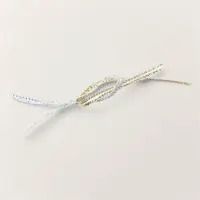
- Adhere each of the White ovals behind the Starry Sky ornaments. Cut two 3” pieces of the Silver ribbon and run through ornament “hook” so that it’s folded in half. Adhere one of the ornaments to the left side of the Embossed White cardstock from Step #4 and tape the end of the ribbon to the back of the White cardstock. Adhere the 2nd onament to the left of the sentiment and overlapping first ornament by using Stampin’ Dimensionals; secure ends of ribbon to back.
- Adhere White cardstock to front of card to finish.
A Tip from Barb
Although this card requires quite a bit of die-cutting, once your pieces are cut, it’s very simple to assemble. This card looks spectacular in person and you could create many of these fairly quickly by doing the die-cutting and embossing “assembly-style”!
Thank you so much for stopping by and checking out this papercrafting tutorial. I hope you are inspired to create and send cards. If you’d like more detailed directions on how to make this card, feel free to email me. I love sharing how to make cards here on the BZBStamper blog, and I can’t thank you enough for all of your support!

Don’t forget to pin this project for later!
Supplies Used On This Project:
Price: $11.00

