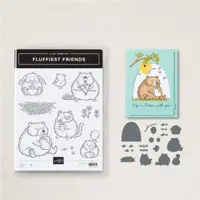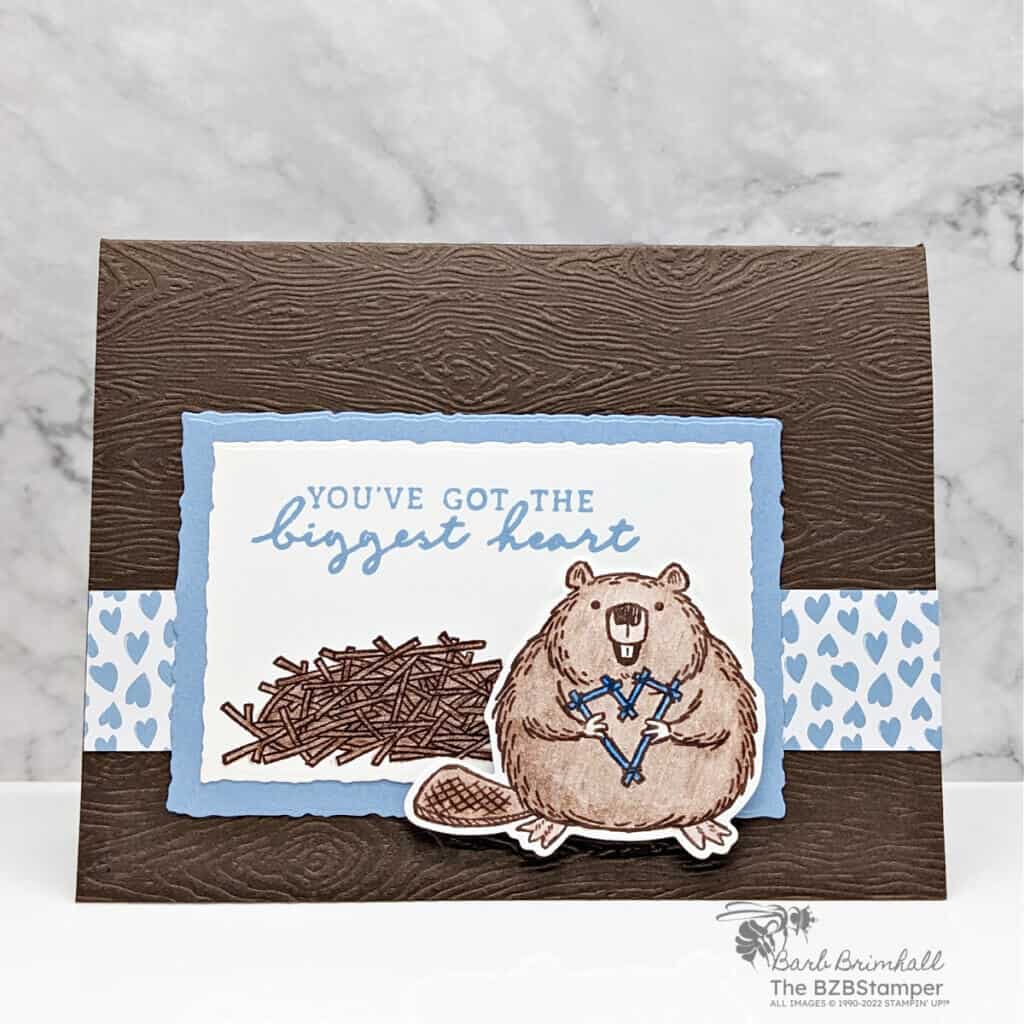
Add cuteness to your projects using the Fluffiest Friends Bundle by Stampin Up! This Bundle features hand-drawn chubby critters perfect for coloring. Use one animal as the focal point of your project or create a scene on a card front with several images. The bee and flower designs can be repeated, or stamp the beaver dam upside down to create a bird’s nest. The versatility of the images allows you to create projects that work all year long!
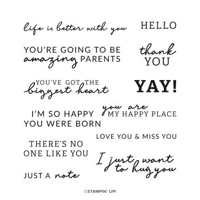
I paired this image-only stamp set with the trendy sentiment-only stamp set, Happy Labels. Using these two stamp sets together allows you to easily send happy vibes for all occasions, all year round!
How To Make This Card
Project Skill Level: Worker Bee
Worker Bee projects are designed for the crafter who has a bit more time and enjoys creating a handmade card that features a technique or tool. In many cases, a Stampin’ Cut & Emboss Machine is required for die-cutting and/or embossing.
Cardstock Measurements:
- Early Espresso Cardstock: 5-1/2” x 8-1/2”, scored at 4-1/4”
- Basic White Cardstock: 4” x 5-1/4” (2 pieces)
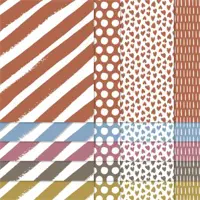
- 2023-2025 In Color Designer Paper (Boho Blue): 1” x 5-1/2”
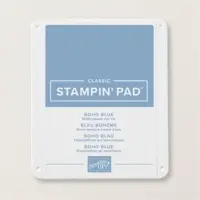
- Boho Blue Cardstock: 3” x 4-1/4”


Grab your Free copy
Get 5 Bee-utiful Exclusive
Card Sketches in Your Inbox
Join our newsletter and receive a honey of a package of five quick & simple cards guaranteed to make your creativity buzz! Sign up now and let the goodness flow straight to your inbox!
Step-by-Step Instructions:
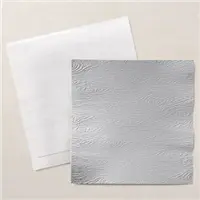
- Fold the 5-1/2” x 8-1/2” piece of Early Espresso cardstock in half at the 4-1/4” score line. Open the card again and run just the front of the cardstock through the Cut & Emboss Machine using the Time 3D Embossing Folder. Close card and burnish well with Bone Folder.
- Adhere one of the 4” x 5-1/4” pieces of Basic White Cardstock inside the card.
- Adhere the 1” x 5-1/2” strip of Boho Blue hearts paper to the front of the card.
- Run the 3” x 4-1/4” piece of Boho Blue cardstock through the Cut & Emboss Machine and die-cut a 2-1/2” x 4” rectangle from the Deckled Rectangle Dies. Adhere to card front centering on the Designer Paper.
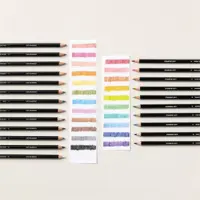
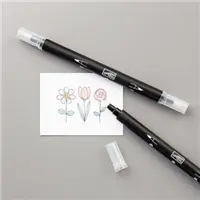
- Using the other 4” x 5-1/4” piece of Basic White Cardstock, stamp the beaver on the right side using Early Espresso ink. Color in using the Early Espresso and Blue Watercolor Pencils. Blend the Beaver using Blender Pen.
- Run the cardstock through the Cut & Emboss Machine and cut out the Beaver using the Fluffiest Friends dies that come in the Bundle and a 2-1/8” x 3-1/2” rectangle from the Deckled Rectangle Dies.
- Stamp the “sticks” at the bottom left of the Basic White deckled rectangle using Early Espresso ink. Color in the stick pile using the Early Espresso Watercolor Pencil and blend using the Blender Pen if desired. Adhere to the Boho Blue cardstock.
- Adhere the Beaver from Step #6 to the front of the card as shown using Stampin’ Dimensionals.
Thank you so much for stopping by! I hope you are inspired to make simple handmade cards for friends this week! If you’d like more detailed directions on how to make this card, feel free to email me. Give this papercrafting tutorial a try 🙂 Check back soon for more card making ideas!

Don’t forget to pin this project for later!
Supplies Used On This Project:
Sale: $10.00
Price: $12.50

