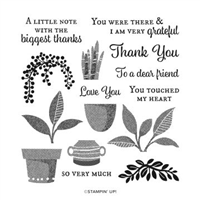
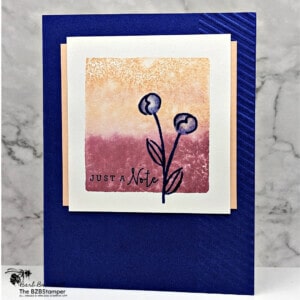
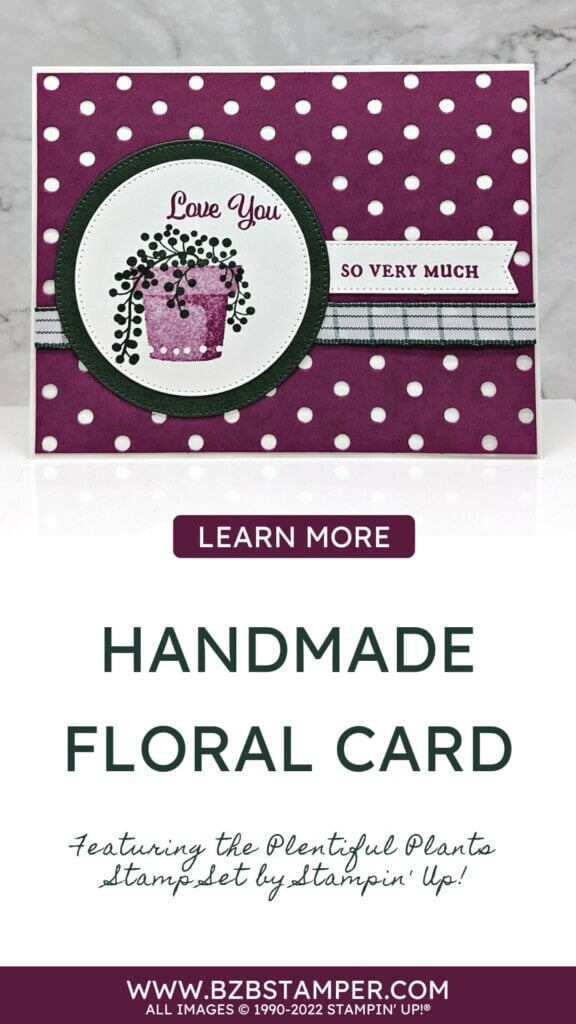
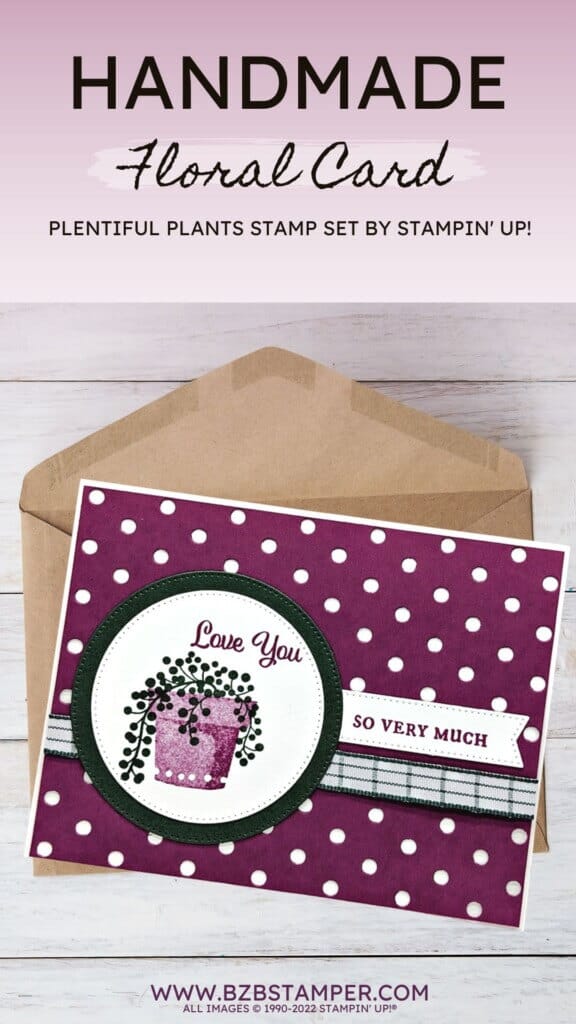
This handmade floral card using the Plentiful Plants Stamp Set, is perfect for all occasions, comes together quickly thanks to the combination of beautiful colors and fun dies. Use these dies with the Stampin’ Up! Cut & Emboss Machine to create unique die-cut shapes and paper cutouts – all it takes is a quick run through your die-cutting and embossing machine. These detailed dies include ejection holes so you can remove the paper easily.
View more stamped samples & inspiration here
Project Measurements
- Basic White: 5-1/2″ x 8-1/2″, scored at 4-1/4″ and 3″ x 5″ for die-cutting
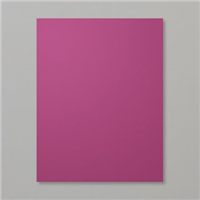
- Rich Razzleberry: 4-1/4″ x 5-1/2″
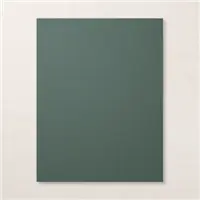
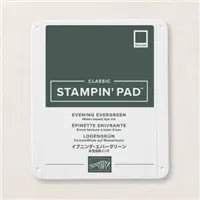
- Evening Evergreen: 4″ x 4″ for die-cutting
Instructions
- Score the Basic White cardstock in half at the scoreline and burnish well with your Bone Folder to create your card base.
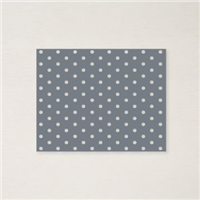
- Using the Cut & Emboss Machine and the Dots & Spots Die, run the Rich Razzleberry through the Cut & Emboss Machine.
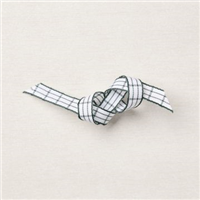
- Cut 6″ of the Evening Evergreen Ribbon and adhere to the Rich Razzleberry cardstock, adhering the ends of the ribbon to the back of the cardstock. Adhere the Rich Razzleberry cardstock to the front of the card.
- Using the Evening Evergreen cardstock, run through the Cut & Emboss Machine using the 3″ Stitched Circle Die from the Stylish Shapes dies.
- Using the scrap of Basic White cardstock, cut out the 2-1/2″ Stitched Circle die and the 1/2″ wide Stitched Sentiment Label using the dies from the Stylish Shapes dies.
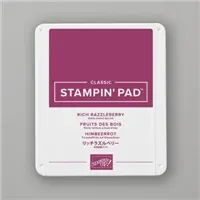
- Using the Basic White cardstock sentiment strip, stamp the sentiment using Rich Razzleberry ink, stamping slightly to the right of the strip. Adhere the strip to the back of the Evening Evergreen Circle. Adhere to the card front so that the sentiment strip is slightly above the ribbon.
- Using the Basic White cardstock circle, stamp the pot using Rich Razzleberry ink. Stamp the leaves using the Evening Evergreen ink. Stamp the sentiment in the upper right of the circle using Rich Razzleberry ink. Adhere the white circle to the Evening Evergreen Circle.
Supplies Used in this Project
Pin It!
Go ahead and pin this image in your “favorites” board so you can find this when you need it!
Thank you so much for stopping by and checking out this papercrafting tutorial. I hope you are inspired to create and send cards. If you’d like more detailed directions on how to make this card, feel free to email me. I love sharing how to make cards here on the BZBStamper blog and I can’t thank you enough for all of your support!


