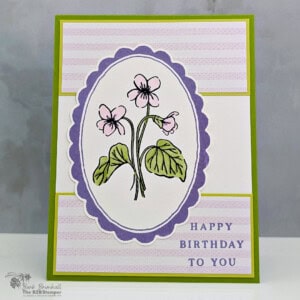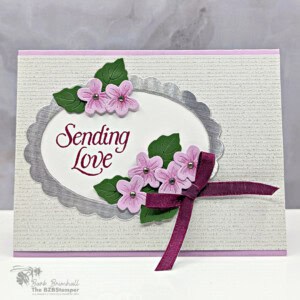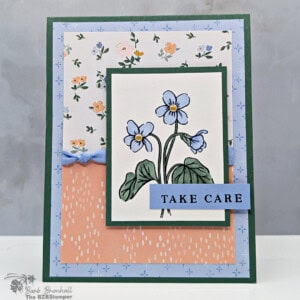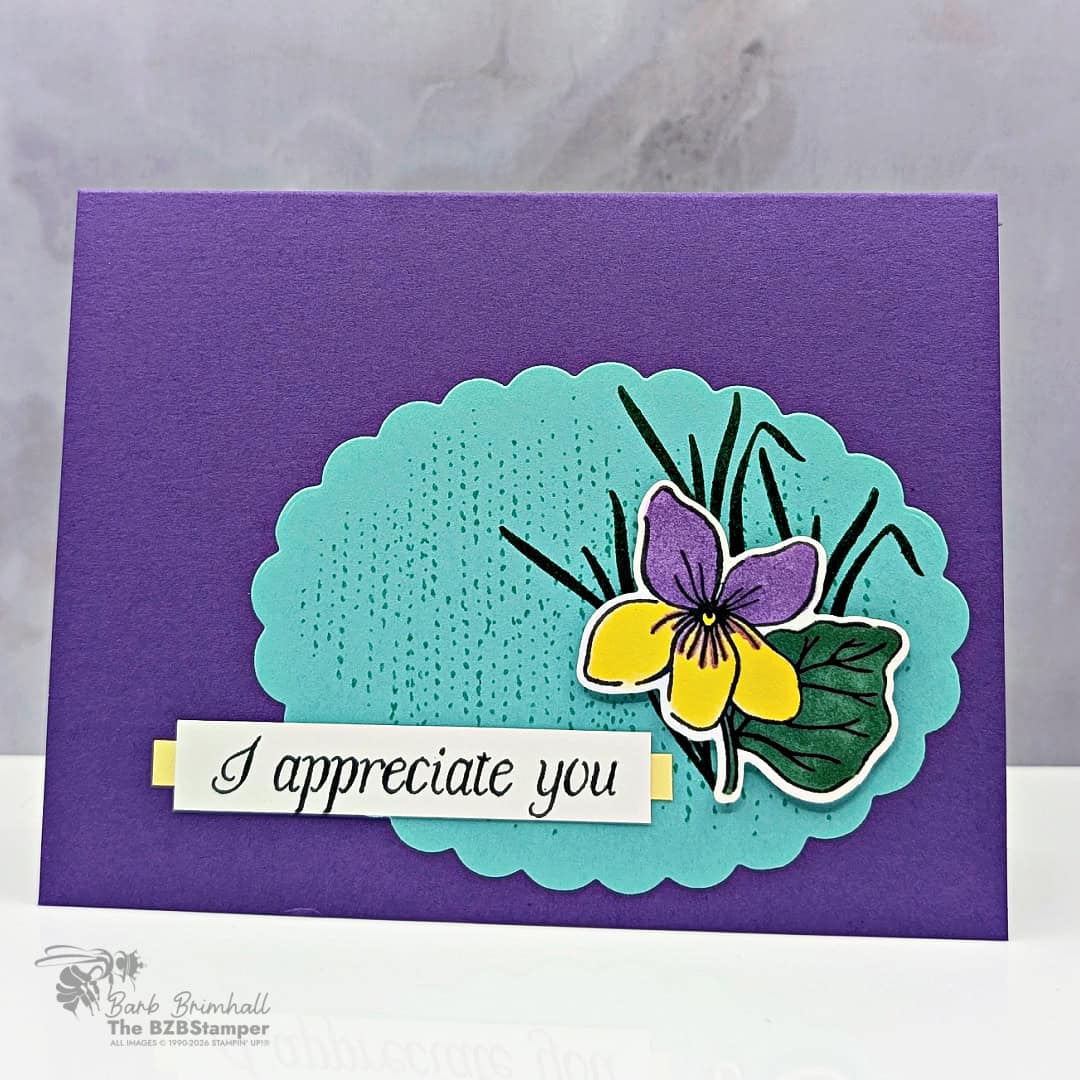
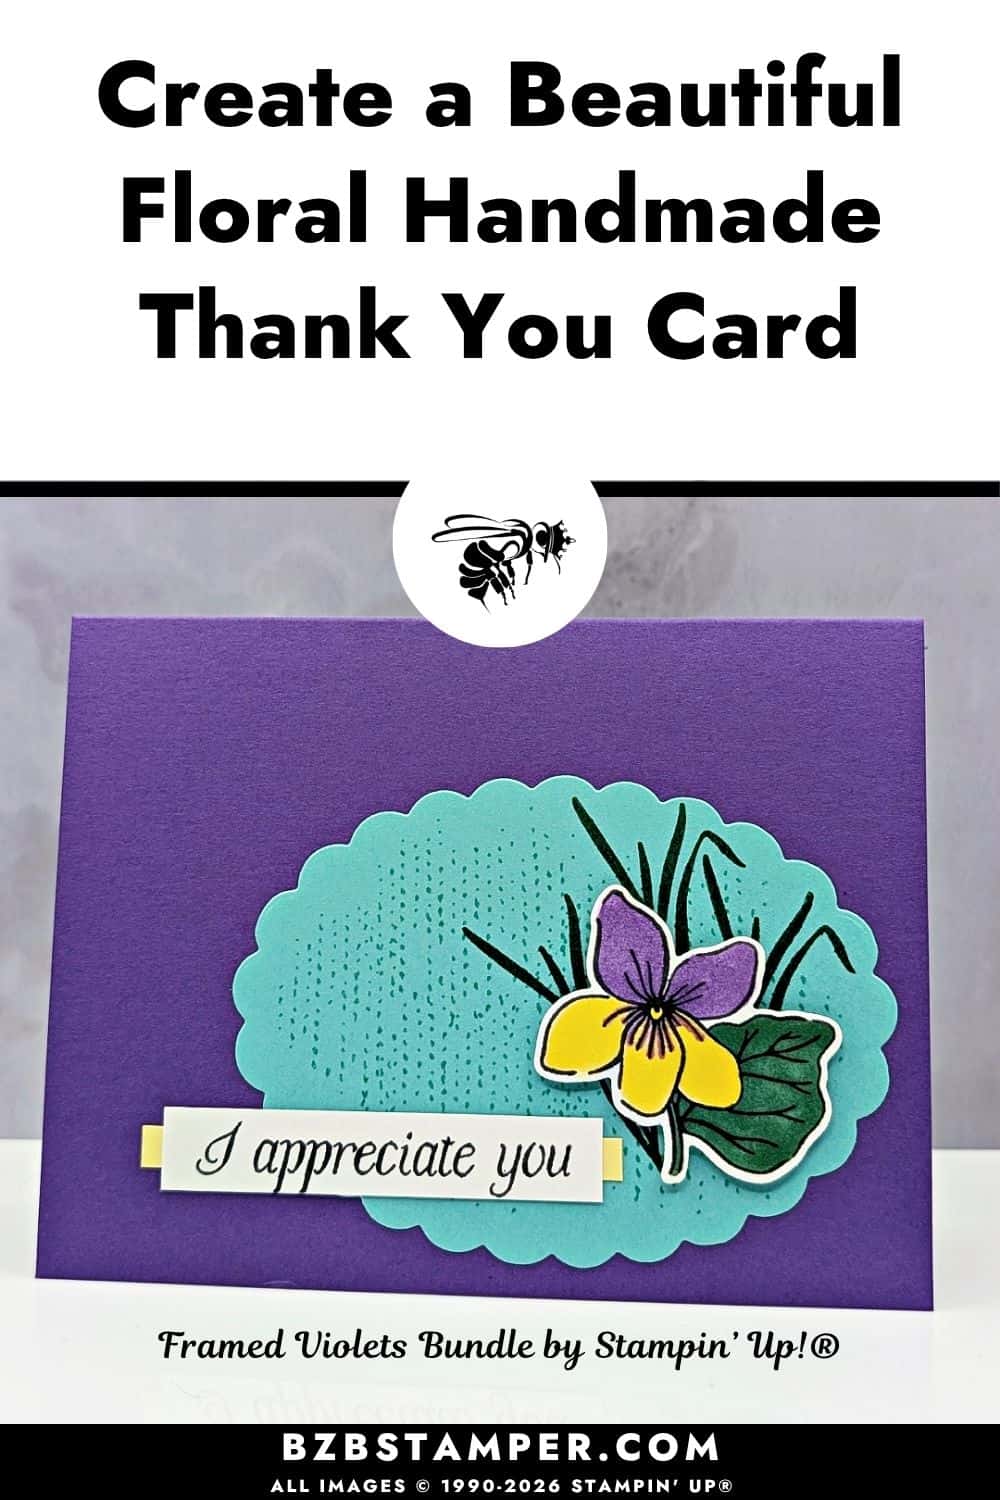
There’s something special about sending a handmade thank you card. It lets someone know you noticed their kindness and took a few extra minutes to create something just for them. In today’s easy Thank You Card with the Framed Violets Bundle by Stampin’ Up!®, we’re combining elegant floral images, soft coloring, and layered die-cut details to create a card that’s beautiful without being complicated. Whether you’re thanking a friend, a customer, or someone who simply brightened your day, this design is a wonderful way to let them know how much they’re appreciated.
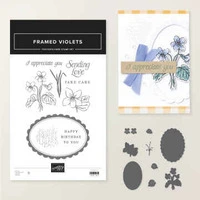
The Framed Violets Bundle makes creating polished floral cards wonderfully easy because the coordinating stamps and dies work together so seamlessly. The die-cut scalloped oval immediately draws your eye to the focal point, while the delicate violet image adds timeless elegance. Using the coordinating dies with your Stampin’ Cut & Emboss Machine creates crisp, professional-looking layers that elevate the design while keeping the overall layout clean and uncluttered
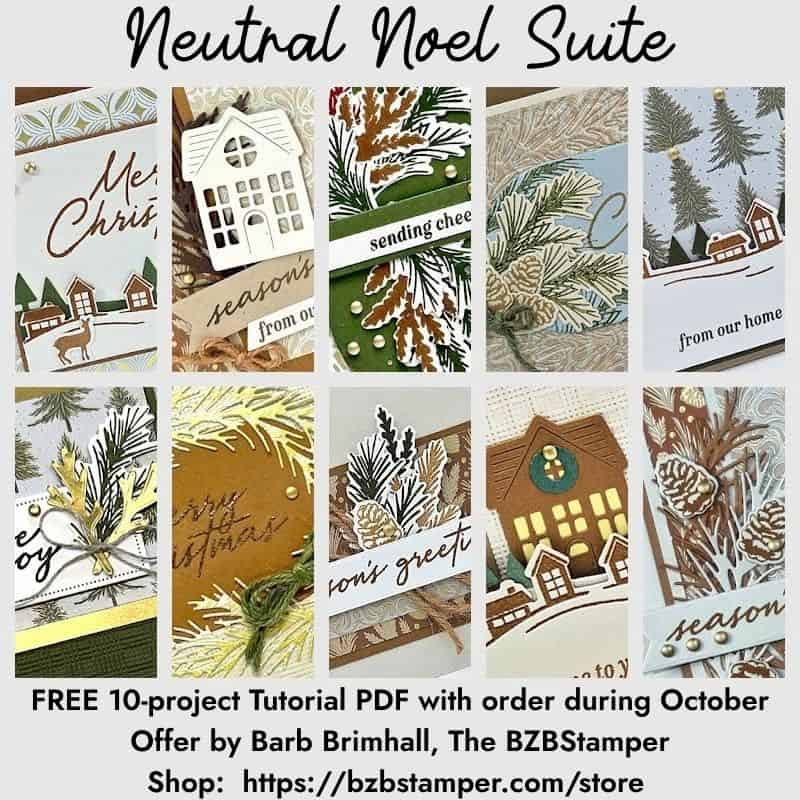
october ordering Bonus
A Bonus for You!
Any order you place in October includes a free 10-project tutorial featuring the Neutral Noel Suite that you can use with any Bundle in your stamp stash.
It’s filled with cozy, step-by-step card ideas to spark your creativity when your order arrives — so you’re not staring at supplies wondering where to start.
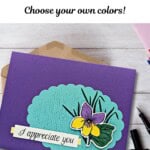
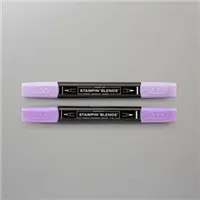
One of my favorite details is the soft coloring on the violet. Using Stampin’ Blends makes it easy to add gentle shading that gives the flower depth without requiring advanced coloring techniques. The smooth blending helps the petals feel more realistic while allowing the vibrant colors to remain bright and cheerful. Even a small amount of shading makes a big difference, turning a simple stamped image into the centerpiece of the card.
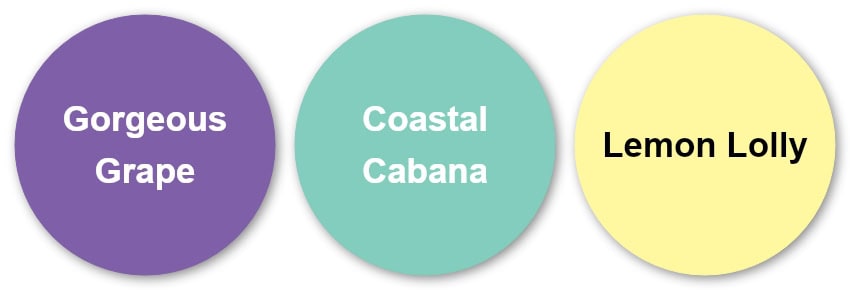
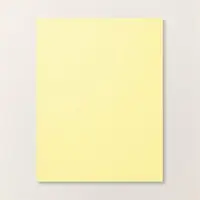
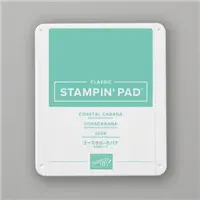
The color combination brings everything together beautifully. Gorgeous Grape provides a rich, elegant backdrop that makes the focal image stand out immediately. Coastal Cabana adds a fresh pop of color that keeps the design light and uplifting, while Lemon Lolly introduces a soft touch of sunshine that brightens the flower without overpowering it. Together, these three colors create a cheerful palette that’s sophisticated enough for a thank you card while remaining versatile for many other occasions.
How To Make This Card
You’ll find the full supply list and step-by-step instructions below.
Easy Thank You Card with the Framed Violets Bundle
Supplies Needed
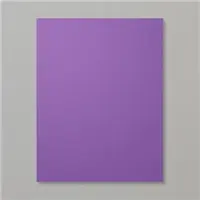
- Gorgeous Grape Cardstock: 5-1/2" x 8-1/2" (scored at 4-1/4")
- Basic White Cardstock: 4" x 5-1/4" (inside card)
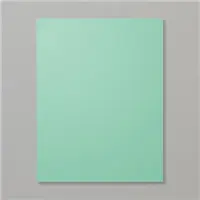
- Coastal Cabana Cardstock: 3-1/4" x 4-1/4" (for die-cutting)
- Basic White Cardstock: 2-1/2" x 2-1/2" (for die-cutting)
- Lemon Lolly Cardstock: 1/4" x 3"
- Basic White Cardstock: 1/2" x 2-3/4" (sentiment)
Instructions
- Fold the Gorgeous Grape cardstock in half at the score line to create your card base.
- Adhere the 4" x 5-1/4" piece of Basic White cardstock inside card and decorate as desired.
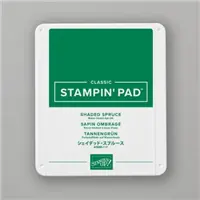
- Run the Coastal Cabana cardstock through the Stampin' Cut & Emboss Machine and die-cut using the Scallop Oval die. Stamp the bold leaves on the right side of the oval using Shaded Spruce ink, repeat 2 more times at various heights. Stamp the dotted background stamp on the left side using Coastal Cabana ink as desired. Adhere to the front of the card as shown in the sample.
- Stamp the single flower image using Black ink onto the 2-1/2" Basic White cardstock. Color in using the Dark Highland Heather Blend, the Dark Lemon Lolly Blend, and the Shaded Spruce Blends. Run through the Stampin' Cut & Emboss Machine and die-cut using the coordinating die. Adhere onto the die-cut scallop as shown in the sample using Stampin' Dimensionals.
- Stamp the sentiment on to the 1/2" strip of Basic White cardstock using Black ink. Adhere to the center of the 1/4" Lemon Lolly strip and adhere to the card as shown using adhesive.
Notes
Although today’s greeting says, “I appreciate you,” this layout can easily become a birthday card, friendship card, encouragement card, or thinking-of-you card by simply changing the sentiment. That’s one of the things I enjoy most about investing in coordinating bundles. Once you discover a layout you love, it’s easy to recreate it again and again with different greetings, making one design work for countless occasions throughout the year.
I hope today’s project inspires you to send a little kindness through the mail. Handmade cards have a wonderful way of making people feel remembered, appreciated, and loved. Sometimes a simple floral card with a heartfelt message is all it takes to brighten someone’s day—and that’s one of the greatest gifts we can share through paper crafting.
Love this color combo? Pin it for later!
Supplies Used:


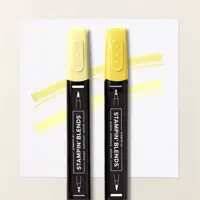
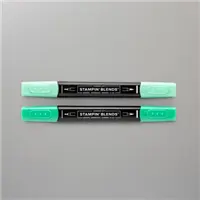





One more little perk while you’re shopping. Each month there’s a Product of the Month you can add for just $5 when your order reaches $75. It’s a fun surprise that’s not in the catalog and only available while supplies last. Click To Learn More
If you enjoy simple, cozy cardmaking like this, you’d love the creative support we share inside the Creative Living Room. If you have questions about today’s tutorial, please email me for detailed steps. Inspire your craft with more ideas—join me over on Pinterest!
Grab your Free copy
Get 5 Bee-utiful Exclusive
Card Sketches in Your Inbox
Join our newsletter and receive a honey of a package of five quick & simple cards guaranteed to make your creativity buzz! Sign up now and let the goodness flow straight to your inbox!