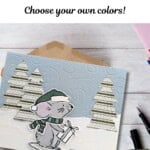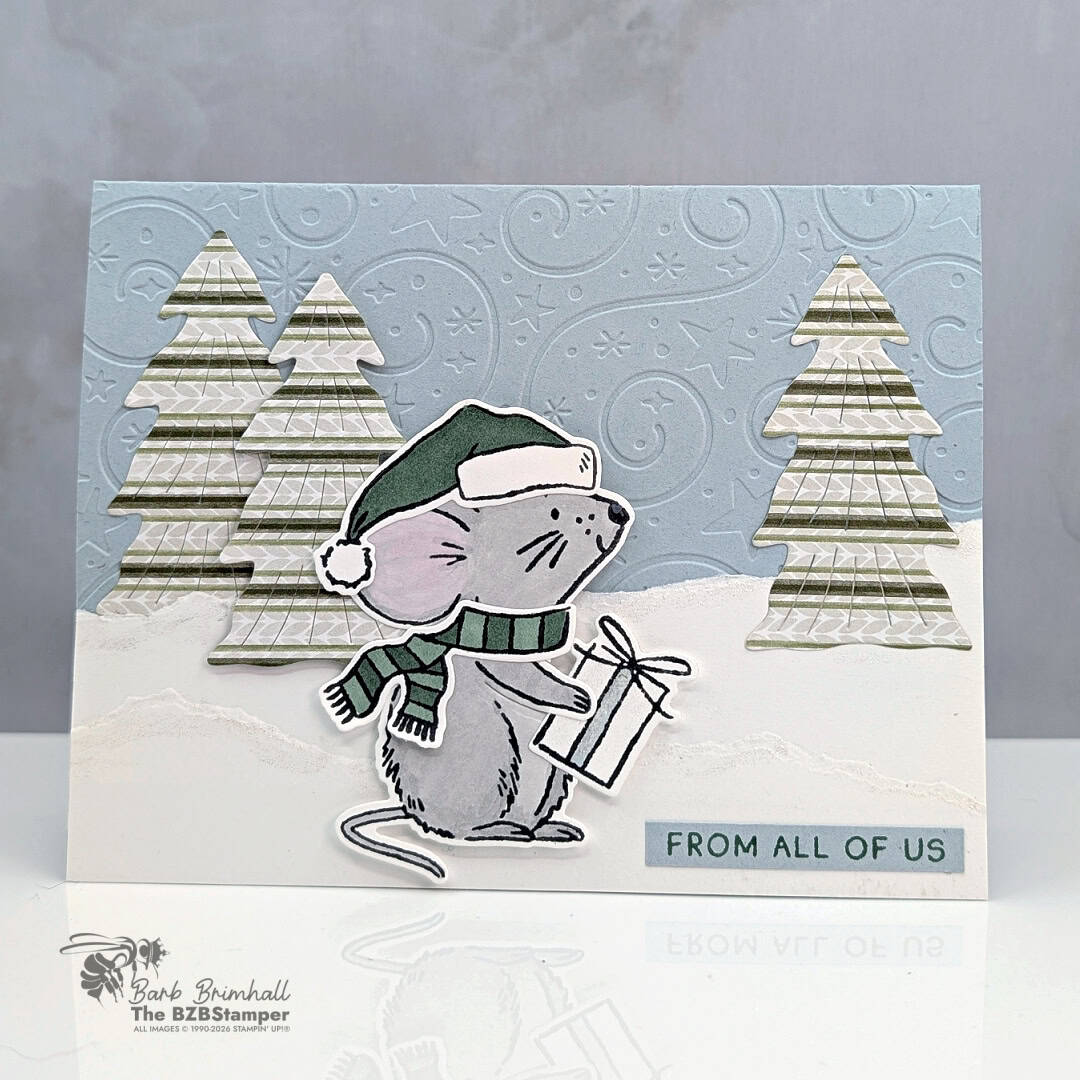
If you’d love to make a Christmas card with a sweet little snowy scene but think it might be too complicated, this cute Christmas Card with an easy Winter scene is a great one to try. A few simple elements create the whole scene, and our little Christmas mouse does most of the work when it comes to the cute factor!
That’s one of my favorite ways to design a card. Instead of adding more and more things, choose a few elements that help tell the story. For this one, we’ve got snow, trees, a bundled-up mouse carrying a present, and we’re ready for Christmas!
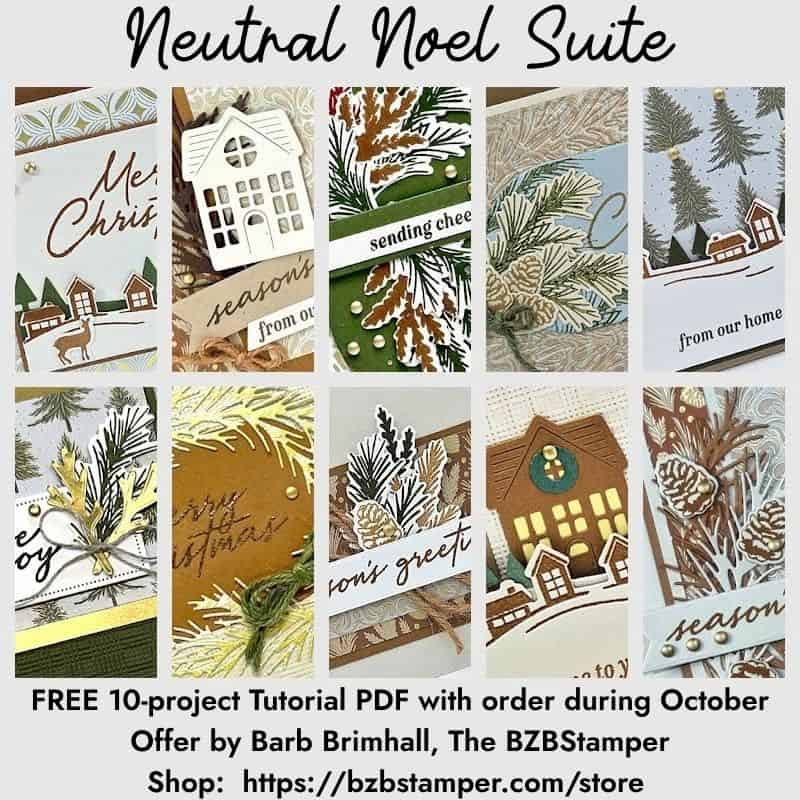
october ordering Bonus
A Bonus for You!
Any order you place in October includes a free 10-project tutorial featuring the Neutral Noel Suite that you can use with any Bundle in your stamp stash.
It’s filled with cozy, step-by-step card ideas to spark your creativity when your order arrives — so you’re not staring at supplies wondering where to start.
Let’s start with that snow because there’s no fancy technique hiding there. The snowy hills are simply torn white cardstock layered across the bottom of the card. The uneven torn edges actually work in our favor because real snowbanks aren’t perfectly straight either! An easy way to do this is use your thumb as an anchor on the paper – you can’t tear thru your thumb!
The evergreen trees come from the A Little Christmas Designer Series Paper. This paper has lots of sweet Christmas artwork and coordinating patterns, which makes it useful for more than just covering a card front. Using patterned paper for elements like these trees is also a great way to let the paper do some of the work for you. We get pattern, color, and detail without having to create every part of the scene ourselves.
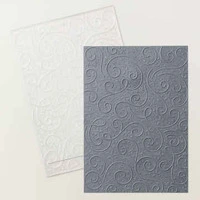
I used the Swirls of Magic Embossing Folder on the Cloud Cover background. That embossed texture gives the sky some movement and interest without adding another pattern or color. It helps fill that open space around the mouse and trees while still keeping the scene soft.
That’s a little trick worth remembering when a card feels like it needs “something,” but you don’t necessarily want to add another embellishment or layer. Sometimes texture is enough.

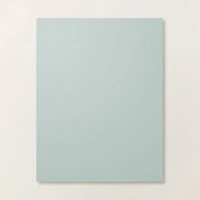
Cloud Cover, Peaceful Pine, and Smoky Slate give this Christmas card a softer look than the traditional bright red and green combination. Peaceful Pine gives us the deep evergreen color that immediately feels like Christmas, while Smoky Slate is a natural choice for our little mouse. Cloud Cover keeps everything light and wintry. It’s soft enough to work as a snowy sky without competing with the other elements. Together, the three colors feel peaceful and cozy, which works beautifully with the storybook feel of the Christmas Mice Bundle and A Little Christmas Designer Series Paper.
Of course, this Christmas mouse is the star! The Christmas Mice Bundle has two mice along with lots of little Christmas accessories, so you can create different characters and scenes instead of making the exact same card every time.
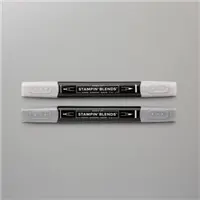
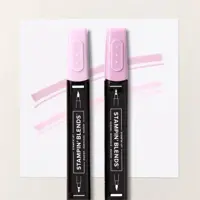
For this card, I colored the mouse with Stampin’ Blends using Smoky Slate, Peaceful Pine, and just a little Bubble Bath for his ears. If you’re new to Stampin’ Blends or would like more help using them, I’ll link you to another post where I share more about coloring with them. View it here.
Once the mouse is colored and added to the snowy scene, you really don’t need much else. He’s already carrying the present, bundled up for winter, and looking like he’s headed somewhere important!
How To Make This Card
You’ll find the full supply list and step-by-step instructions below.
Cute Christmas Card with an Easy Winter Scene
Supplies Needed
- Cloud Cover Cardstock: 5-1/2" x; 8-1/2" (scored at 4-1/4")
- Basic White Cardstock: 4" x 5-1/4" (inside card)
- A Little Christmas Designer Paper: 3" x 5" (trees; striped pattern)
- Basic White Cardstock: 3" x 5-1/2" (snow)
- Basic White Cardstock: 3-1/2" x 3-1/2" (die-cut mouse)
- Cloud Cover Cardstock: 1/4" x 2" (sentiment)
Instructions
- Lightly fold the Cloud Cover cardstock at the 4-1/4" score line to create your card base.
- Unfold the card and run through the Stampin' Cut & Emboss Machine, using the Swirls of Magic Embossing Folder to emboss the front of the card. Refold the card and burnish well with Bone Folder.
- Using the 3" x 5-1/2" piece of Basic White cardstock, use your thumb to tear the paper in half the long way to create small "hills". Using the WInk of Stella Clear Glitter Brush to add sparkle along both tear lines. Adhere the taller torn piece to the bottom of the card; layer the smaller piece at the bottom. (See sample for placement.)
- Run the A Little Christmas Designer Paper through the Stampin' Cut & Emboss Machine and die-cut 3 of the trees. Adhere to the snowbank as shown in the sample. Tip: I used Stampin' Dimensionals on the 2nd tree from the left to add a bit of dimension; this is totally optional.
- Stamp the mouse, scarf, hat and present onto the 3-1/2" square of Basic White cardstock using Black ink. Color in using the Stampin' Blends. (Tip: I only used the Light Bubble Bath Stampin' Blend for his ear.) Run through the Stampin' Cut & Emboss Machine and die-cut using the corresponding dies from the Christmas Mice Bundle Dies.
- Adhere the hat and scarf to the mouse using adhesive. The present will fit inside the little slit created by the die. Adhere the mouse to the front of the card as shown using Stampin' Dimensionals. Add Wink of Stella as desired to the hat and present.
- Stamp the sentiment onto the 1/4" strip of Cloud Cover cardstock using Peaceful Pine ink. If necessary, trim the edges of the cardstock with scissors. Adhere to the card in the lower right corner to finish.
Notes
Christmas Card Today, Winter Birthday Card Tomorrow
Here’s another reason I like this card layout: it doesn’t have to be Christmas.
Take away the Christmas greeting and change what the mouse is holding or wearing, and you’ve got the beginning of an adorable winter birthday card. That’s always something I like to consider when I’m buying stamps and paper. I want to see possibilities beyond one card or one occasion.
And a little mouse standing in the snow can tell quite a few stories! If you’d like to make this Christmas version, check out the free tutorial above with the measurements and project details so you don’t have to figure out that snowy little scene yourself.
Then decide who would smile when this little guy arrives in their mailbox carrying his present. Talk about Happy Mail? Let’s send some today!
Love this color combo? Pin it for later!
Supplies Used:


Price: $13.00









One more little perk while you’re shopping. Each month there’s a Product of the Month you can add for just $5 when your order reaches $75. It’s a fun surprise that’s not in the catalog and only available while supplies last. Click To Learn More
If you enjoy simple, cozy cardmaking like this, you’d love the creative support we share inside the Creative Living Room. If you have questions about today’s tutorial, please email me for detailed steps. Inspire your craft with more ideas—join me over on Pinterest!

Grab your Free copy
Get 5 Bee-utiful Exclusive
Card Sketches in Your Inbox
Join our newsletter and receive a honey of a package of five quick & simple cards guaranteed to make your creativity buzz! Sign up now and let the goodness flow straight to your inbox!