Who says snowflakes are just for Christmas? Today I’m sharing 3 Cards using the Dreamy Snowflakes Bundle from Stampin’ Up!®, and I think you’ll love how easily these designs can work for other occasions, too! Whether you’re sending birthday wishes to a January birthday girl, cheering up a friend who’s under the weather, or simply letting someone know you’re thinking of them, snowflakes are a lovely choice all winter long.
One Snowflake Bundle, Three Different Looks
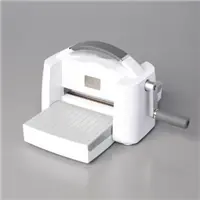
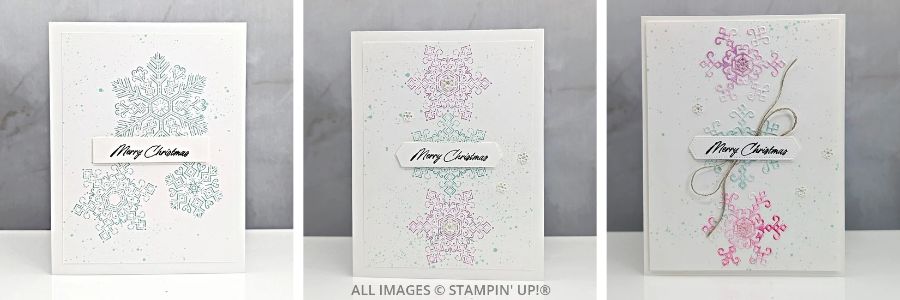
One of the things I love about the Dreamy Snowflakes Bundle is how many different looks you can create with it. The coordinating stamps, dies, and embossing folder give you several ways to add beautiful snowflake details to your cards.
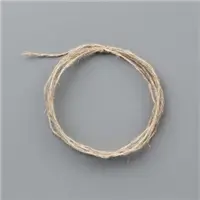
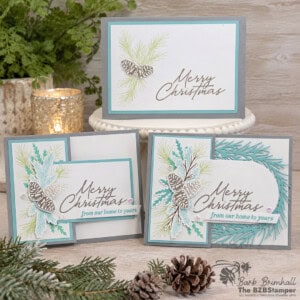
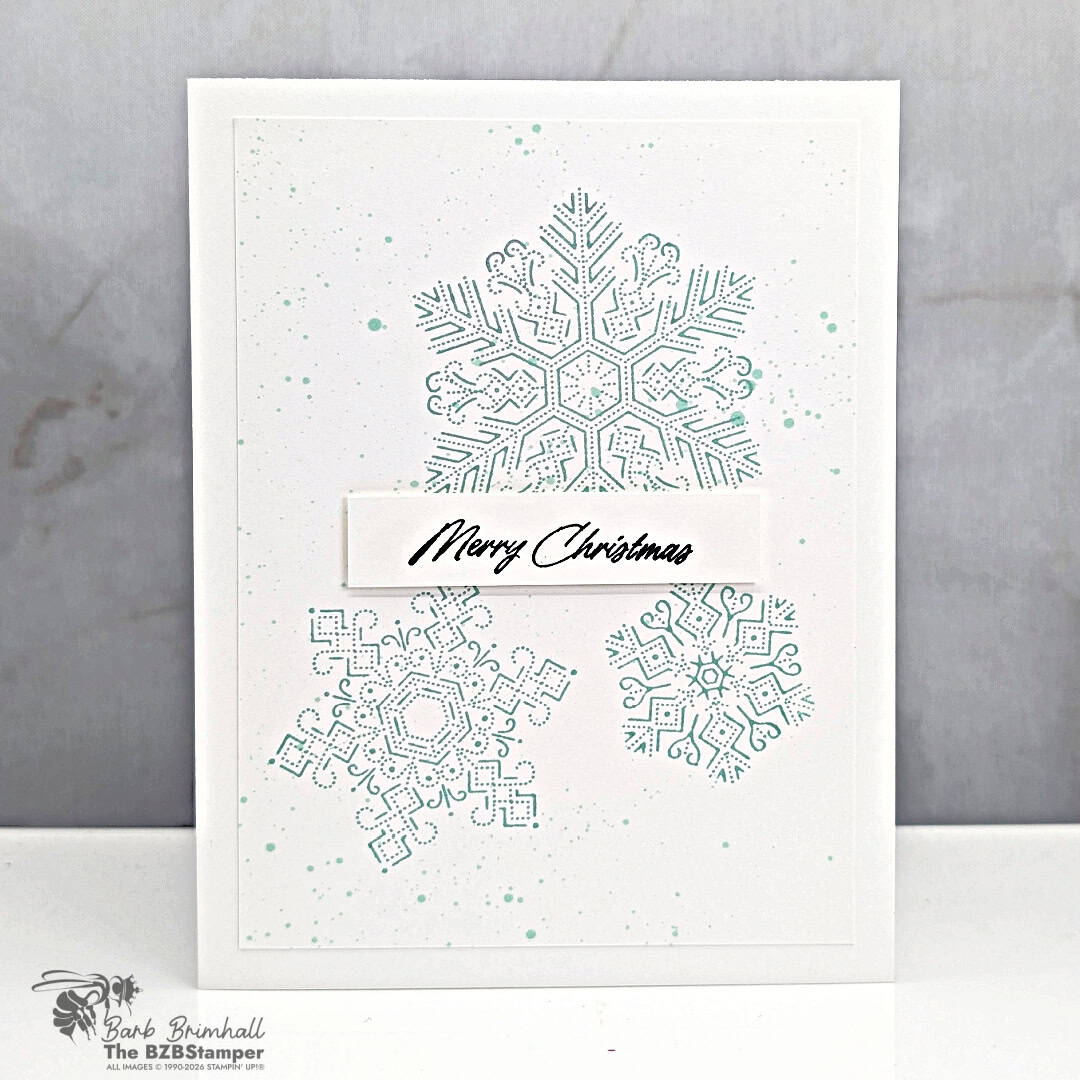
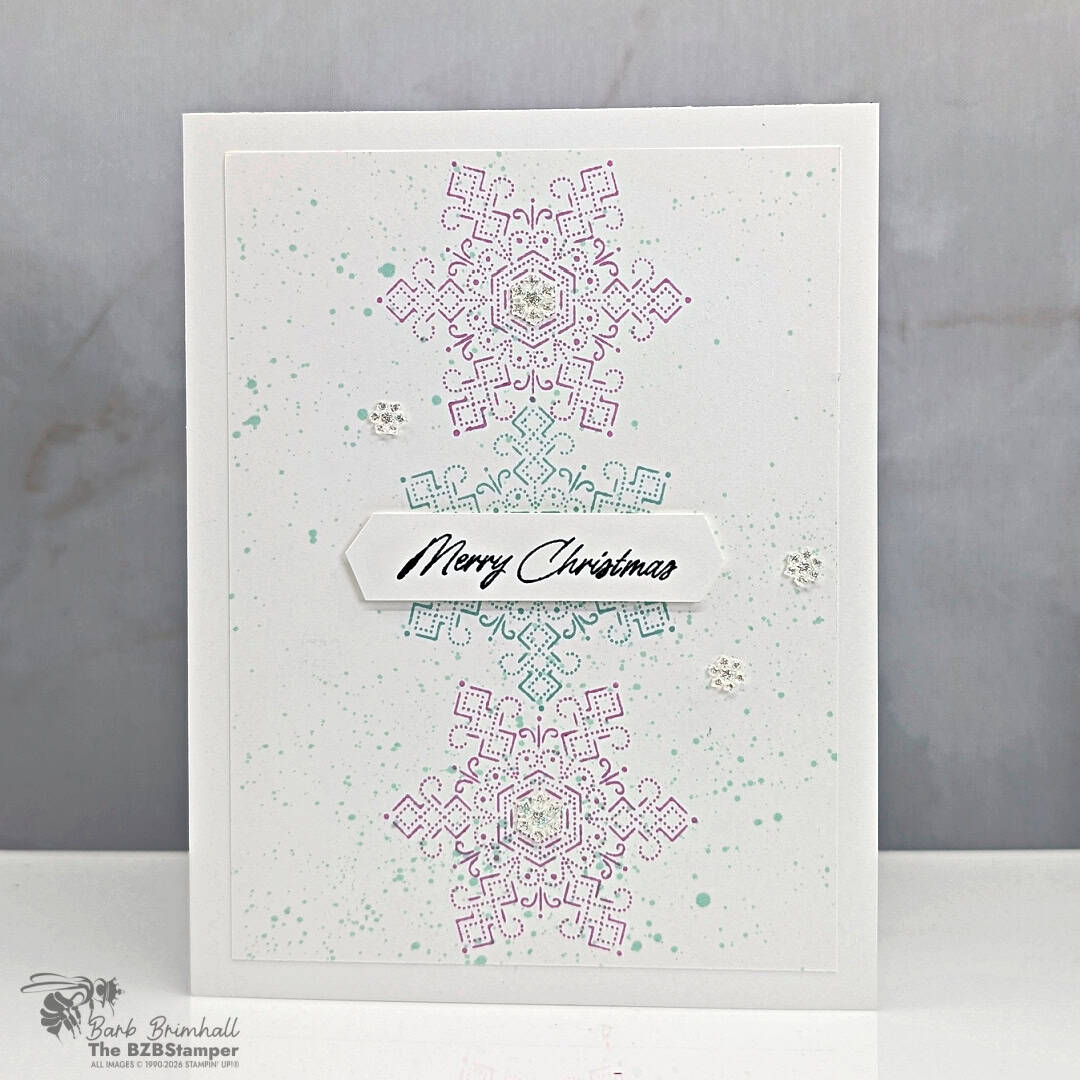
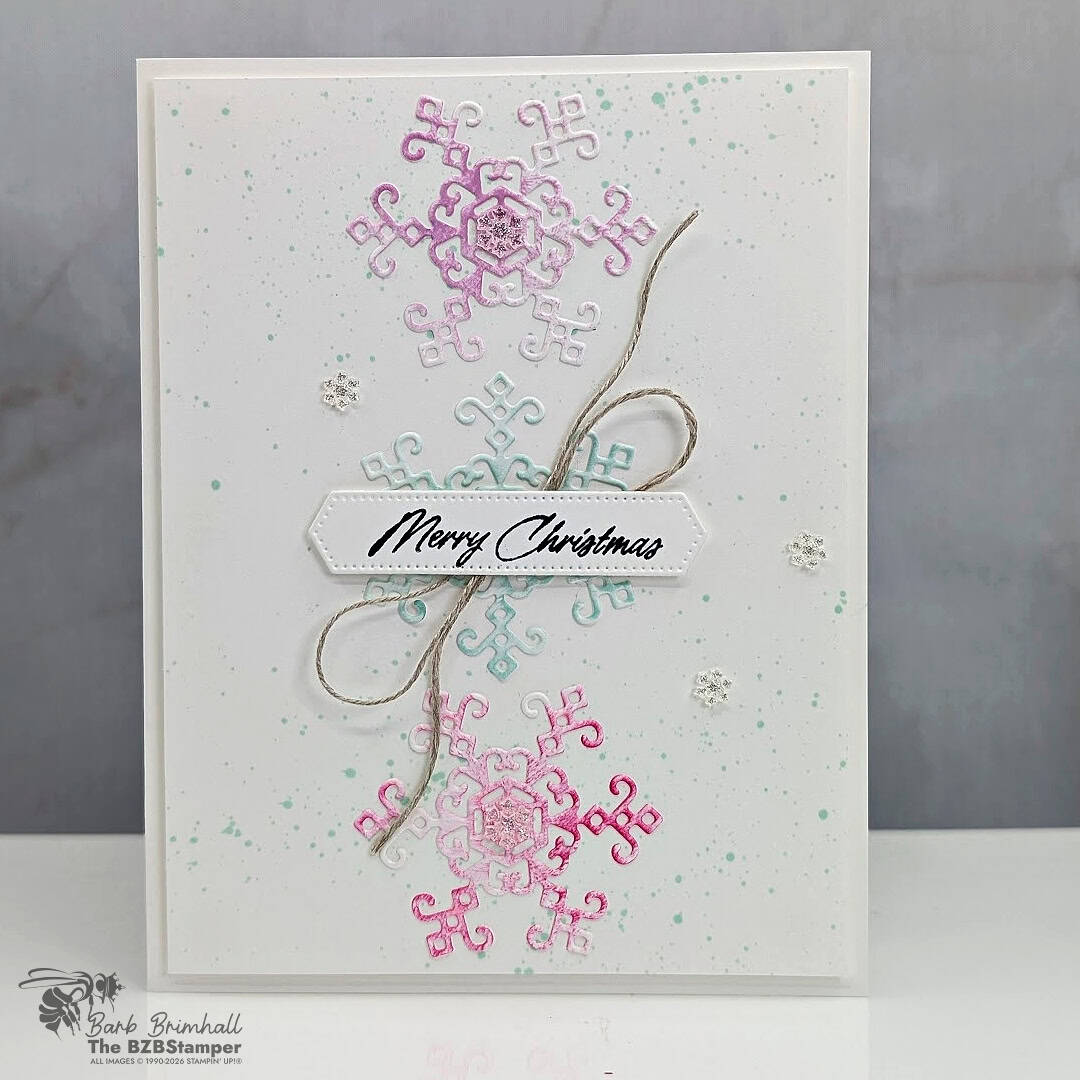
And with three different ways to use this bundle, you can choose the design that fits your time, supplies, and mood! My Busy Bee card keeps things simple with stamped snowflakes and a sweet Christmas greeting. The Worker Bee version adds another color and a few sparkling accents for a little extra interest. And for my Queen Bee card, I used detailed snowflake die-cuts, a bit of twine, and more dimension.
Each card has its own personality, and that’s the fun of Step It Up Stamping! You can make the version that works for you, or borrow ideas from all three. And with three different ways to use this bundle, you can choose the design that fits your time, supplies, and mood!
Soft Winter Colors with a Little Pop of Pink
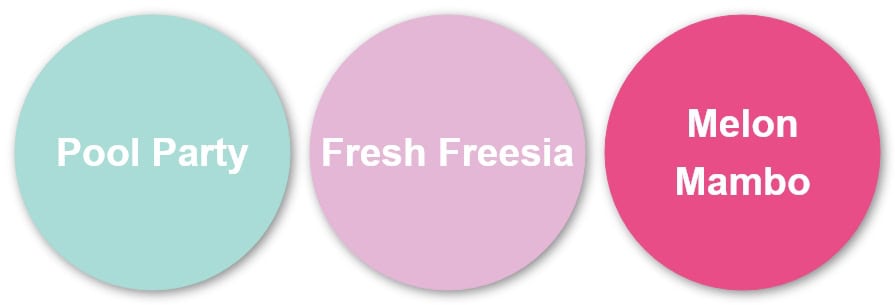
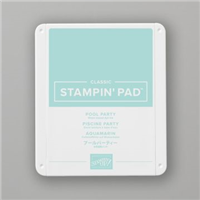
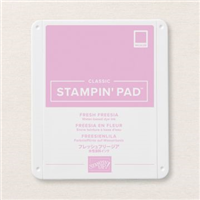
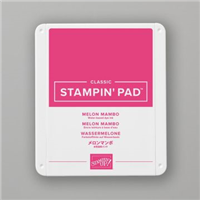
For these cards, I used Pool Party, Fresh Freesia, and Melon Mambo. I love how Pool Party gives everything that cool, frosty winter feeling without making the cards look cold or gloomy.
Fresh Freesia adds a soft, gentle touch, while Melon Mambo brings in a cheerful pop of color. Together, they make a winter combination that feels fresh and happy rather than strictly Christmas.
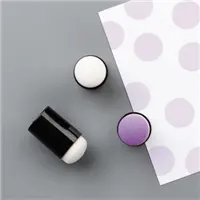
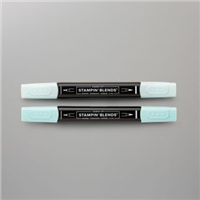
And here’s a little trick I used on all three cards: I added the soft splatter in the background using a Pool Party Stampin’ Blend.
It’s a fun way to give your background a little extra texture without adding more paper layers. Those tiny speckles remind me of snowflakes floating through the air!
See All Three Cards in This Week’s Step It Up Stamping Tutorial
Want to see how I made each of these cards? You’ll see how the stamped snowflakes, layered colors, and added details give each card a different look.
The complete step-by-step tutorial is available as a paid download, so you can make the cards at your own pace.

Want the Tutorial? Get It at a Discount!
The tutorials for my Step It Up Stamping Projects usually sell for $10, but you can
purchase it for a limited time for $5. Use the button below for this special offer!
Don’t Put Those Snowflake Stamps Away After Christmas!
Here’s something worth remembering when you’re choosing stamps for your collection: a snowflake doesn’t have to mean Christmas! Change the greeting, and you’ve got a completely different card.
Imagine using these same designs for a winter birthday, a get-well card, or a little thinking-of-you note for a friend who could use some encouragement. You could even leave off the greeting until you’re ready to send the card. Then you’ve got a pretty winter card ready whenever you need one.
I especially love the idea of sending a handmade snowflake card in January or February, when the holiday excitement has settled down and an unexpected hello might mean even more.
See All Three Cards in This Week’s Step It Up Stamping Tutorial
Supplies You’ll Need
These are the basic supplies you’ll need for each of the 3 cards. You can find the complete detailed supply list at the bottom of this post.
The Busy Bee Card
Quick & Easy when you want to fill up someone’s mailbox with sunshine & love. Perfect for the Beginner Cardmaker.
The Worker Bee Card
When you have a bit more time and supplies to put into a very special project for that special someone. Perfect for the Confident Cardmaker.
The Queen Bee Card
When you have the time and supplies to take your project right over the top. Give yourself bragging rights – perfect for the Experienced Cardmaker!
Supplies Used for These Winter Snowflake Cards