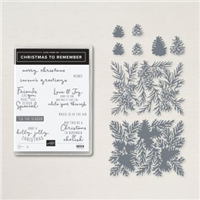
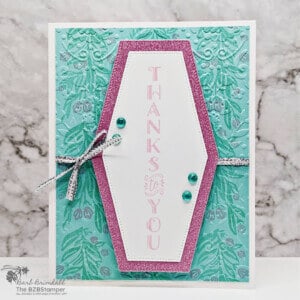
If you’re pining for the perfect backdrop for your seasonal greetings, you’ll love the Christmas To Remember Bundle by Stampin Up! Pair these large background dies with your favorite holiday sentiment and relish in all the oohs and aahs from friends and family.
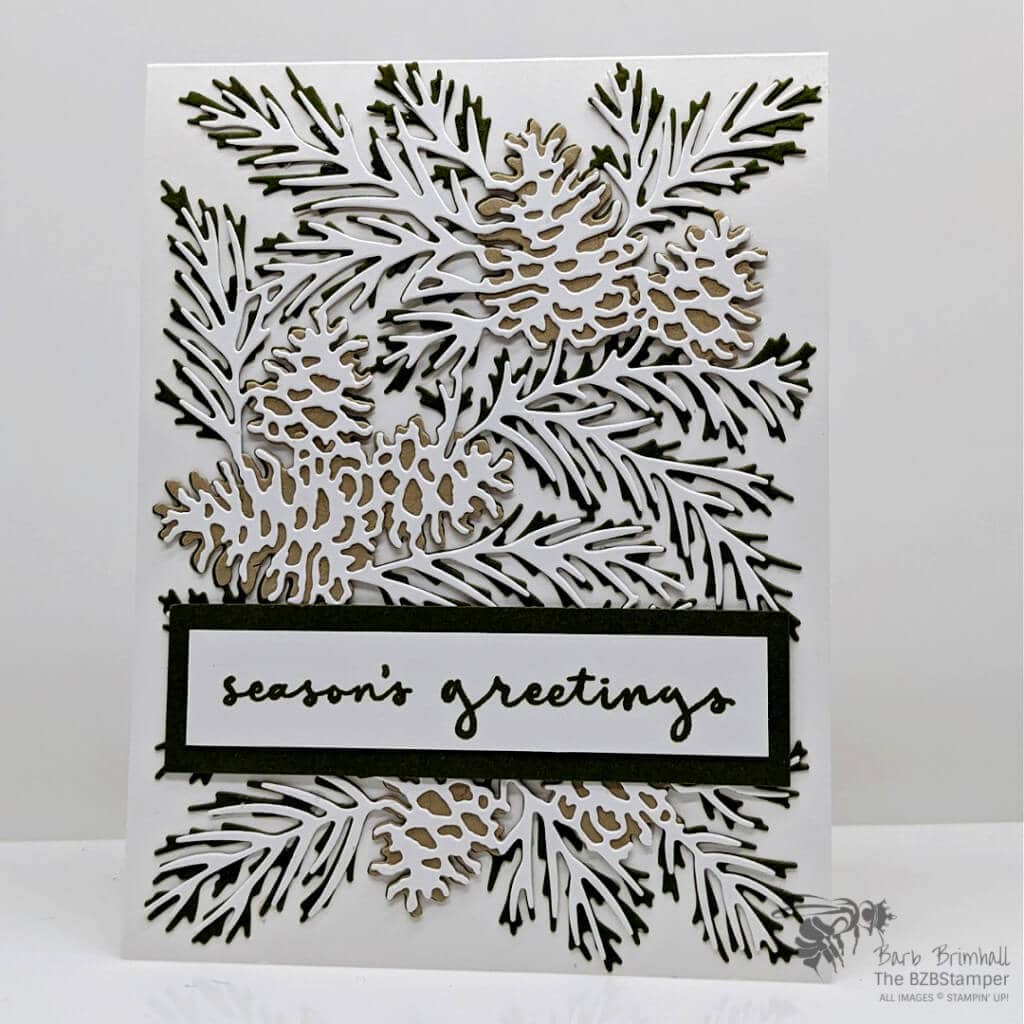
How gorgeous is this card? It looks so difficult to make, but thanks to the Cut & Emboss Machine, combined with the Christmas To Remember Bundle, it’s easier to create than you think!
If you’re not familiar with Stampin’ Up!’s Cut & Emboss die-cut Machine, you can learn more here. For this particular Bundle, you will need the regular Cut & Emboss Machine; the Mini-Machine is not wide enough to accommodate the Dies. You can find more cards made with the Cut & Emboss Machine here. Here’s how I made this card – and don’t forget to download the Tutorial below.
Supplies Used on this Project
Project Measurements
- Basic Thick White:
- 4-1/4” x 11”, scored at 5-1/2”
- 5-1/2” x 8-1/2” for die-cutting
- 3/4” x 3-1/2”
- Mossy Meadow:
- 4-1/4” x 5-1/2” for die-cutting
- 1” x 3-3/4”
- Crumb Cake: 4-1/4” x 5-1/2” for die-cutting
Project Instructions
- Fold the 4-1/4” x 11” Thick White cardstock in half to create your base card.
- Using the Cut & Emboss Machine and the Christmas Pinecone Dies that are part of the Christmas To Remember Bundle, cut out the large bold bough Die out of the 4-1/4” x 5-1/2” piece of Mossy Meadow cardstock. Cut the large detailed bough Die and 3 large plus 5 small detailed pinecones from the 5-1/2” x 8-1/2” piece of Basic White cardstock. Cut out 3 large plus 5 small bold pinecones from the Crumb Cake cardstock.
- To adhere all the pieces together, start with adding a large blob of Liquid Adhesive Glue onto your Silicone Craft sheet. Pick up a bit of glue using a Sponge Dauber (a little goes a long way!) and slightly tap on the back of all the White detailed pinecones; adhere to the bold Crumb Cake pinecones. Set aside to dry. Use the same process to add the large detailed White cardstock bough die to the bold detailed Mossy Meadow die. Adhere to the front of your card base using Liquid Adhesive. Tip: go ahead and let the remaining glue dry on your craft sheet – you can remove it easily by rolling it when dry.
- Adhere the pinecones to the base card where positioned on the big dies.
- Stamp the sentiment onto the 3/4” strip of Basic White cardstock using Mossy Meadow ink. Adhere to the 1” strip of Mossy Meadow cardstock and adhere to card to finish.

Like It? Pin It!
Be sure to pin this project to your card making boards on Pinterest if you like this project
- Get a Free Tutorial Every Week!
- Shop 24/7 in your PJ’s
- Queen Bee Rewards – Earn FREE Stamps!
- View the 2024-2025 Annual Catalog
- View NEW Online Products
- Monthly Crafting Kit
Thank you so much for stopping by! I hope you are inspired to a special handmade Christmas Card for friends this week! Give this papercrafting tutorial a try 🙂 Check back soon for more card making ideas!


