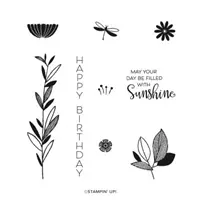
Send elegant birthday wishes with the Celebrate with Flowers Stamp Set! The botanical images in this stamp set are minimal and elegant in design, allowing you to get creative with how you choose to color them!
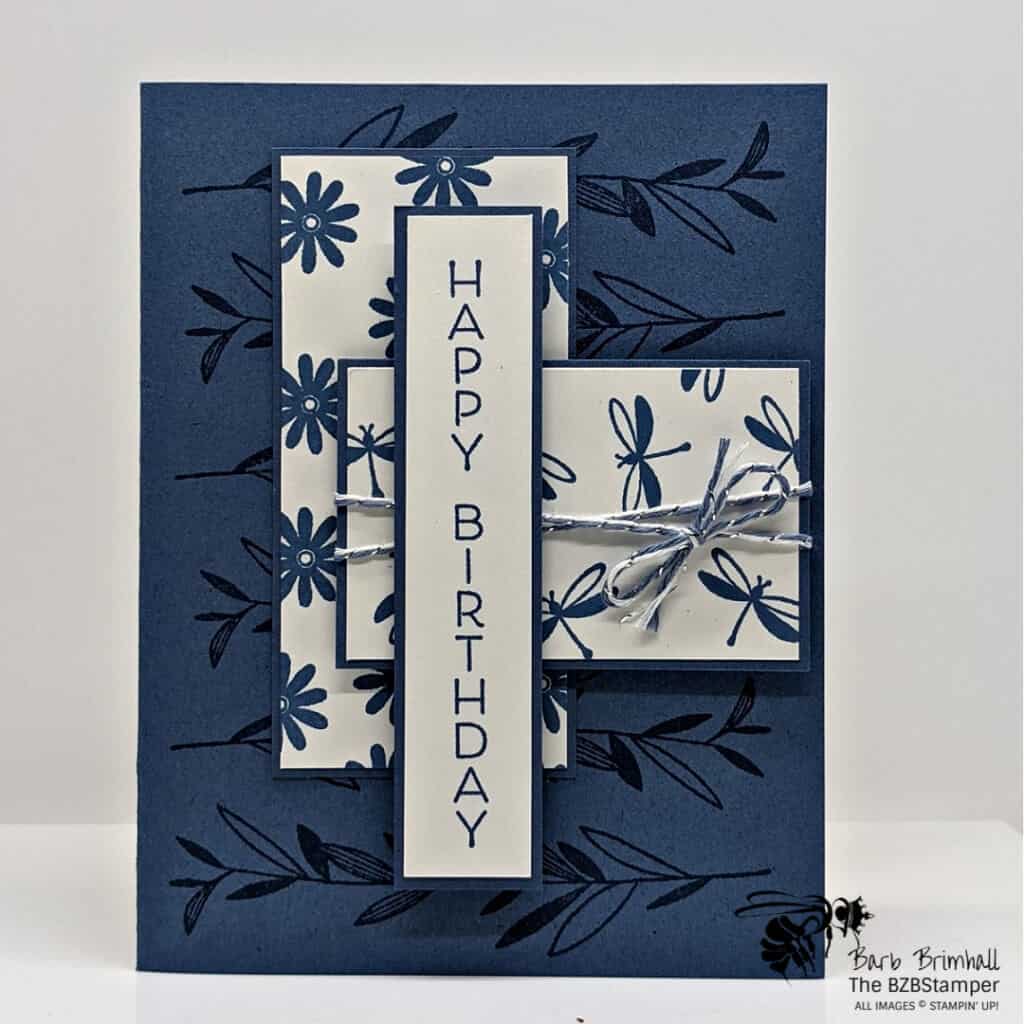
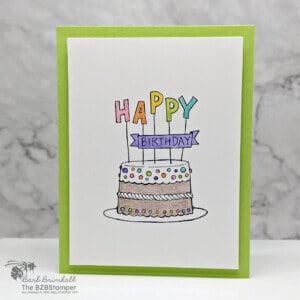
Every now and then you make a card that just knocks your socks off. This is one of those cards for me! I really didn’t know where I was going until I got there but I just love everything about it – the monocromatic color scheme, the geometric design, it just makes me smile! I don’t make monocromatic cards enough but every time I make one, I just love them! You can see some of my other monocromatic designs here.
And this stamp set! You’ll never get stuck on what to say as the Celebrate with Flowers Stamp Set includes easy inside/outside card sentiments. So versatile and easy to use! Here’s how I made this card:
Supplies Used on this Project
Project Measurements
- Misty Moonlight:
- 5-1/2” x 8-1/2” scored at 4-1/4”
- 1-7/8” x 3-7/8”
- 1-7/8” x 2-7/8”
- 7/8” x 4-1/8”
- Basic White:
- 4” x 5-1/4”
- 1-3/4” x 3-3/4
- 1-3/4” x 2-3/4”
- 3/4” x 4
Project Instructions
1. Fold the Misty Moonlight cardstock in half and burnish with your Bone Folder for a crisp crease.
2. Adhere the 4” x 5-1/4” piece of Basic White cardstock inside the base card.
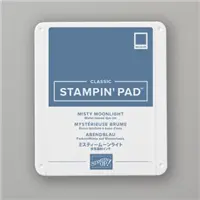
3. Using the Misty Moonlight ink pad, stamp the stem image randomly onto the card base (tip: the image goes left to right instead of up and down)
4. Stamp the “Happy Birthday” onto the 3/4” x 4” piece of Basic White cardstock using Misty Moonlight ink. Adhere to 7/8” strip of Misty Moonlight cardstock.
5. Stamp the dragonflies randomly on the 1-3/4” x 2-3/4” piece of Basic White cardstock using Misty Moonlight ink. Adhere to the 1-7/8” x 2-7/8” piece of Misty Moonlight cardstock.
6. Stamp the small flower randomly on the 1-3/4” x 3-3/4” piece of Basic White cardstock using Misty Moonlight ink. Adhere to the slightly larger piece of Misty Moonlight cardstock. Adhere this piece to the base card, approximately 1/2” from top of the base card and 3/4” over from the left fold of the base card.
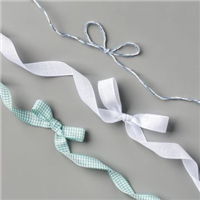
7. Wrap some of the Misty Moonlight/Silver Twine 2x around the dragonfly piece and tie into a bow. Adhere to card using Stampin’ Dimensionals.
8. Using the sentiment strip, place 2 Dimensionals in the center of the strip. Double-Mount 2 more Dimensionals on both ends. Adhere to card as shown in the sample to finish.

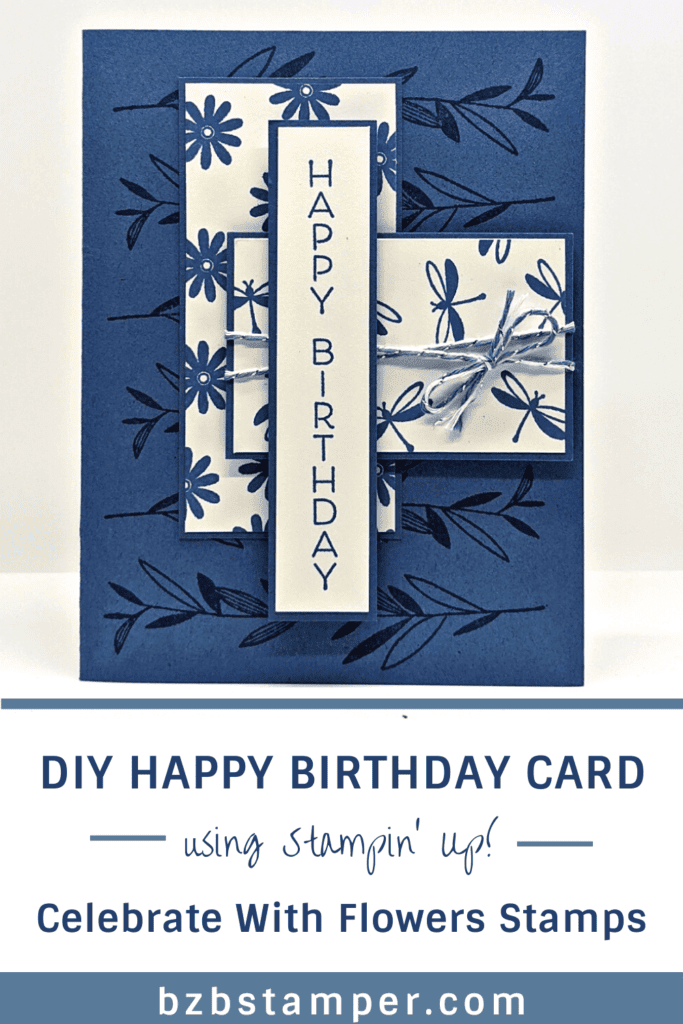
Pin It For Later
Now it’s your turn to make this project! Get your supplies and think of who you can make and send these cards to. Showing that you noticed something someone else did or achieved is priceless! Pin this image below to easily find it again
- Get a Free Tutorial Every Week!
- Shop 24/7 in your PJ’s
- Queen Bee Rewards – Earn FREE Stamps!
- View the 2024-2025 Annual Catalog
- View NEW Online Products
- Monthly Crafting Kit
Thank you so much for stopping by! I hope you are inspired to make simple handmade cards for friends this week! Give this papercrafting tutorial a try 🙂 Check back soon for more card making ideas!


