A great card sketch, some yummy colors, and you’ll quickly brew up this 5-Minute DIY card. You won’t believe how easy this card goes together!
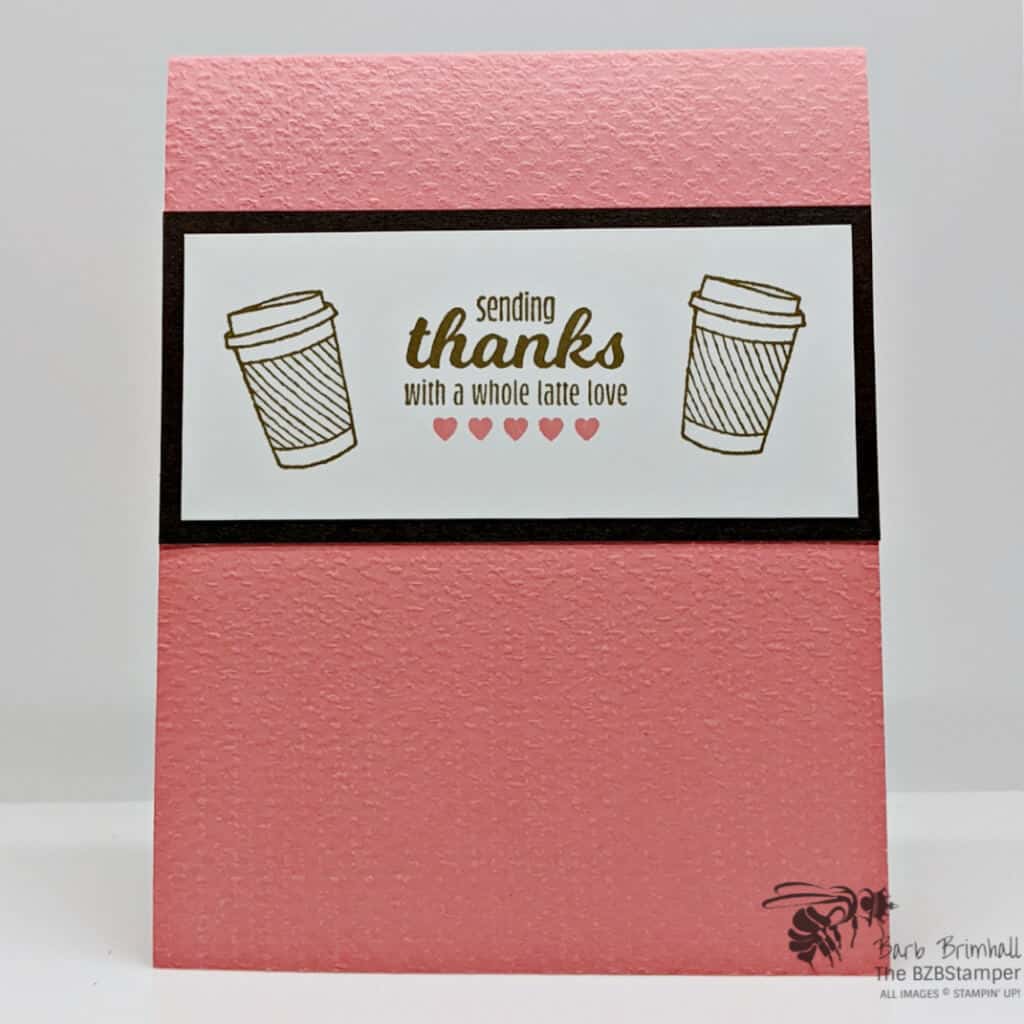
Have you ever needed to send a thank you card in a hurry? That was the case for me when I designed this card.
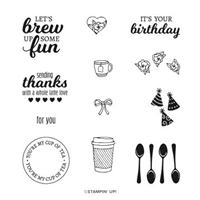
I knew I wanted to use the Brew Some Fun Stamp Set because the person I was sending the Thank You card to loves coffee almost as much as I do! 😄 I really do love the versatility of this stamp set – you can see more cards I’ve made with this set here.
I picked Card Sketch #14 from my Card Sketch Library – I chose this one because it requires minimum cutting! I was also enclosing a Starbuck’s Gift Card and the colors on the gift card just happened to match Flirty Flamingo so I chose that as my base card. When I went to grab some Flirty Flamingo cardstock, I found this card base, already embossed, and so I grabbed it. I especially loved the fact that the embossed background looks similar to a coffee sleeve! You could make this card even simpler by not embossing the base card, but I must admit, it really added to the depth of the card!
You can find complete instructions on how to make this card below. And don’t forget to download the Tutorial in case you’d like to keep it for future use! Enjoy!
Supplies Used on this Project
Project Measurements
- Flirty Flamingo: 4-1/4” x 11”, scored at 5-1/2”
- Early Espresso: 2” x 4-1/4”
- Basic White: 1-3/4” x 4” and 4” x 5-1/4”
Project Instructions
- Optional: Using the Cut & Emboss Machine, place the “front” of the Flirty Flamingo cardstock into the Tasteful Textile 3D Embossing Folder and run through the machine to emboss the front of the card. (tip: use the score line as your guide.)
- Fold the Flirty Flamingo cardstock in half at the score line to create your base card; burnish well using the Bone Folder.
- Adhere the 4” x 5-1/4” Basic White mat inside your card.
- Using the smaller piece of Basic White cardstock, place Scotch Tape or Washi Tape over the sentiment and ink up the hearts using the Flirty Flamingo Ink Pad. Do not stamp yet!
- Remove the tape and using the edge of your Early Espresso Ink Pad, carefully ink up just the sentiment, being careful to not ink the hearts. Huff on your stamp so that your breath re-moistens and activates the ink; stamp onto the center of the Basic White Cardstock.
- Using the Early Espresso ink pad, stamp a cup on either side of the sentiment at a slight angle.
- Adhere the White cardstock to the Early Espresso mat and adhere to the card using Stampin’ Dimensionals to finish.

Pin It
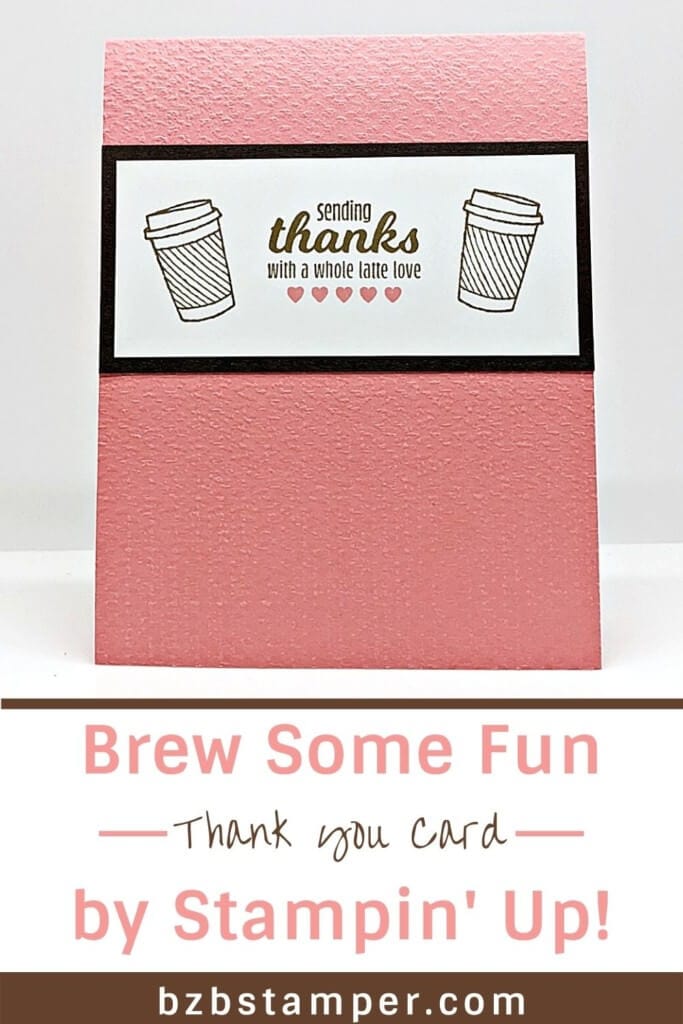
Like this project? Be sure to pin it so you can easily find it again. It will take you right back here to all the details of the card.
- Get a Free Tutorial Every Week!
- Shop 24/7 in your PJ’s
- Queen Bee Rewards – Earn FREE Stamps!
- View the 2024-2025 Annual Catalog
- View NEW Online Products
- Monthly Crafting Kit
Thanks so much for stopping by today! Be sure to give this card sketch idea a try and mail it to a friend that is celebrating something! It’s so fun to make a card but it’s even more fun to send! #makeacardsendacard


