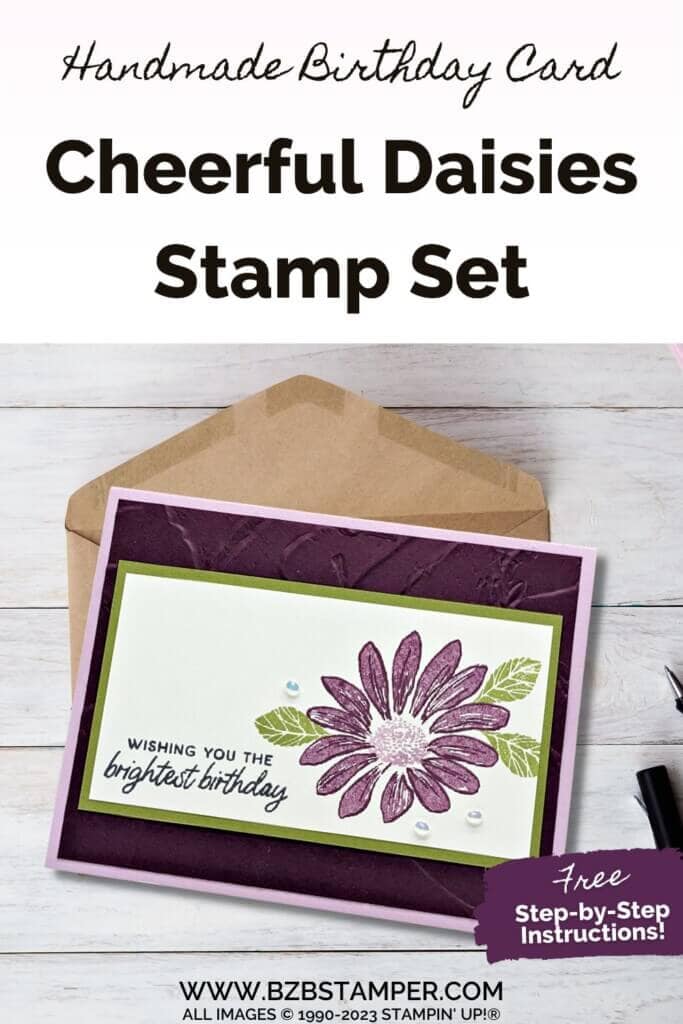
Floral Birthday Card using the Cheerful Daisies Stamp Set
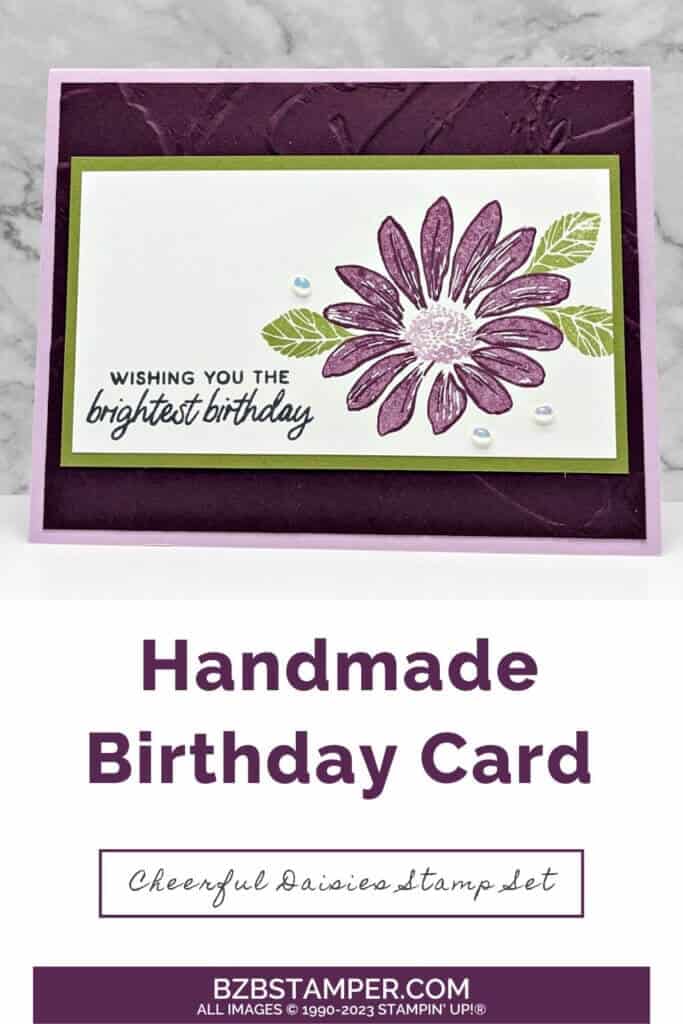
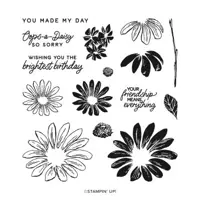
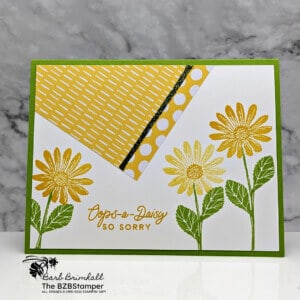
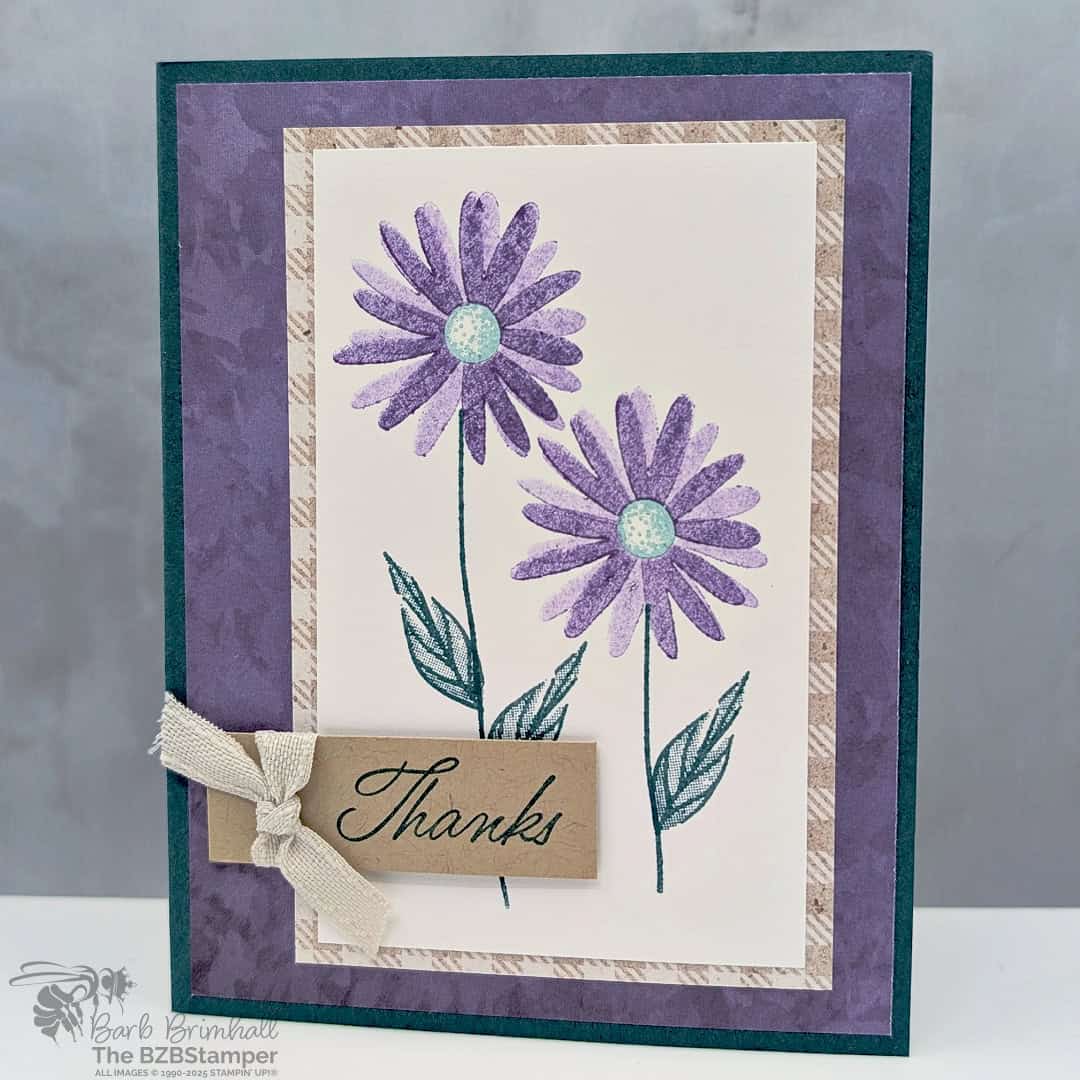
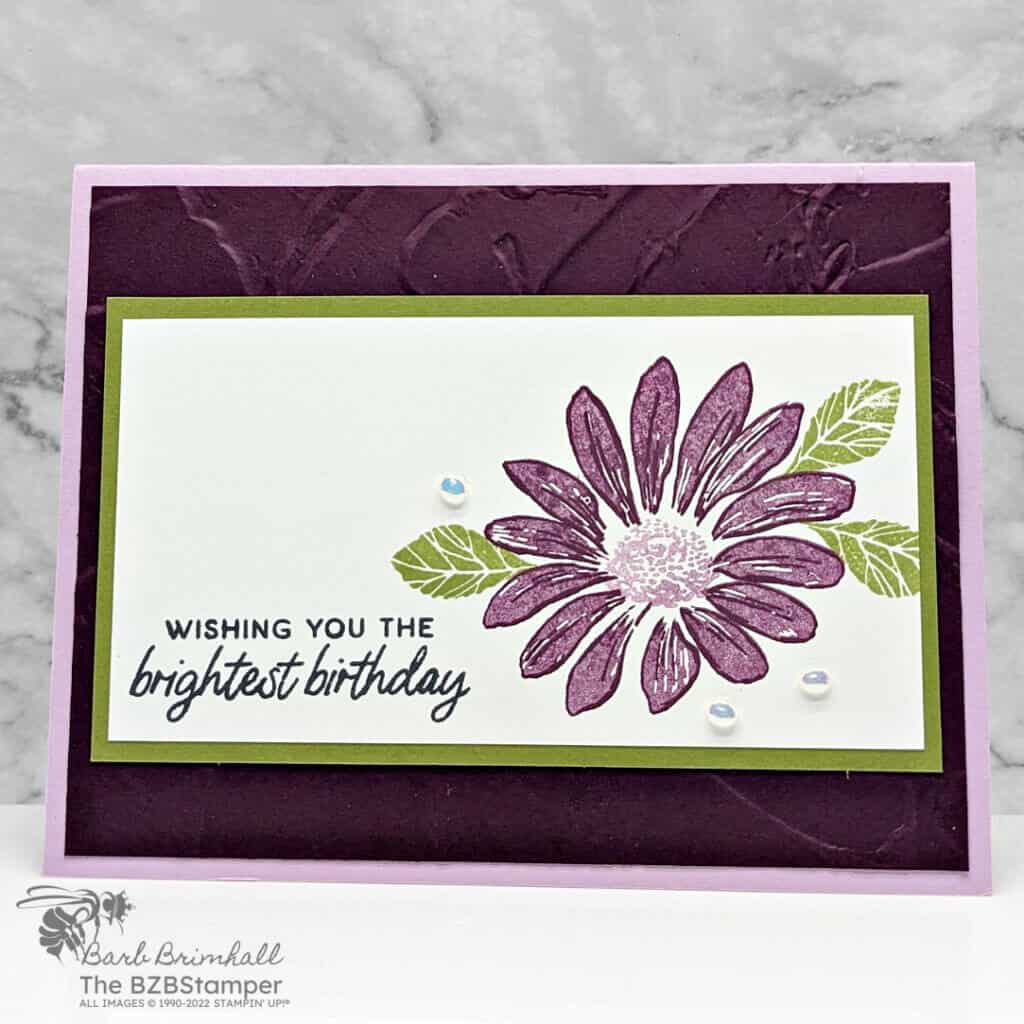
Who knew you could grow a garden on a card? You can make this pretty Birthday Card using the Cheerful Daisies Stamp Set in no time! Grab your Stamp Set, and let’s plant some fun! With a dash of ink, a sprinkle of creativity, and this guide, we’ll be gardening… I mean, stamping… in no time! And guess what? No green thumb is needed! This tutorial will turn you from a budding crafter into a blossoming card artist in a blink!
View more stamped samples & inspiration here
Project Measurements
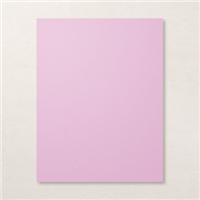
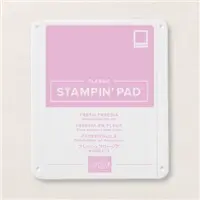
- Fresh Freesia Cardstock: 5-1/2″ x 8-1/2″, scored at 4-1/4″
- Basic White: 4″ x 5-1/4″ (inside card)
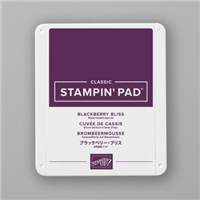
- Blackberry Bliss: 4″ x 5-1/4″
- Old Olive: 2-3/4″ x 5″
- Basic White: 2-1/2″ x 4-3/4″
Instructions
- Fold the Fresh Freesia Cardstock in half at the score line and burnish with the Bone Folder to create the card base.
- Adhere the 4″ x 5-1/4″ piece of Basic White cardstock inside the card.
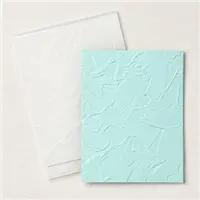
- Run the Blackberry Bliss cardstock through the Stampin’ Cut & Emboss Machine using the Painted Texture 3D Embossing Folder. Adhere the embossed cardstock to the front of the card.
- Using the 2-1/2″ x 4-3/4″ piece of Basic White cardstock, stamp the sentiment at the bottom left of the cardstock using Black Memento ink.
- Using the Blackberry Bliss ink pad, stamp the outline of the daisy to the right of the sentiment. Ink up the bold daisy using Blackberry Bliss ink and tap off once on your scratch paper, then stamp inside the bold outline.
- Stamp 3 of the leaves as desired around the daisy using Old Olive ink.
- Ink the center stamp for the daisy using Fresh Freesia ink, tap off lightly on your scratch paper and then stamp into the center of the daisy.
- Adhere the Basic White cardstock to the Old Olive cardstock and then adhere to the front of the card using Stampin’ Dimensionals.
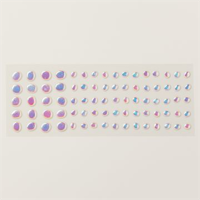
- To finish, add 3 of the Flat Adhesive-Backed Pearls as desired around the daisy.
Supplies Used in this Project
Pin It!
Pin this image below to your board for all those handmade birthday card ideas you have saved, so when you have an opportunity for a fun cardmaking session, you will be able to get right to the creative part!
Thanks for stopping by for today’s card tutorial! My goal is to help you make quick & easy greeting cards for all occasions. If you’d like more detailed directions on how to make this card, feel free to email me. I hope you’ll join me again for more card-making ideas!


