Beautiful Floral Handmade Thank You Card
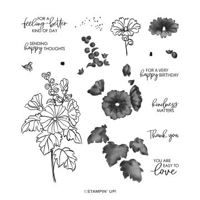
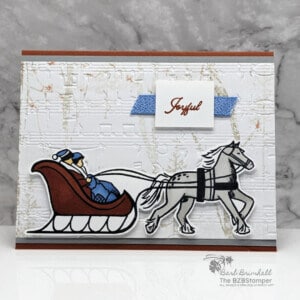
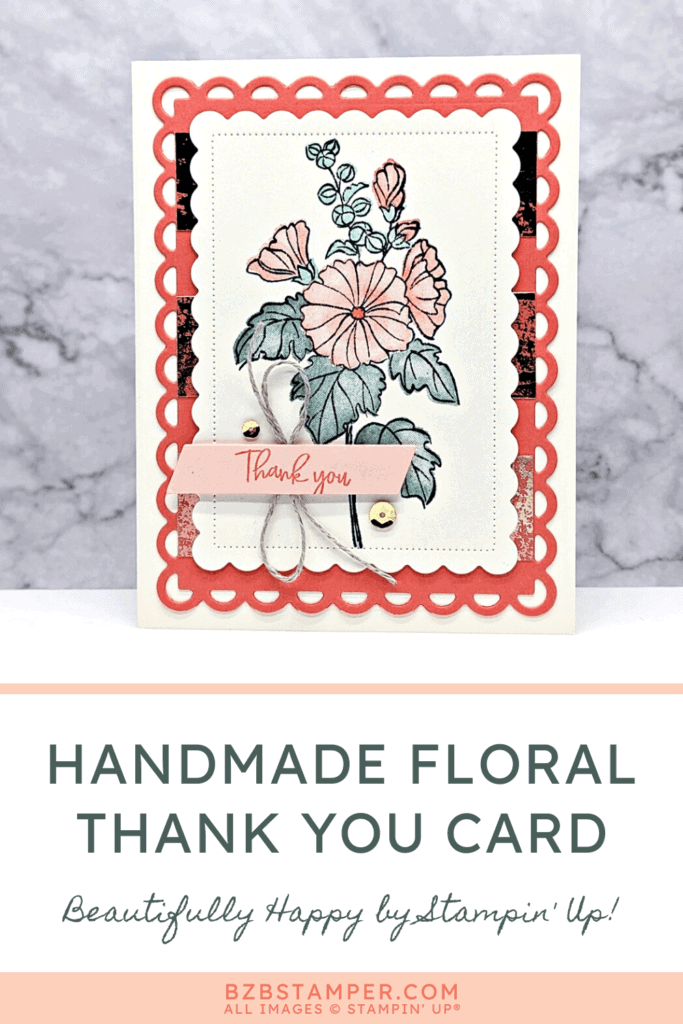
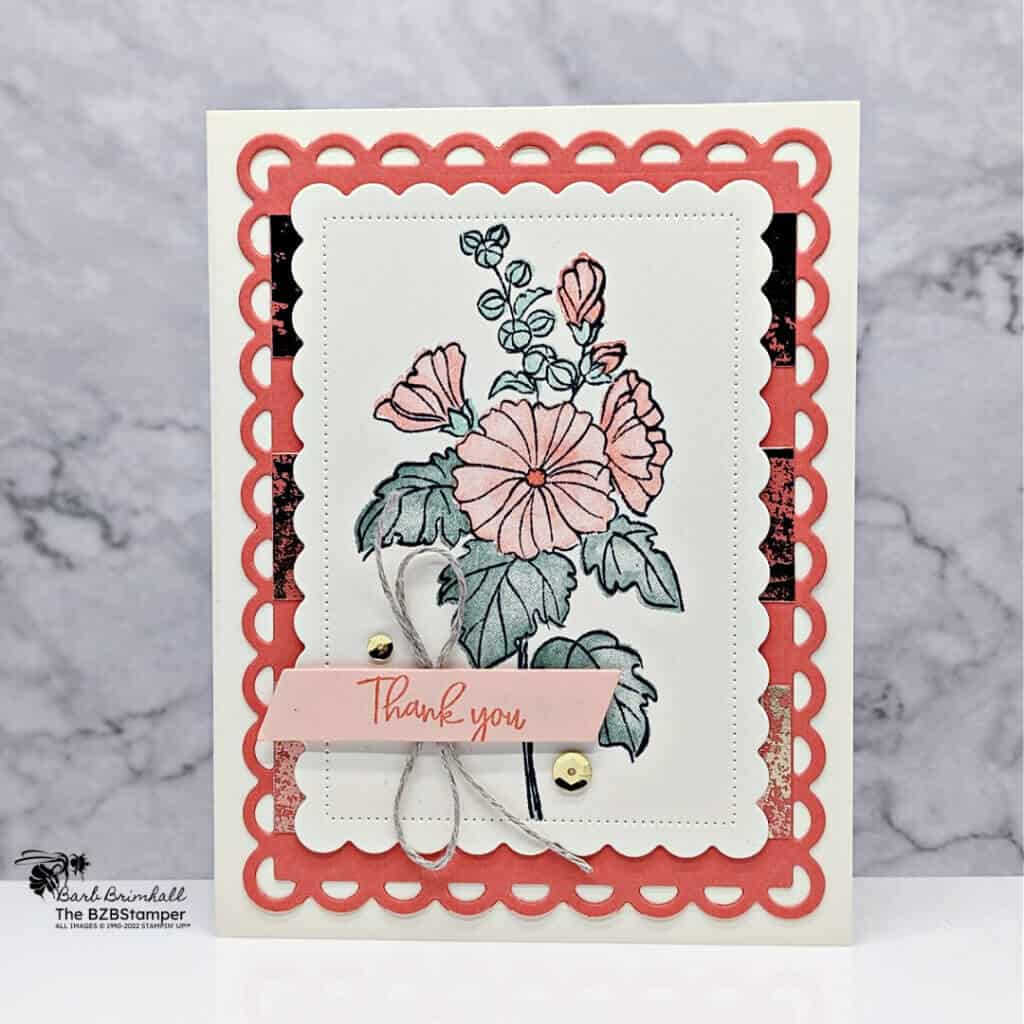
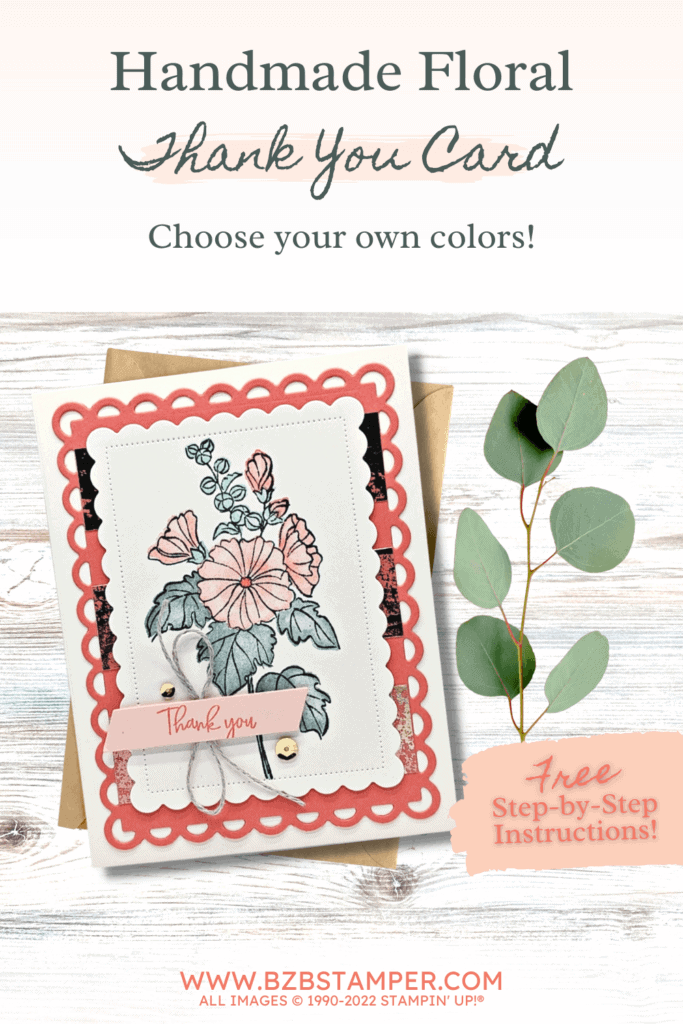
This Beautiful Floral Handmade Thank You Card comes together quickly thanks to the Two-Step Stamping Design of the Beautifully Happy Stamp Set. This stamp set is free during Sale-a-Bration with a qualifying $100 order.
View more stamped samples & inspiration here
Project Measurements
- Very Vanilla: 5-1/2″ x 8-1/2″, scored at 4-1/4″ for base card
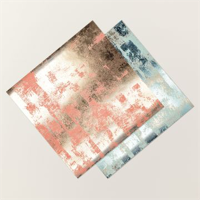
- Dry Brushed Metallic Paper: 1″ x 3-1/2″ (x 3)
- Very Vanilla: 4-1/4″ x 5-1/2″ (for die-cutting)
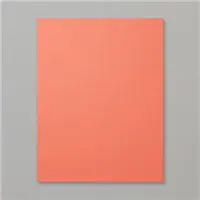
- Calypso Coral: 4-1/4″ x 5-1/2″ (for die-cutting)
- Petal Pink: 1″ x 3″ (for die-cutting)
Instructions
- Fold the Very Vanilla Cardstock in half at the score line and burnish well with your bone folder to create the card base.
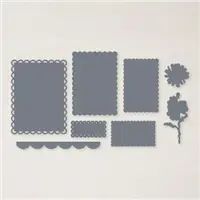
- Using the Cut & Emboss Machine and the Calypso Coral and Very Vanilla cardstock, die-cut using the appropriate dies from the Scalloped Contours Dies.
- Adhere the 3 pieces of Dry Brushed Metallic Specialty Paper, layer onto the Calypso Coral die-cut Cardstock lining up as shown on the sample.
- Adhere the Calypso Coral cardstock to the Vanilla Card Base.
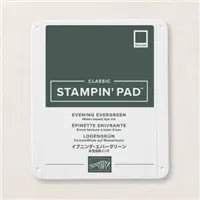
- Using the die-cut Very Vanilla cardstock, stamp the primary floral image using the Evening Evergreen ink pad.
- Using the leaf stamp, ink up the stamp using Evening Evergreen ink, stamp off once and then stamp onto the outline image.
- Ink up the “little bells” image, ink with Evening Evergreen ink, stamp off twice, and then stamp onto the outline image.
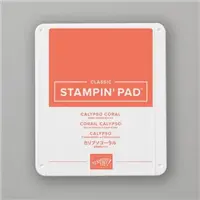
- Ink up the flower image using Calypso Coral ink, tap off once and then stamp onto the outline image.
- Using the small circle stamp, ink with Calypso Coral ink and stamp in center of flower.
- Adhere the vanilla cardstock to the front of the card using adhesive.
- Stamp the “thank you” onto the strip of Petal Pink cardstock using Calypso Coral ink. Run through the Cut & Emboss Machine and emboss with the sentiment die from the Something Fancy Dies.
- Create a bow using the Linen thread and either glue it onto the back of the sentiment strip or adhere to card where it will be covered by the sentiment strip.
- Adhere the sentiment strip to the card using Stampin’ Dimensionals.
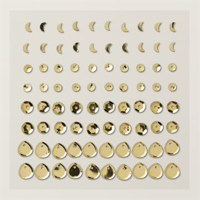
- To finish the card, adhere 2 of the Gold Faceted Sequins as desired around the sentiment to finish.
Supplies Used in this Project
Price: $8.00
Pin It!
Go ahead and pin this image in your “favorites” board so you can find this when you need it!
Thank you so much for stopping by and checking out this papercrafting tutorial. I hope you are inspired to create and send cards. If you’d like more detailed directions on how to make this card, feel free to email me. I love sharing how to make cards here on the BZBStamper blog, and I can’t thank you enough for all of your support!


