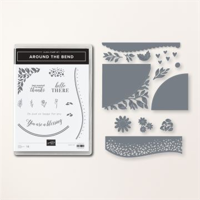
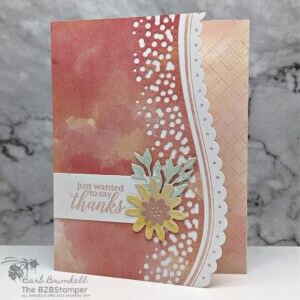
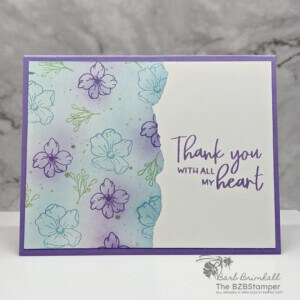
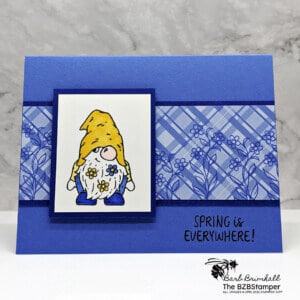
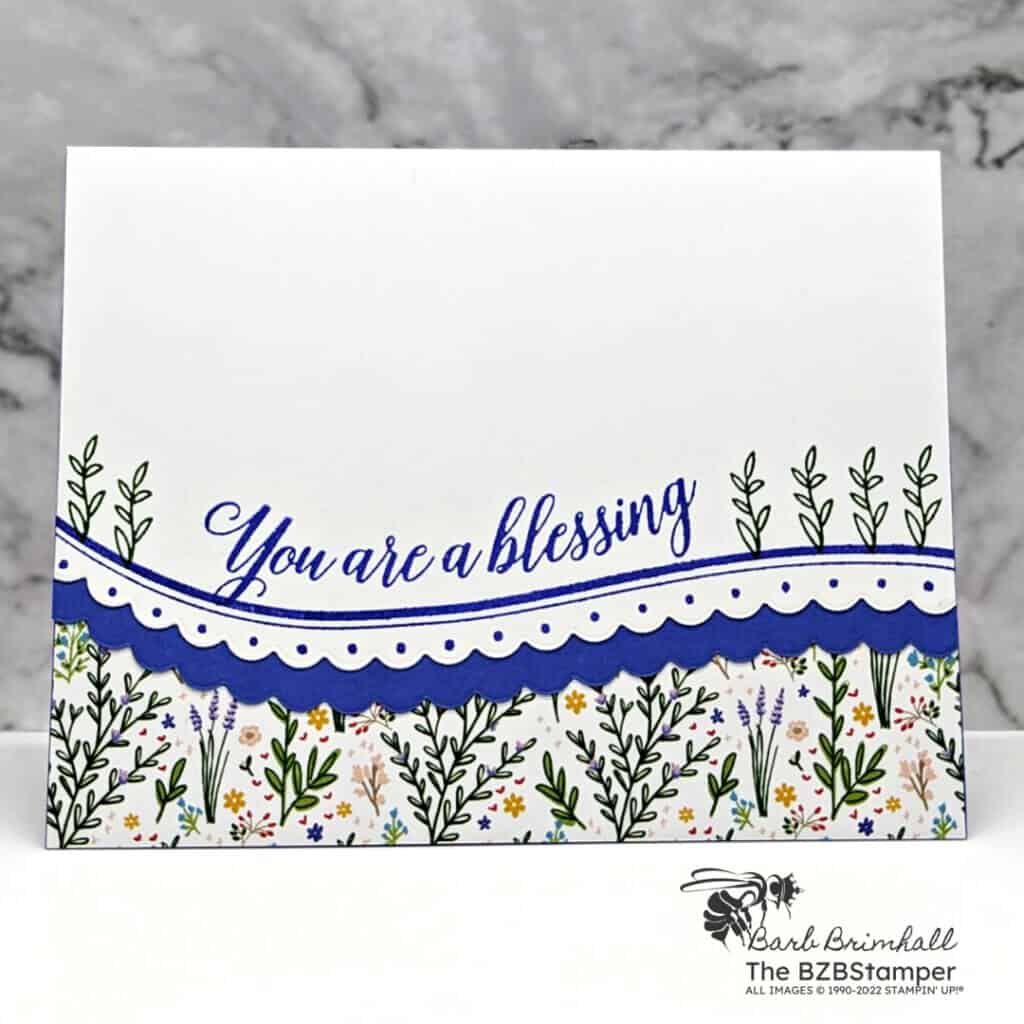
Take your cardmaking to another level with the stamps and dies in the Around the Bend Bundle by Stampin’ Up! Deceptively each to use, these dies coordinate beautifully with the stamps for stunning results. Use them together to make creative borders on card fronts. Cut a curvy border, then stamp a coordinating image to finish it beautifully. Or stamp and then die-cut standalone accents for your projects. The products in this bundle will quickly become your go-to embellishment for papercrafting!
View more stamped samples & inspiration here
Project Measurements
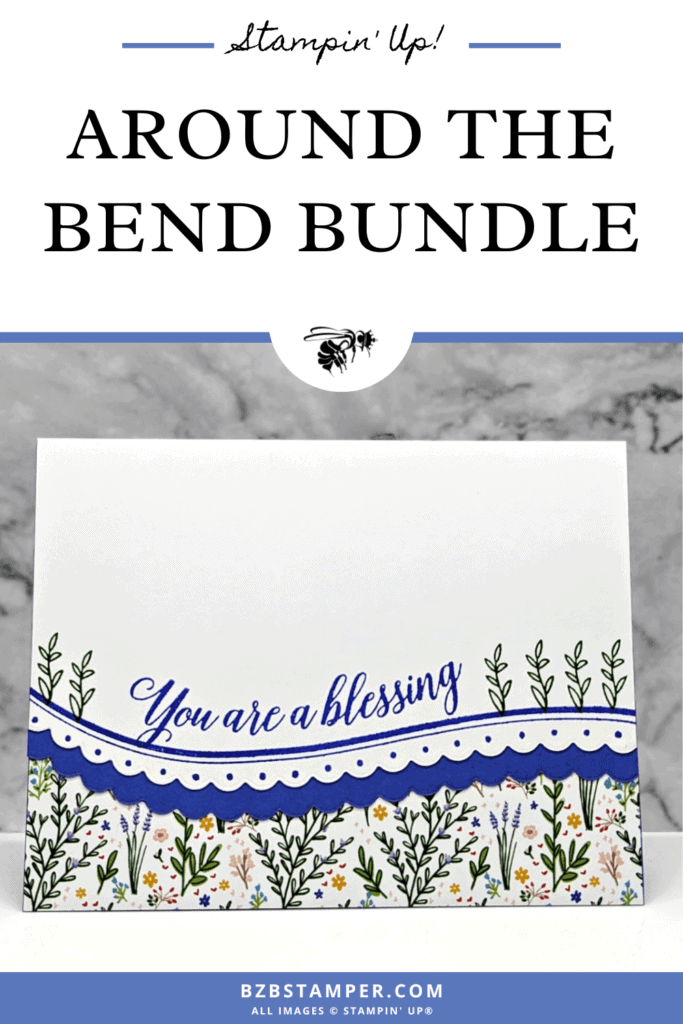
- Basic White: 5-1/2″ x 8-1/2″, scored at 4-1/4″ and 3-1/4″ x 5-1/2″ (for die-cutting)
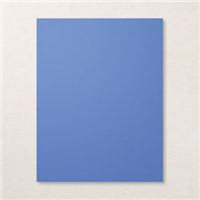
- Orchid Oasis: 3-1/2″” x 5-1/2″
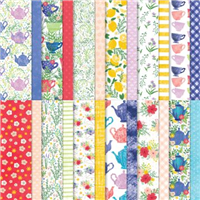
- Tea Boutique Paper: 2″ x 5-1/2″
Instructions
- Fold the Basic White cardstock in half at the score line to create your card base.
- Layer the strip of Tea Boutique paper onto the bottom of the front of the card.
- Using the Cut & Emboss Machine and the border die from the Around The Bend dies in the Bundle, die-cut the bottom of the Basic White and Orchid Oasis cardstock. Set aside the Orchid Oasis cardstock.
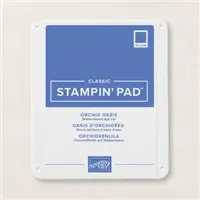
- Using the curved border stamp from the stamp set and Orchid Oasis ink, stamp the image onto the die-cut Basic White cardstock, lining up the “dots” with the die-cut scallop edge.
- Stamp the sentiment just above the center of the curve using Orchid Oasis ink. Stamp the “fern” image on both sides of the sentiment using Garden Green ink.
- Layer the die-cut White cardstock onto the Orchid Oasis die-cut cardstock so that about 1/4″ of the Orchid Oasis cardstock shows below the White.
- Adhere to the card front, lining up the top of the Cardstock.
Supplies Used in this Project
Pin It!
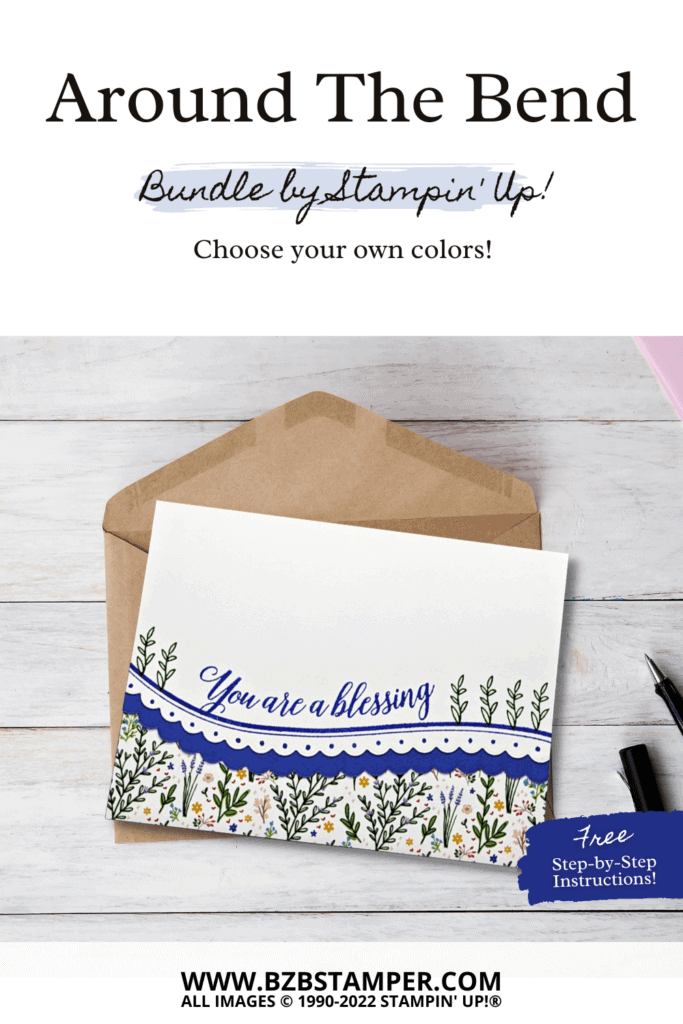
Save this to your Pinterest board where you save those quick and easy cards.
Thanks for stopping by for today’s card tutorial! My goal is to help you make quick & easy greeting cards for all occasions. If you’d like more detailed directions on how to make this card, feel free to email me. I hope you’ll join me again for more cardmaking ideas!


