Are You Sending Handmade Christmas Cards This Year?
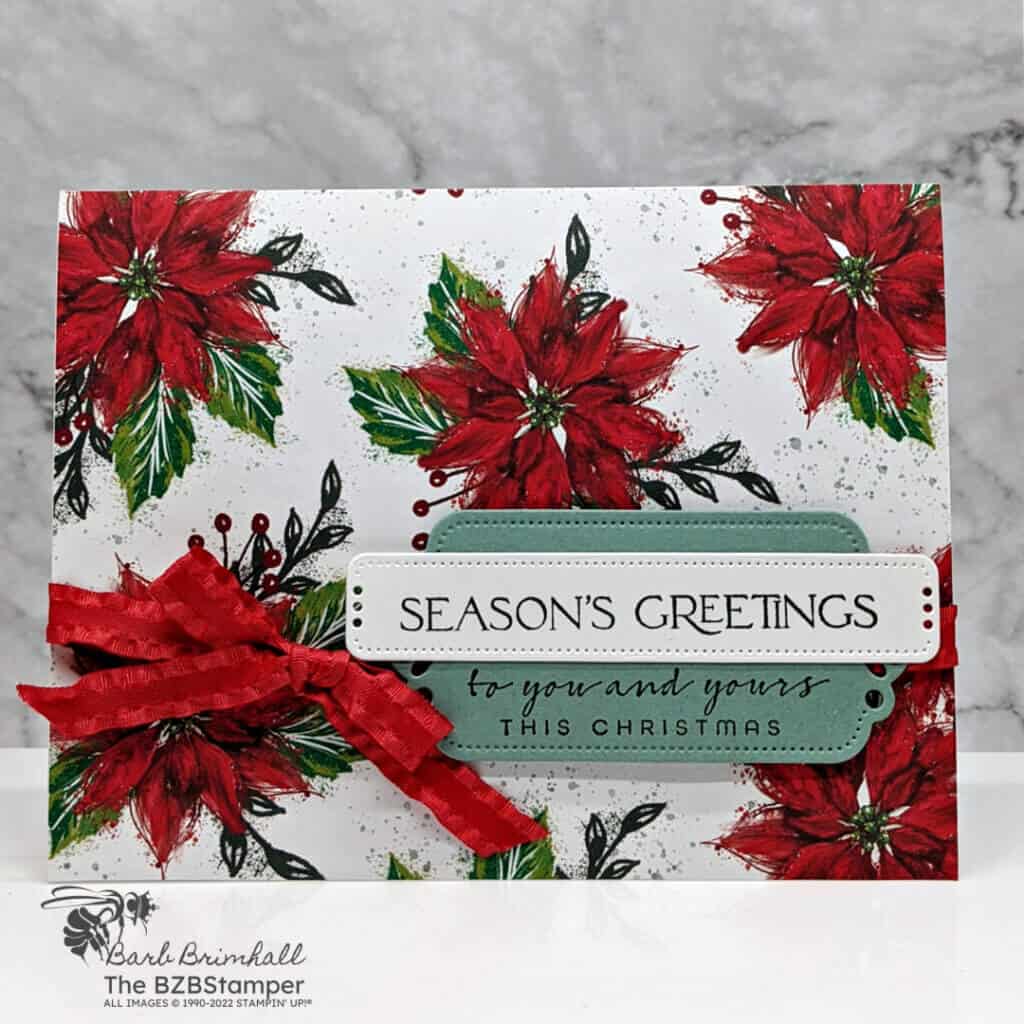
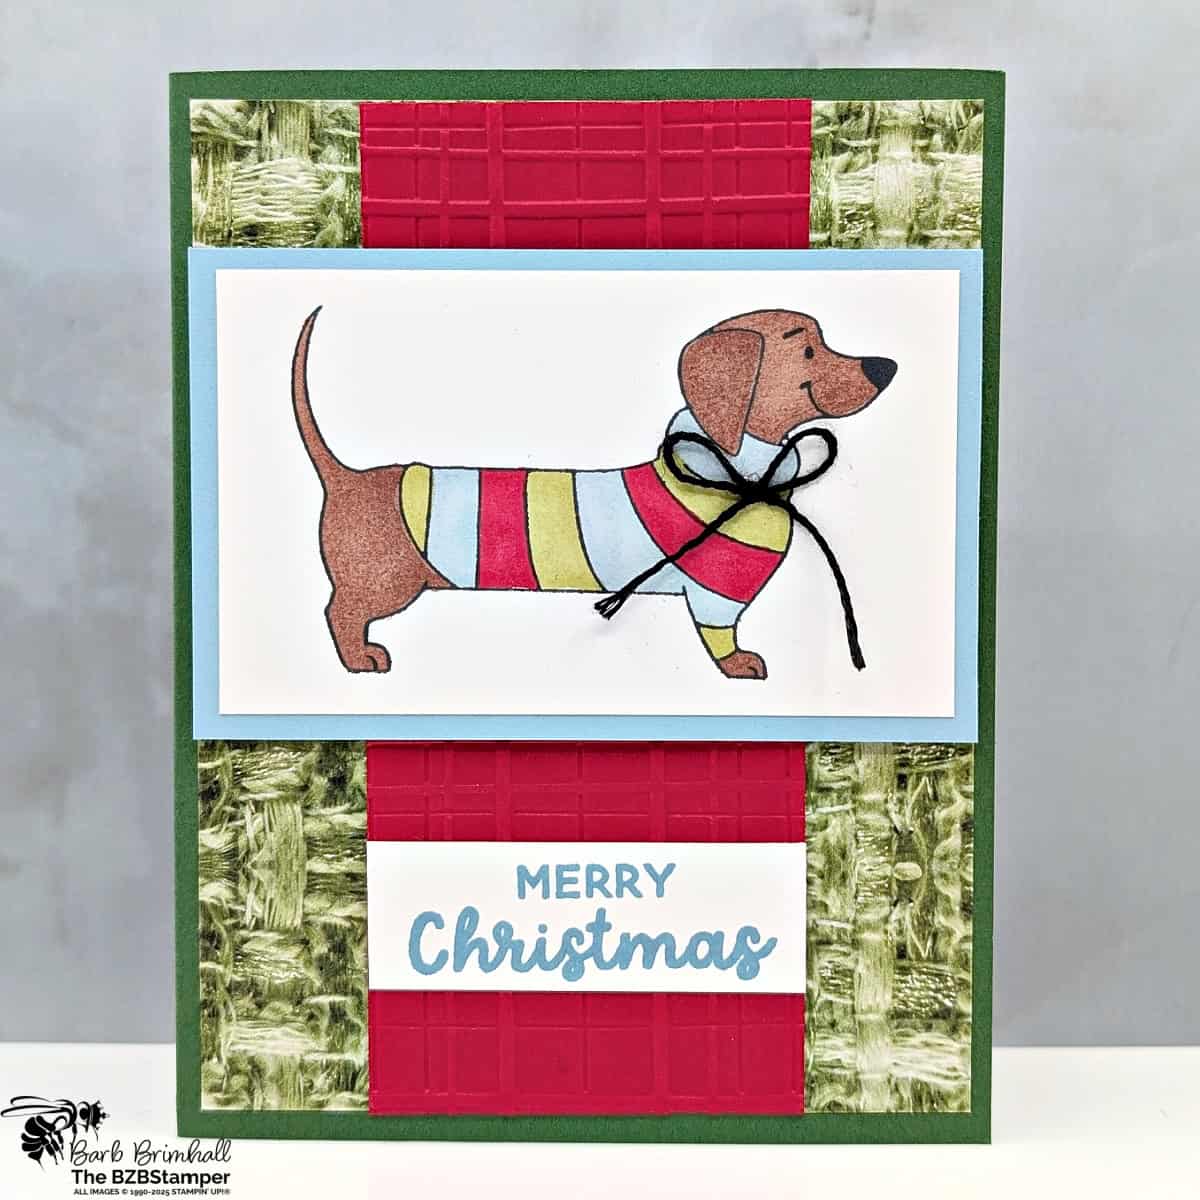
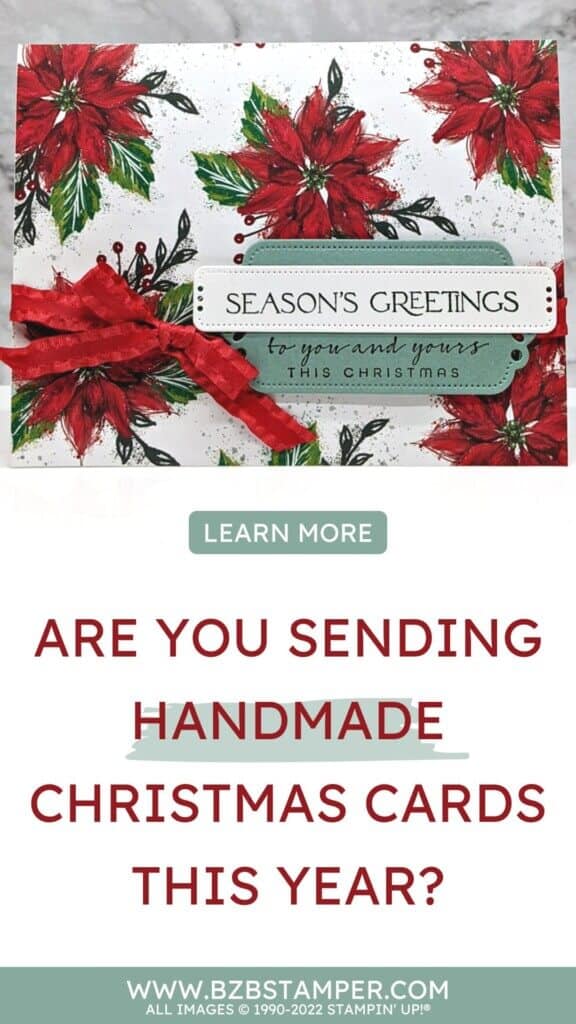
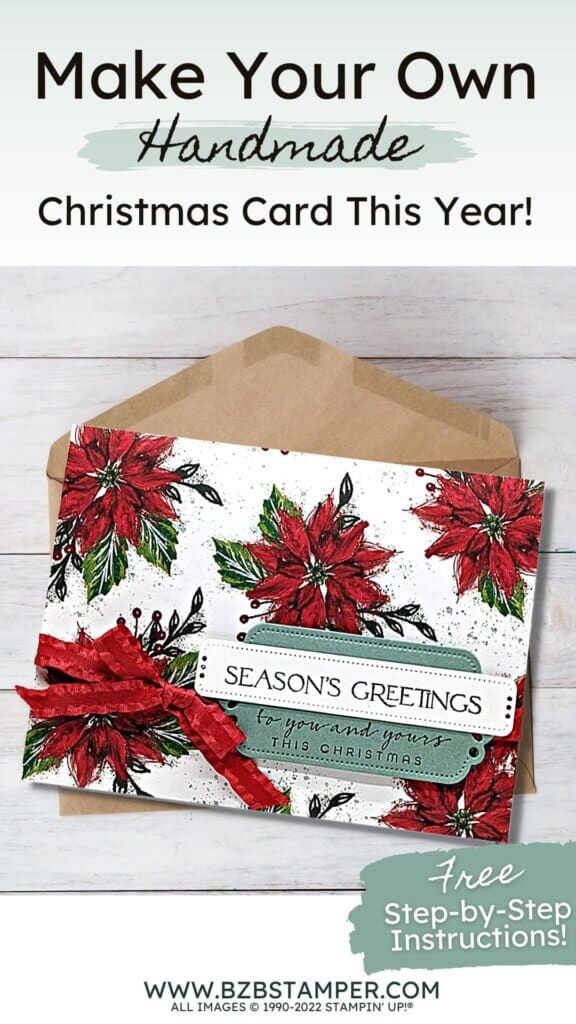
Are you sending handmade Christmas Cards this year? If so, you can make this card quickly, especially if you use the Cut & Emboss Machine to die-cut the sentiment tags. (And if you don’t have these dies, you can just cut rectangles from the cardstock and call it good!) Using this design, you’ll be able to make a lot of Christmas cards in a hurry, thanks to the gorgeous patterned paper that does all the heavy lifting!
View more stamped samples & inspiration here
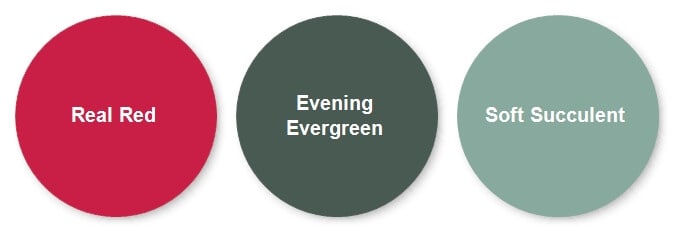
I love to use Stampin’ Up!’s beautiful patterned papers when I need a card in a hurry! It can serve as the focal point of your card, making the rest of your design easy to put together. In this case, I pulled my color combination straight from the paper: Real Red, Soft Succulent and Evening Evergreen. (You can find other color combinations in my Color Combination Library if you’d prefer something a bit different.)
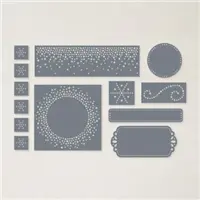
I also wanted to step this card up a bit so I used the Labels Aglow Dies for the sentiment labels. But if you don’t have the dies or a Cut & Emboss Machine, you can simply convert your labels to rectangles or squares, depending on the sentiment you’re stamping. I love this card so much, that I even created a downloadable Tutorial. Download the Tutorial here.📩
Project Measurements
- Basic White: 5 ½” x 8 ½” scored at 4 ¼” and 1” x 4” for die-cutting
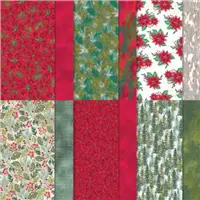
- Boughs of Holly Designer Paper: 4-1/4” x 5-1/2”
- Soft Succulent: 2” x 4” for die-cutting
Instructions
- Fold the Basic White cardstock in half to create your card base.
- Adhere the Boughs of Holly paper onto the front of your card.
- Wrap the Red Real ribbon around the card front and tie it into a bow on the left side.
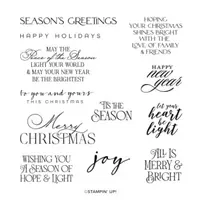
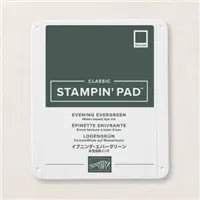
- Using the Cut & Emboss Machine, cut the approximately 1-1/2” x 3” Labels Aglow die from the scrap of Soft Succulent cardstock. Stamp the sentiment at the bottom of the label using Evening Evergreen ink.
- Using the Cut & Emboss Machine, cut the approximately ½” x 3-1/2” Labels Aglow die out of the scrap of Basic White cardstock. Stamp the sentiment onto the die using the Evening Evergreen ink pad.
- Layer the White label onto the Soft Succulent label using adhesive.
- Adhere the combined label to the card front using Stampin’ Dimensionals to finish.
Supplies Used in this Project
Pin It!
Be sure to pin this project to your favorite Christmas Card board on Pinterest if you like this project
Thank you so much for stopping by! I hope you are inspired to make simple handmade cards for friends this week! If you’d like more detailed directions on how to make this card, feel free to email me. Give this papercrafting tutorial a try 🙂 Check back soon for more card making ideas!


