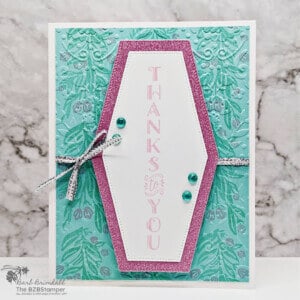
Hey there, craft enthusiast! Ready to dive into the wonderful world of Acrylic Block Stamping? I’ve got you covered with this easy-to-follow Tutorial. It’s not just about making pretty art (though that’s a huge bonus!), it’s about having a ton of fun and discovering your creative side. So, grab that ink pad, choose your stamp, and let’s get started on this amazing adventure together. Ready, set, stamp!
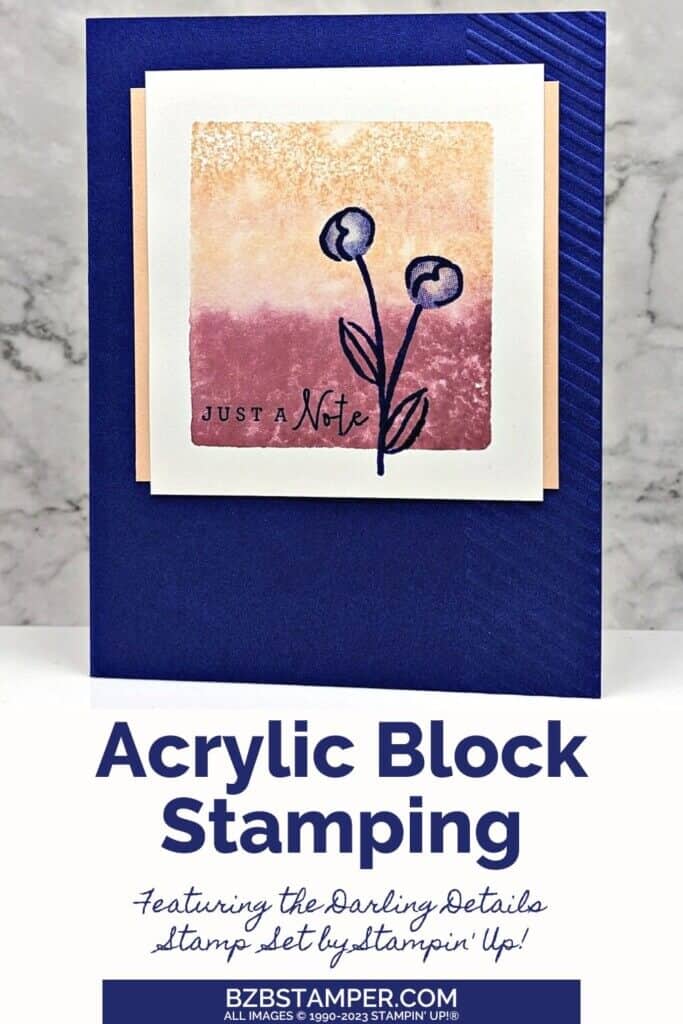
View more stamped samples & inspiration here
Acrylic block stamping is a technique used in papercrafting that uses clear acrylic blocks to transfer ink designs to paper or other surfaces. It’s a super simple 4-step process that, while easy, takes practice. I recommend that you experiment on several pieces of scrap paper before you create your first card. Here are the four steps:
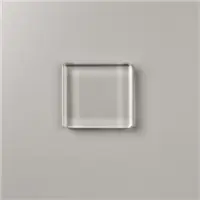
- Choose your stamp and acrylic block. While any stamp will work, you’ll want to choose an acrylic block that is slightly larger than your stamp. For example, in this project, that stamped image will be on a “C” block, while the background image will be done on a “D” block. You can see the sizes of all Stampin’ Up! blocks here,
- Decide what cardstock you’ll use. I recommend practicing on our standard Basic White Cardstock, but for your finished product, our Thick White Cardstock or Watercolor Paper works best.
- Determine what method & color of inks you’re going to use. In this case, I used ink pads, but you can also use our Stampin’ Write Markers. The main thing to remember is that you must use a dye-based (water-based) ink. Permanent inks will not work for this technique as you need them inks to “run” when spritzed with water.
- Apply Water to the Block. The easiest way to do this is to use a Stampin’ Spritzer but any fine-mist spray bottle will work.
If you need some inspiration for different color combinations, check out my Color Combination Library. You’re sure to find some ideas there.
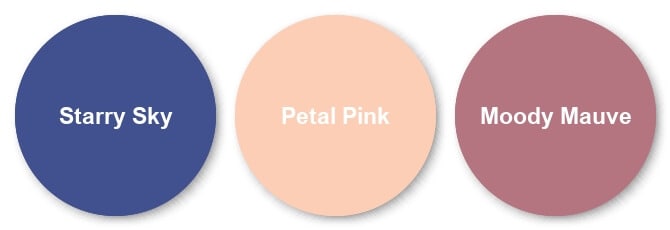
Project Measurements
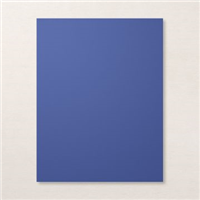
- Starry Sky Cardstock: 5-1/2″ x 8-1/2″, scored at 4-1/4″
- Petal Pink Cardstock: 3-1/4″ x 3-1/2″
- Thick White Cardstock:: 3-1/4″ x 3-1/2″ and 4″ x 5-1/4″ (for inside card)
Instructions
- Fold the Starry Sky cardstock in half at the score line to create your card base.
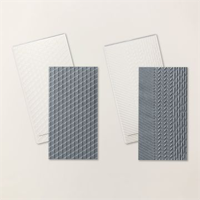
- Optional: Line up the “dashed line” Embossing Folder from the Geometric Patterns Embossing Folders with the right side of the front of the card base and run through the Mini Stampin’ Cut & Emboss Machine. Refold the card in half and burnish well on the score line with the Bone Folder.
- Adhere the 4″ x 5-1/4″ piece of Basic White cardstock on the inside of the card.
- Using adhesive, adhere the Petal Pink cardstock onto the front of the card, about 1/2″ down from the top of the card. Note: the 3-1/2″ length goes from left to right, while the 3-1/4″ side goes top to bottom.
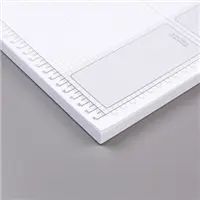
- Lay out the Thick White Cardstock onto your scratch Grid Paper with the 3-1/2″ length going from top to bottom. Make sure your Stampin’ Spritzer is filled half-way with water.
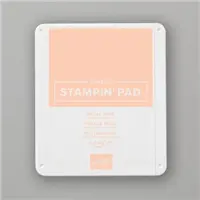
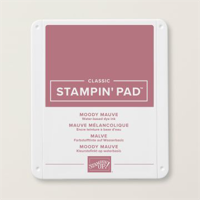
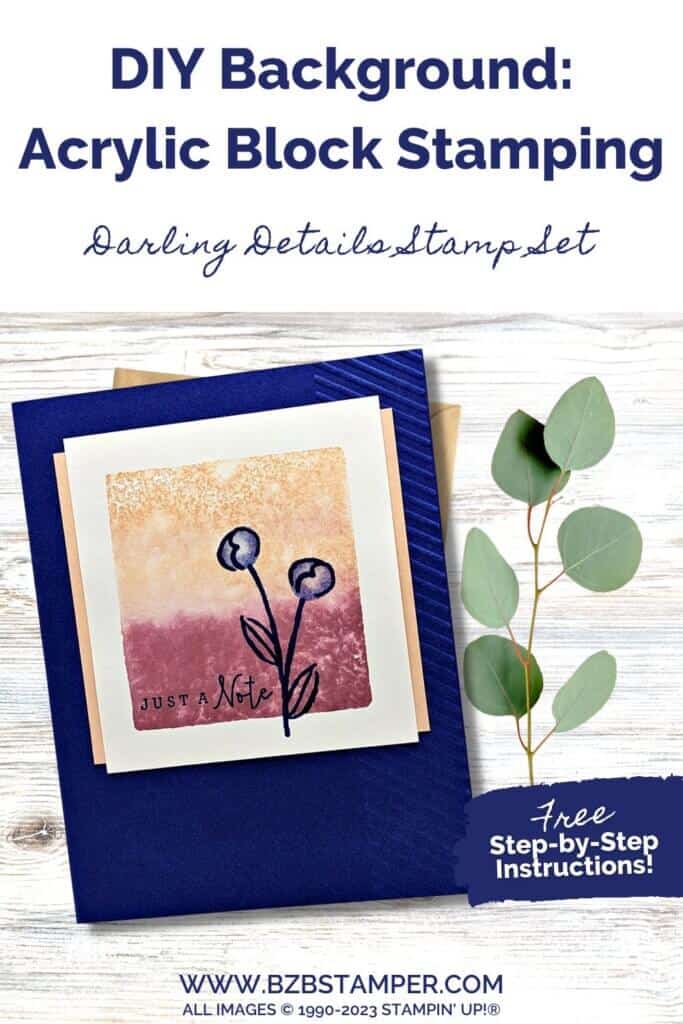
- Using the D block, add Petal Pink ink onto the top half of the block by “squishing” the block into the ink pad. Use the Moody Mauve ink pad to apply ink to the bottom of the block – it’s ok if the colors slightly overlap as the Petal Pink ink is too light to do any damage to your Moody Mauve ink pad.
- With your block laying flat, ink side up, lightly spritz the block so that the ink is starting to run, but not so much water that it pools and will drip when the block is stamped onto the cardstock. (This is where practicing first is helpful so you get a feel for how much water you’ll need on your block.)
- After spritzing, stamp the block onto the center of the Basic White Thick cardstock. Press down firmly on the block and hold it for a few seconds. If the water doesn’t “bleed”, you may not have used enough water. You can re-sprtiz the block and stamp again onto the cardstock.
- Let the White cardstock dry.
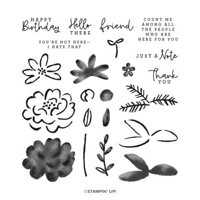
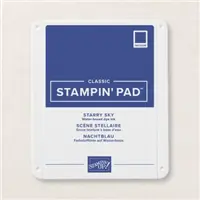
- Once the cardstock is totally dry, Ink up the “just a note” using Starry Sky ink and stamp onto the bottom left of the inked background. Ink up the stem of the flower using Starry Sky ink and stamp to the right of the sentiment. Ink and stamp again to create a second stem. Using the same ink, stamp the flower bud outline at the top of both stems and the outline leaf onto both stems. Ink up the bold flower bud with Starry Sky ink, tap off at least once on your scrap Grid Paper and stamp onto the bud flower outline.
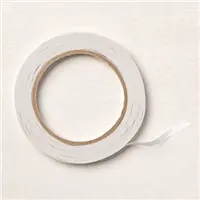
- Adhere the White cardstock to the card front, lining up onto the Petal Pink cardstock. Note; if your paper absorbed too much water, it will probably not lay flat. In this case, you the Tear & Tape adhesive on all 4 sides to adhere to the front of your card so that it will lay totally flat.
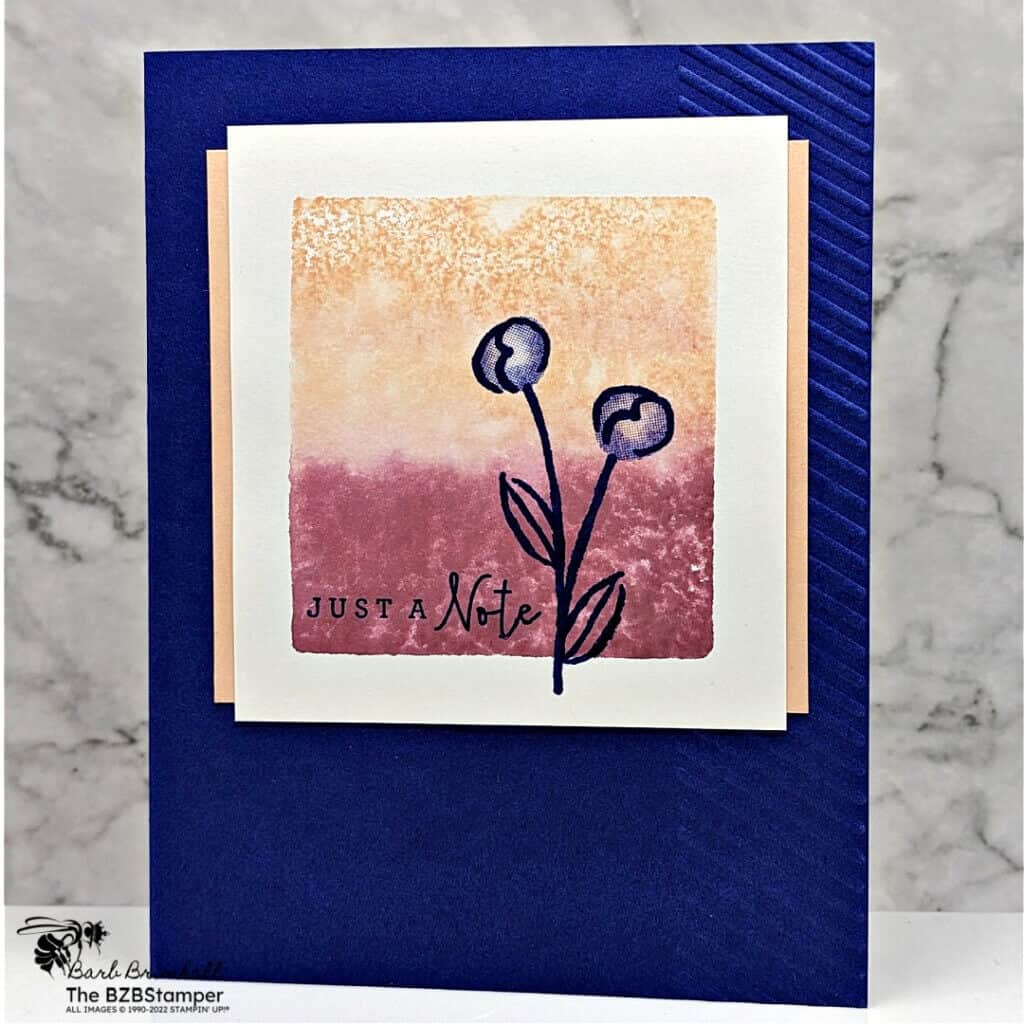
Supplies Used in this Project
Pin It!
Now it’s your turn to make this project! Pin this to your favorite cardmaking Pinterest Board so you can find it quickly!
Thank you so much for stopping by today. I hope you are inspired to create today, whether it is this simple and cute handmade card or another cardmaking project. My goal is to help you carve out some creative joy! If you’d like more detailed directions on how to make this card, feel free to email me. Keep checking back for more projects.


