A Simple Polar Bear Card You Can Make In Minutes
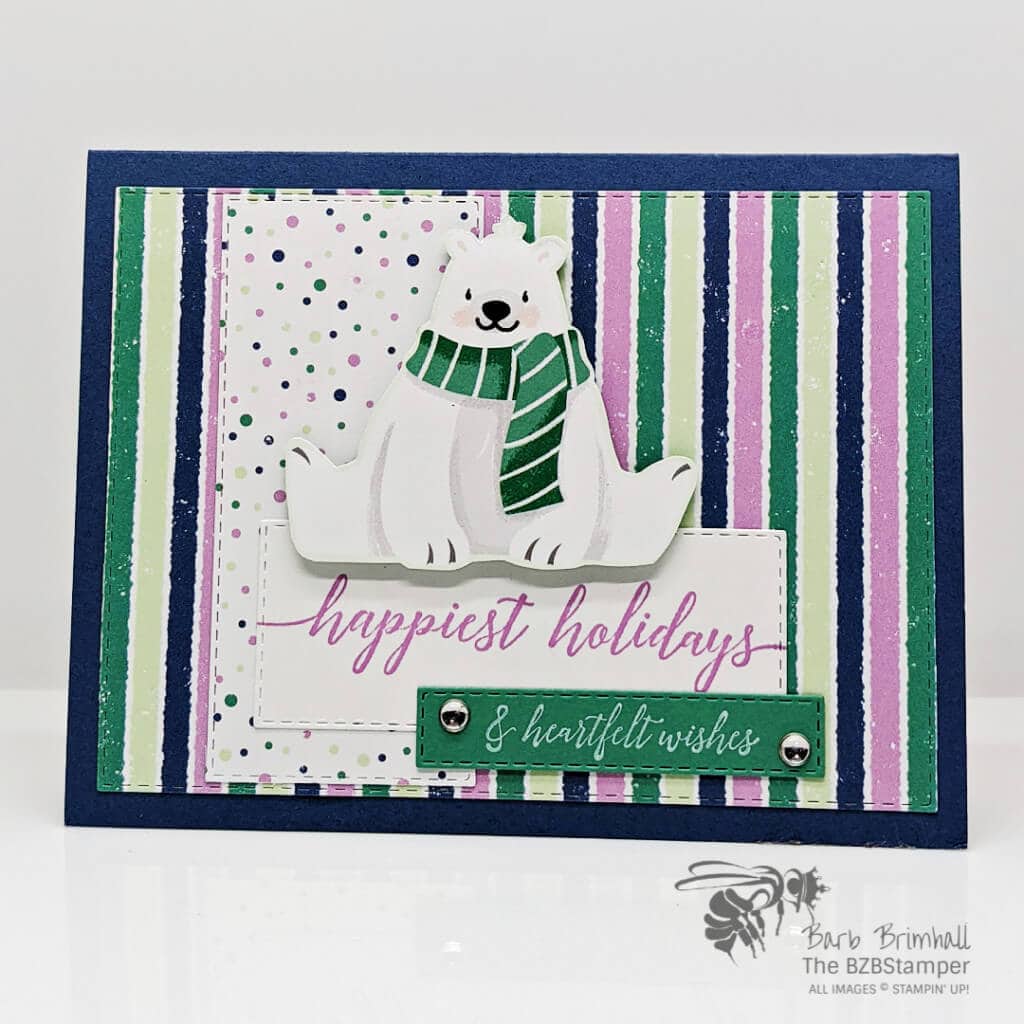
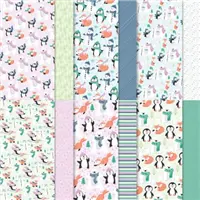
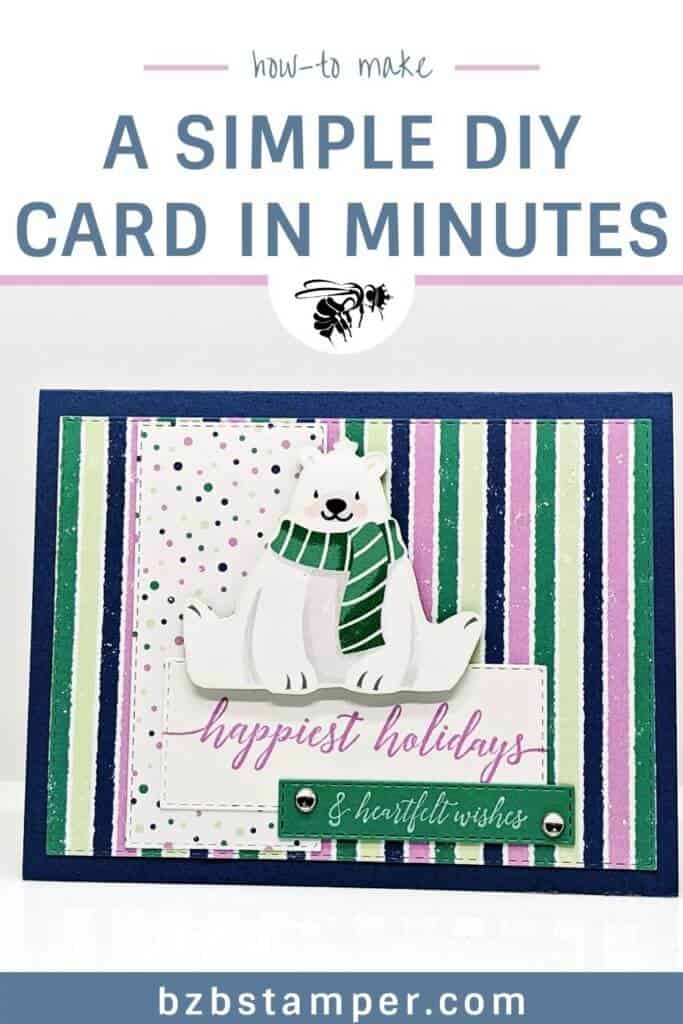
How about a card you can make in minutes? This cute Polar Bear card uses the free Penguin Playmates Sale-A-Bration paper to do all the heavy lifting!
The basics of this card are super simple – use the adorable Pengin Playmates Designer Paper (available for free with a qualifying order during Stampin’ Up!’s Fall Sale-A-Bration which ends September 30, 2021) for your colors and design elements. It’s so easy to do! You can see other cards I’ve made with this paper here.
I started with one of my favorite Papers from the Penguin Playmates paper – the fun striped pattern. To cut everything but the card base, I used the Rectangle Stitched Dies by Stampin’ Up!, but if you don’t have these, just pull out your Paper Trimmer and cut some different sizes of rectangles.
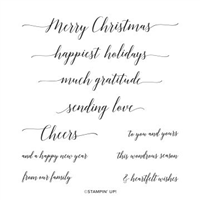
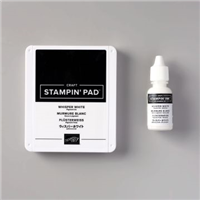
I used the Heartfelt Wishes stamp set for my sentiments – I think the font on these sentiments is so pretty! For the sentiment on the Just Jade cardstock, I used our White Craft Ink. (you can learn more about this craft ink here.) I was in a hurry to make this card and didn’t want to take the time to heat emboss the sentiment with White Embossing Powder, so I just made sure my ink pad was well-inked. Done is better than perfect, right? 😊
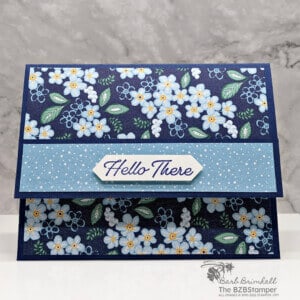
Here are the full instructions on how I made this card:
Supplies Used on this Project
Project Measurements
- Misty Moonlight: 5-1/2” x 8-1/2” scored at 4-1/4”
- Basic White: 4” x 5-1/4” (inside card) and 1-1/2” x 3-1/2” for die-cutting
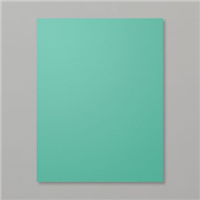
- Just Jade: 1” x 3” for die-cutting
- Penguin Playmates Paper: 4” x 6” for striped paper die-cutting; 2” x 4” for polka dot pattern; scrap with sitting Polar Bear pattern
Project Instructions
1. Fold the Misty Moonlight cardstock in half at the score line and burnish well with your Bone Folder.
2. Adhere the 4” x 5-1/4” Basic White cardstock inside your card.
3. Using the Cut & Emboss Machine and the Stitched Rectangle dies, use the 3-7/8” x 5-1/4” Rectangle die to cut out the striped Designer Paper; the 1-5/8” x 3-5/8” rectangle to cut out the Polka Dot paper; the 1-1/4” x 3-1/4” die to cut out the White cardstock and the 3/8” x 2-1/2” rectangle die for the Just Jade cardstock.
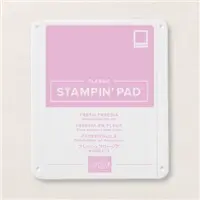
4. On the White rectangle, stamp the “happiest holidays” using Fresh Freesia ink.
5. On the Just Jade rectangle, stamp the “heartfelt wishes” using a well-inked White Craft ink pad.
6. Layer the striped paper onto the base card. Adhere the polka dot paper on the left side, about 1” over from left side.
7. Adhere the White stamped rectangle as shown in the sample, with the Just Jade rectangle just below in and slightly over as shown in the sample.
8. Using your Paper Snips, cut out the sitting Polar bear and adhere to the top of the White rectangle using Stampin’ Dimensionals.
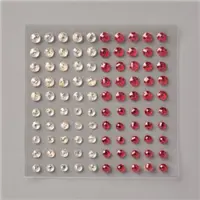
9. Add 2 of the small clear Wonderful Gems on either side of the Just Jade rectangle as desired to finish.

Pin It
Like this project? Be sure to pin it so you can easily find it again. It will take you right back here to all the details of the card.
- Get a Free Tutorial Every Week!
- Shop 24/7 in your PJ’s
- Queen Bee Rewards – Earn FREE Stamps!
- View the 2024-2025 Annual Catalog
- View NEW Online Products
- Monthly Crafting Kit
Thank you so much for stopping by and checking out this papercrafting tutorial. I hope you are inspired to create and send cards. I love sharing how to make cards here on the BZBStamper blog and I can’t thank you enough for all of your support!


