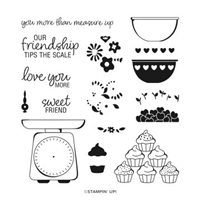
Today’s card uses the Measure of Love stamp set by Stampin’ Up! and is perfect for a bright and trendy handmade card!
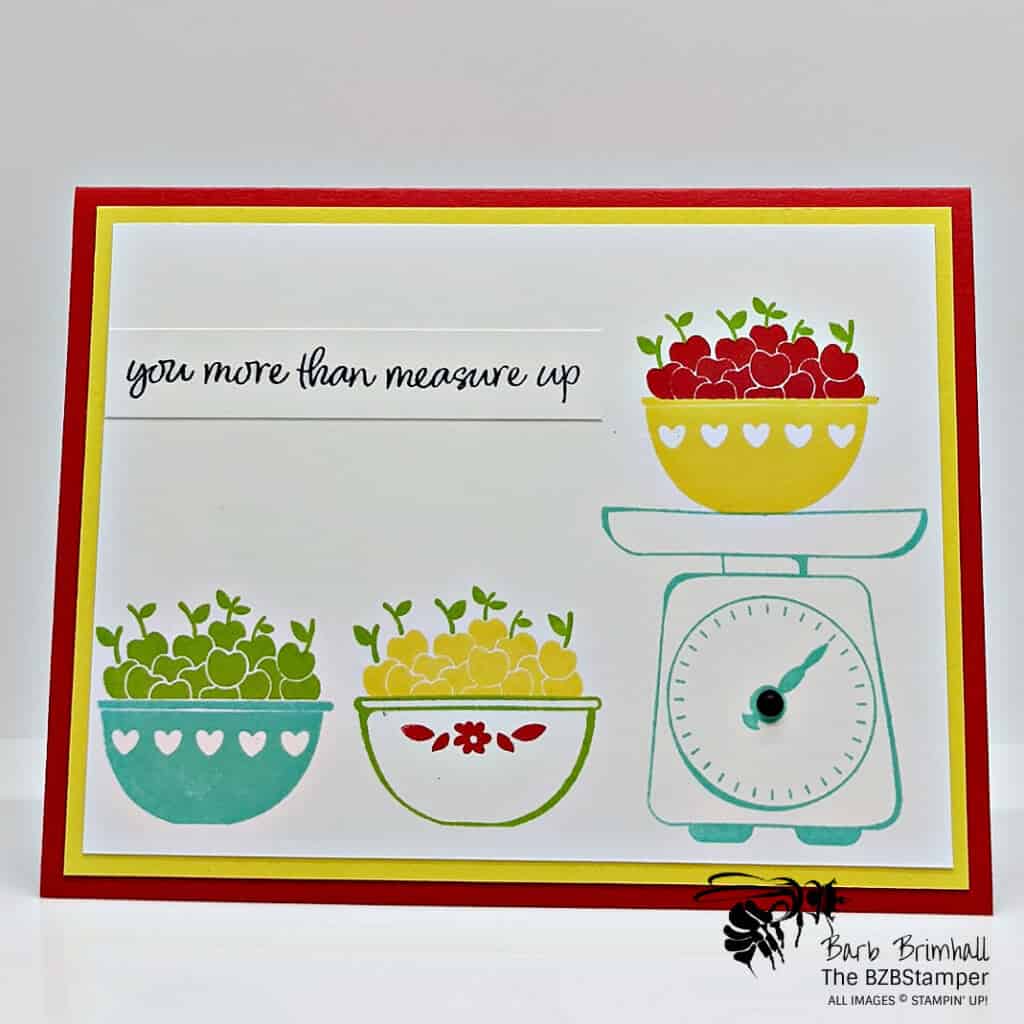
How fun is this card? It’s so bright and cheery!
I needed a card for a friend who was needing a bit of cheering up and I hadn’t used this stamp set yet, so I pulled it out and started stamping – it came together so quickly!
I started with just a basic card sketch and then pulled a color combination from my Color Combination Library.
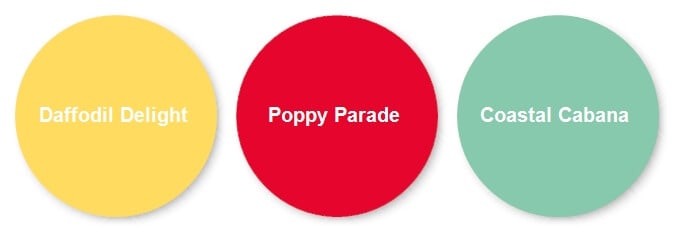
After that, it was just a matter of stamping! By the way, you’ll notice that the sentiment is stamped on a separate piece of White cardstock. This is because I dropped a stamp there and had a boo-boo. I kinda like how it looks so I kept it but you can stamp it directly on the cardstock the bowls are stamped on if you want!
If you’d like complete directions on how to make this easy, yet trendy, card make sure you click on the Download button following the instructions below!
Supplies Used on this Project
Project Measurements:
- Poppy Parade: 5-1/2” x 8-1/2”, scored at 4-1/4”
- Daffodil Delight: 4” x 5-1/4”
- Basic White:
- 3-3/4” x 5” (front of card)
- 4” x 5-1/4” (inside card)
- 1/2” x 3” (sentiment strip)
Project Instructions
1. Fold the Poppy Parade Cardstock in half to create your base card.
2. Adhere the 4” x 5-¼” White Mat to the inside of your card.
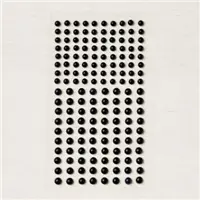
3. Using the Coastal Cabana ink, stamp the scale on the bottom right of card . Stamp the “scale hand” in the same color as desired. Add a Black Matte Dot to center of “hand”.
4. Stamp the heart bowl on top of scale using Daffodil Delight ink. Stamp the cherries on top of the bowl using Poppy Parade ink and stamp the stems using Granny Apple Green ink.
5. Stamp the plain bowl to the left of the scale using Granny Apply Green ink. Add the flowers to the bowl using Poppy Parade ink. Stamp the cherries using Daffodil Delight ink and the leaves using Granny Apple Green ink.
6. To the left of the green bowl, stamp the heart bowl using Coastal Cabana ink. Stamp the cherries & stems using Granny Apple Green ink.7. Stamp the sentiment either directly onto the card, to the left of the yellow bowl or stamp on the 1/2” sentiment strip and adhere to card.

Like It? Pin It!
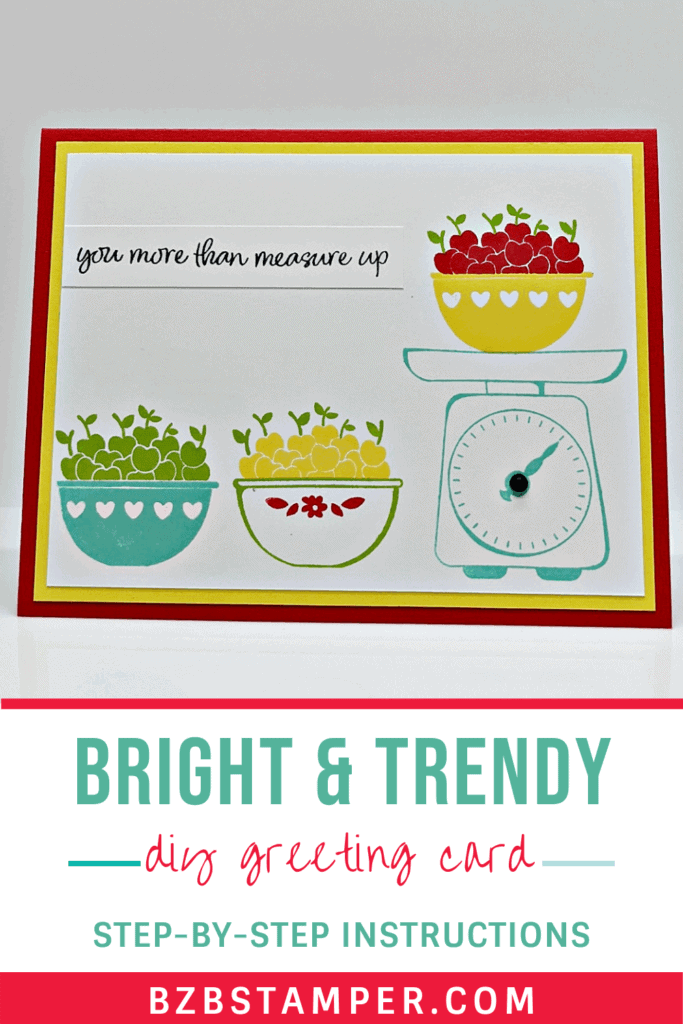
Be sure to pin this project to your card making boards on Pinterest if you like this project
- Get a Free Tutorial Every Week!
- Shop 24/7 in your PJ’s
- Queen Bee Rewards – Earn FREE Stamps!
- View the 2024-2025 Annual Catalog
- View NEW Online Products
- Monthly Crafting Kit
Thank you so much for stopping by! I hope you are inspired to make simple handmade cards for friends this week! Give this papercrafting tutorial a try 🙂 Check back soon for more card making ideas!


