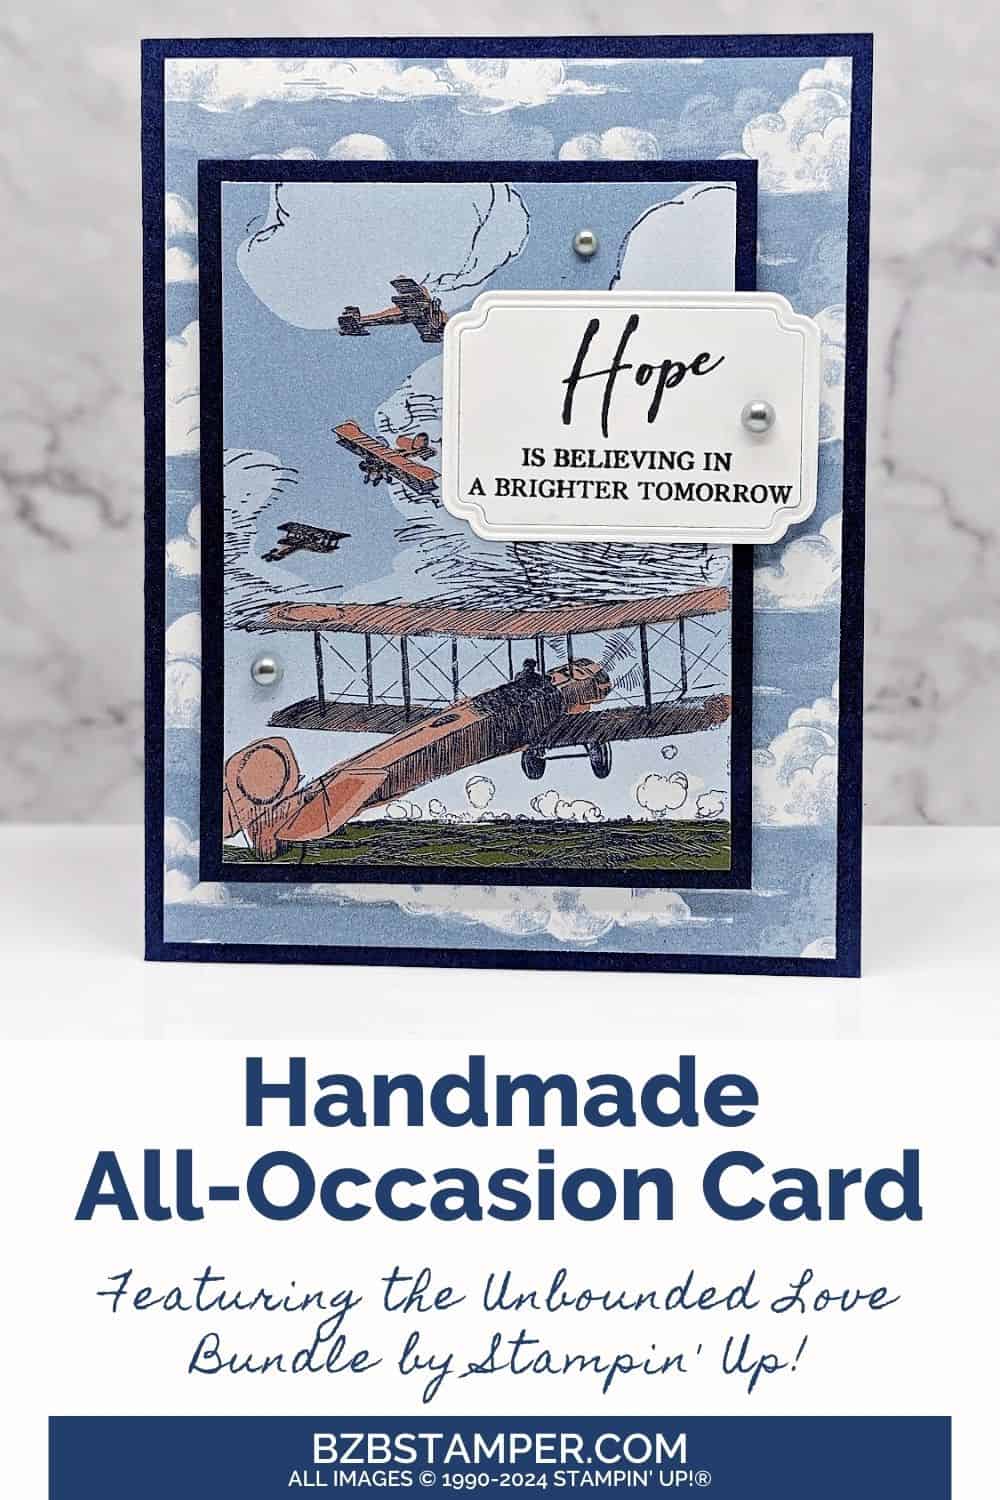
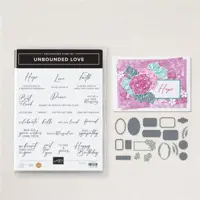
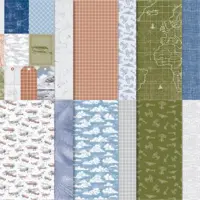
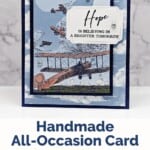
This inspirational Card Tutorial features the Unbounded Love Bundle by Stampin’ Up! I added the Take to the Sky Designer Paper as I felt it was perfect for elevating spirits and spreading hope.
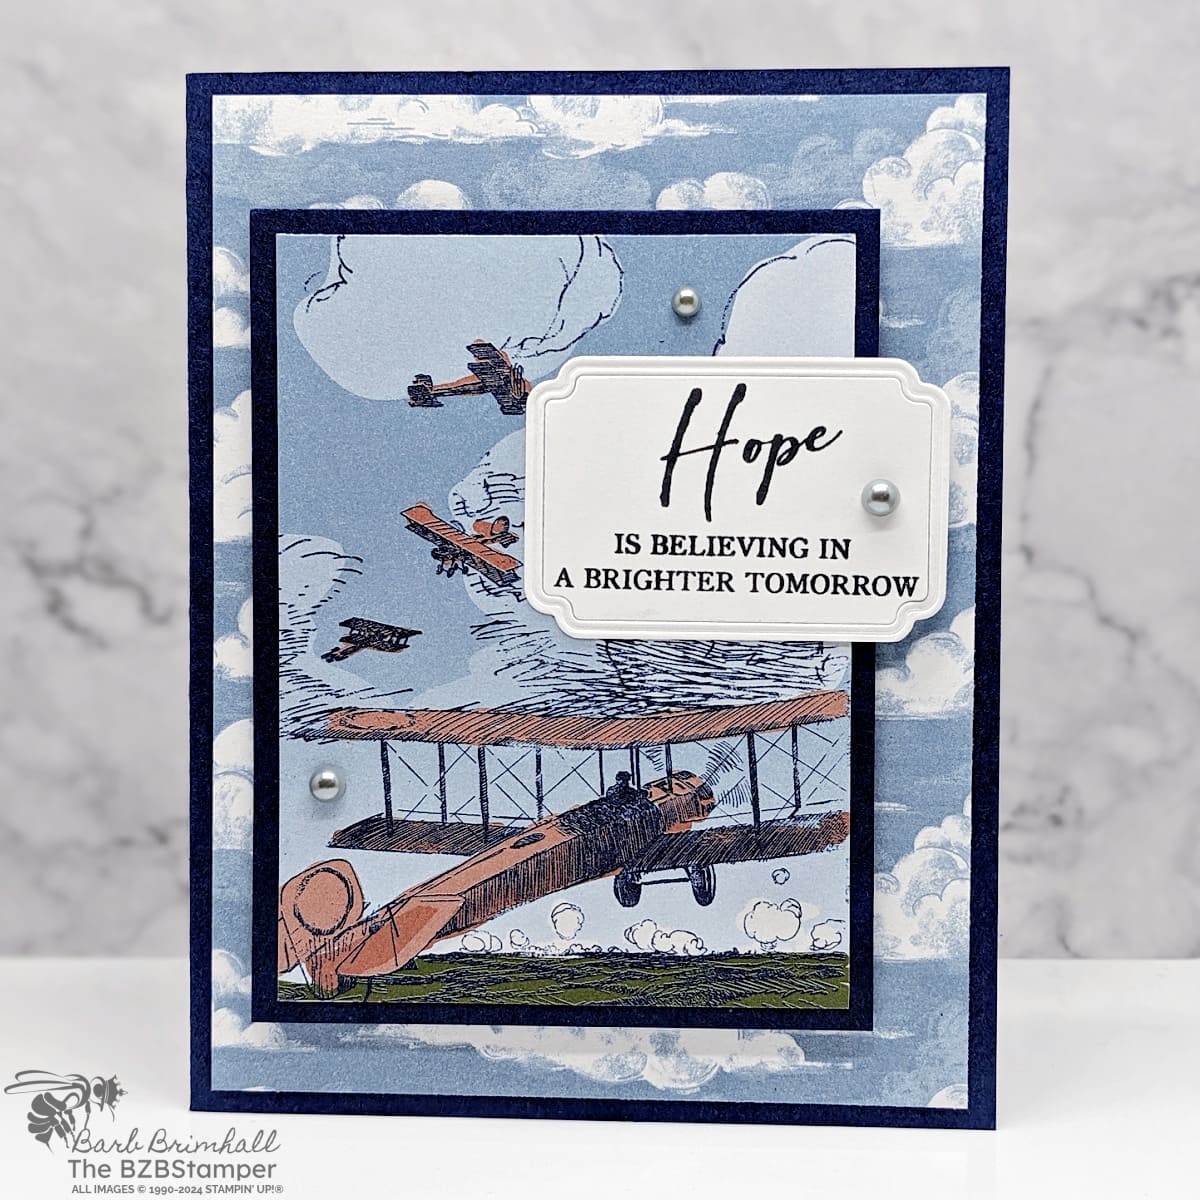
This Tutorial makes it easy to create ‘Hope’ cards that shine with positivity and encouragement. Ideal for crafters at any level, you’ll learn to create beautiful designs with uplifting messages using only Stamps, Ink, and Paper. Craft your beacon of hope today and light up someone’s world!
How To Make This Card
Project Skill Level: Worker Bee
Worker Bee projects are designed for the crafter who has a bit more time and enjoys creating a handmade card that features a technique or tool. In many cases, a Stampin’ Cut & Emboss Machine is required for die-cutting and/or embossing.
Cardstock Measurements:
- Night of Navy Cardstock: 5-1/2″ x 8-1/2″
- Basic White Cardstock: 4″ x 5-1/4″
- Take to the Sky Designer Paper, Pattern 1: 4″ x 5-1/4″
- Night of Navy Cardstock: 3-1/4″ x 4-1/4″
- Take to the Sky Designer Paper, Pattern 2: 3″ x 4″
- Basic White Cardstock: 2″ x 3″ (for die-cutting)


Grab your Free copy
Get 5 Bee-utiful Exclusive
Card Sketches in Your Inbox
Join our newsletter and receive a honey of a package of five quick & simple cards guaranteed to make your creativity buzz! Sign up now and let the goodness flow straight to your inbox!
Step-by-Step Instructions:
- Fold the Night of Navy cardstock in half at the scoreline to create your base card.
- Adhere the 4″ x 5-1/4″ piece of Basic White cardstock inside the card.
- Adhere the 4″ x 5-1/4″ piece of Take to the Sky paper (pattern 1) to the front of the card.
- Adhere the 3″ x 4″ piece of Take to the Sky paper (pattern 2) to the 3-1/4″ x 4-1/4″ piece of Night of Navy cardstock. Adhere to the front of the card using Stampin’ Dimensionals.
- Stamp the sentiment onto the scrap of Basic White cardstock and run through the Cut & Emboss Machine using the die from the Unbounded Love Dies that come in the Bundle.
- Adhere the sentiment label to the front of the card using adhesive (see tip below).
- To finish, add 3 of the Smoky Slate pearls as desired on the card.
A Tip from Barb
The Unbounded Love die you’ll be using actually cuts out 2 pieces – the inside piece and the frame. To make it easier to adhere to the front of the card, I used a piece of Scotch Tape to hold the 2 pieces together before I adhere to the front of the card. Easy peasy!
Thank you so much for stopping by! I hope you are inspired to make simple handmade cards for friends this week! If you’d like more detailed directions on how to make this card, feel free to email me. Give this papercrafting tutorial a try 🙂 Check back soon for more card making ideas!

Don’t forget to pin this for later!
