Warm Wishes with the Beary Cute Stamp Set
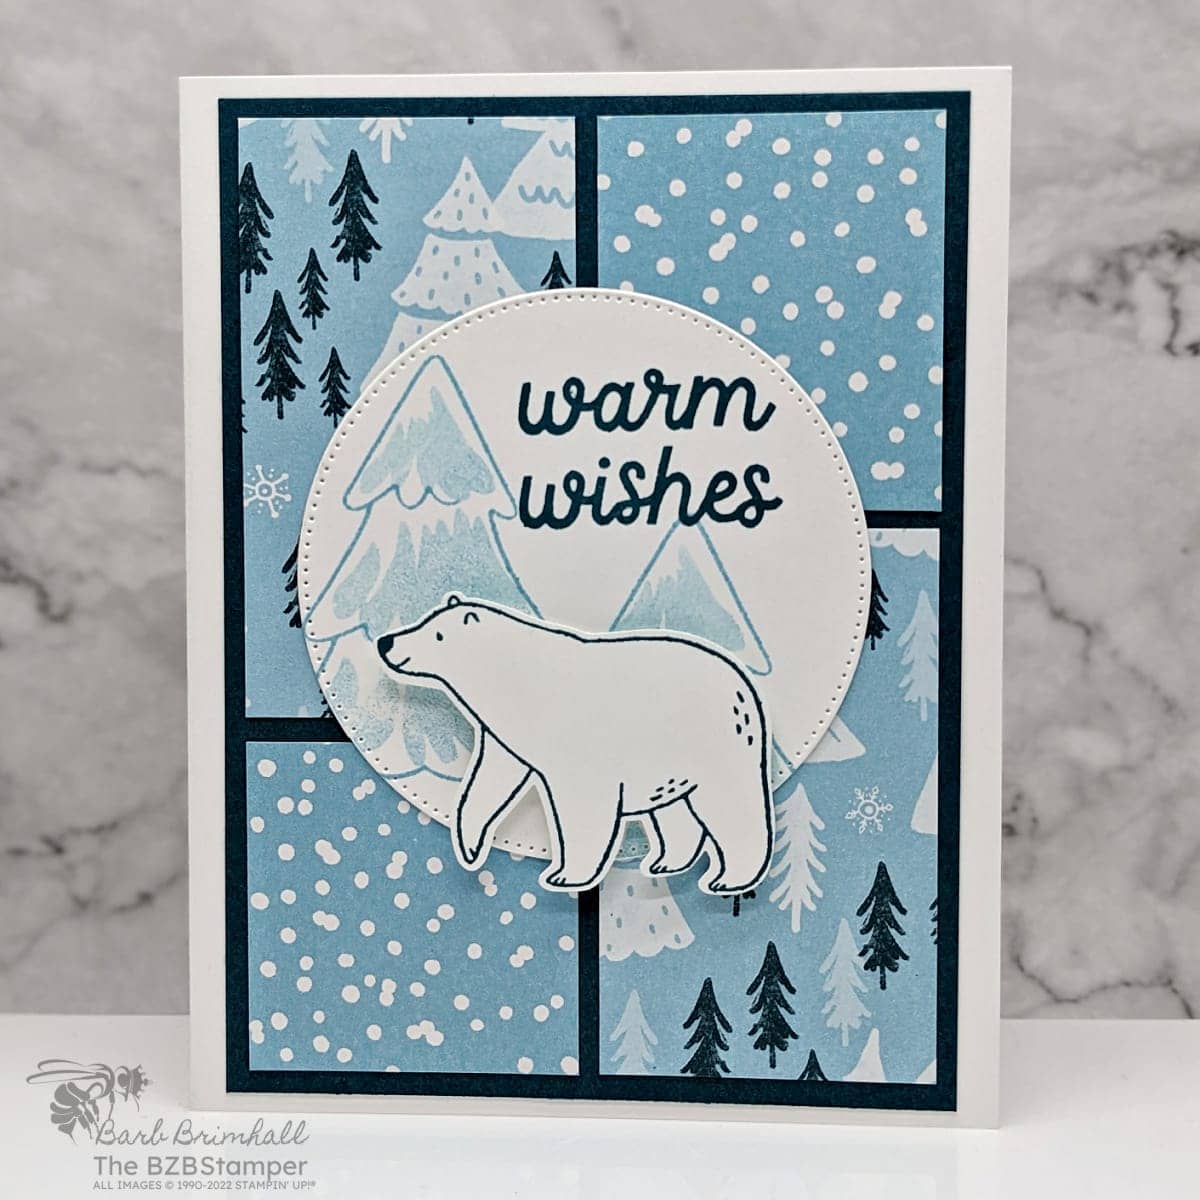
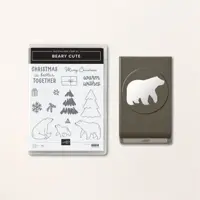
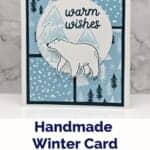
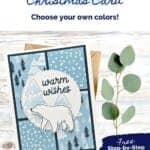
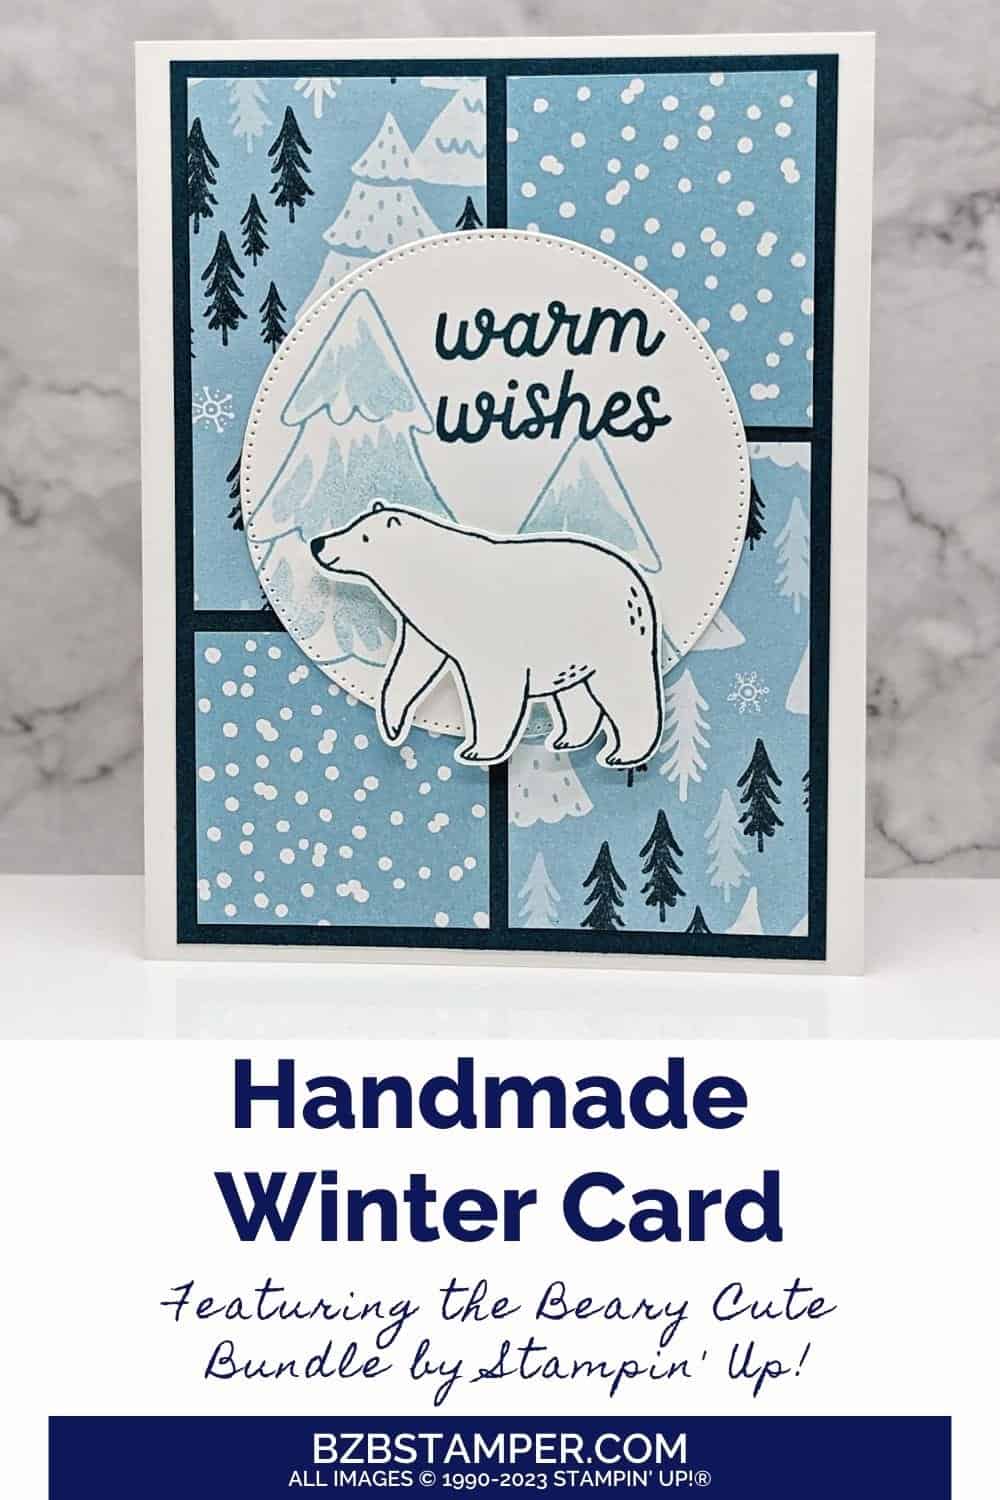
It’s easy to send warm wishes with the Beary Cute Stamp Set from Stampin’ Up! Featuring pretty paper and an adorable polar bear, this card is sure to make the recipient smile! This stamp set makes it easy to wrap your loved ones in a snug hug. Whether it’s for a special someone or to brighten up a friend’s day, these stamps will help you spread the cozy feels!
Notice the trees on the sentiment circle? The fabulous part of this stamp set is that it’s also a Two-Step Stamp Set. The two-step stamping process lets you layer images using different stamps from the set. It’s like building an image piece by piece. In this case, the tree outline is one stamp, while the bold inside part of the tree is another stamp. When you put it all together, you get one detailed picture that looks like it pops off the page! I could have easily used different ink colors for each stamps, but in this case, I wanted to go with a more monochromatic look. Try two-step stamping stamp sets to add more life and color to your papercrafting projects!
How To Make This Card
Project Skill Level: Worker Bee
Worker Bee projects are designed for the crafter who has a bit more time and enjoys creating a handmade card that features a technique or tool. In many cases, a Stampin’ Cut & Emboss Machine is required for die-cutting and/or embossing.
Cardstock Measurements:
- Basic White Cardstock: 5-1/2” x 8-1/2”, scored at 4-1/4”
- Pretty Peacock Cardstock: 4” x 5-1/4”
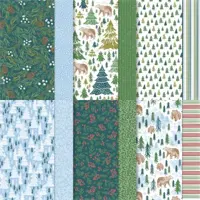
- Walk In The Forest Designer Paper, Pattern 1: 1-3/4” x 3-1/8” and 1-3/4” x 2-7/8”
- Walk In The Forest Designer Paper, Pattern 2: 1-3/4” x 2” and 1-3/4” x 1-3/4”
- Basic White: 4-1/4” x 5-1/2”


Grab your Free copy
Get 5 Bee-utiful Exclusive
Card Sketches in Your Inbox
Join our newsletter and receive a honey of a package of five quick & simple cards guaranteed to make your creativity buzz! Sign up now and let the goodness flow straight to your inbox!
Step-by-Step Instructions:
- Fold the 5-1/2” x 8-1/2” piece of Basic White Cardstock in half at 4-1/4” score line.
- Using the 4” x 5-1/4” piece of Pretty Peacock Cardstock, adhere the 1-3/4” x 3-1/8” piece of Designer Paper #1 in the upper left corner and the 1-3/4” x 2-7/8” piece of Designer Paper #1 in the lower right corner. Adhere the 1-3/4” x 2” piece of Designer Paper #2 in the upper right corner and the 1-3/4” x 1-3/4” piece of Designer Paper #2 in the lower left corner.
- Adhere the Pretty Peacock cardstock to the front of the card base.
- Using the 4-1/4” x 5-1/2” piece of Basic White Cardstock, stamp the single bear on one side of the cardstock using Pretty Peacock ink. Punch out the bear using the Beary Cute Punch that comes in the Bundle and set aside.
- Using the remainder of the Basic White cardstock, run through the Cut & Emboss Machine and die-cut the 3” circle using the Stylish Shapes Dies. Stamp the sentiment in the upper right corner of the die-cut circle using the Pretty Peacock ink pad.
- Stamp the outline of the tree to the left of the sentiment using Balmy Blue ink. Stamp the tree outline again in Balmy Blue ink just below the sentiment. Ink up the “bold” tree image using Balmy Blue ink, tap off once on your scrap paper, and stamp into one of the tree outlines. Repeat the process on 2nd tree outline.
- Adhere the die-cut stamped circle to the center of the card. Adhere the bear at the bottom of the circle using Stampin’ Dimensionals to finish.
A Tip from Barb
This is the perfect card sketch for whenever you have some pretty paper you’d like to use! Just grab the paper you want to use and pull your coordinating cardstock, inks and any embellishments you’d like! An easy peasy card without any stress – I love when my pretty paper can do the heavy lifting on my cards!😊
Thank you so much for stopping by and checking out this papercrafting tutorial. I hope you are inspired to create and send cards. If you’d like more detailed directions on how to make this card, feel free to email me. I love sharing how to make cards here on the BZBStamper blog, and I can’t thank you enough for all of your support!

Don’t forget to pin this for later!
Supplies Used On This Project:
Price: $12.50

