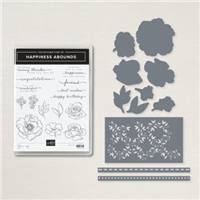
The Happiness Abounds Bundle by Stampin’ Up! features all-occasion sentiments to celebrate those you love with greetings in various sizes as well as line-art floral images perfect for coloring. Whether you prefer a simple or a more sophisticated look, this Bundle can do it all!
View more stamped samples & inspiration here
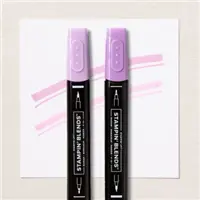
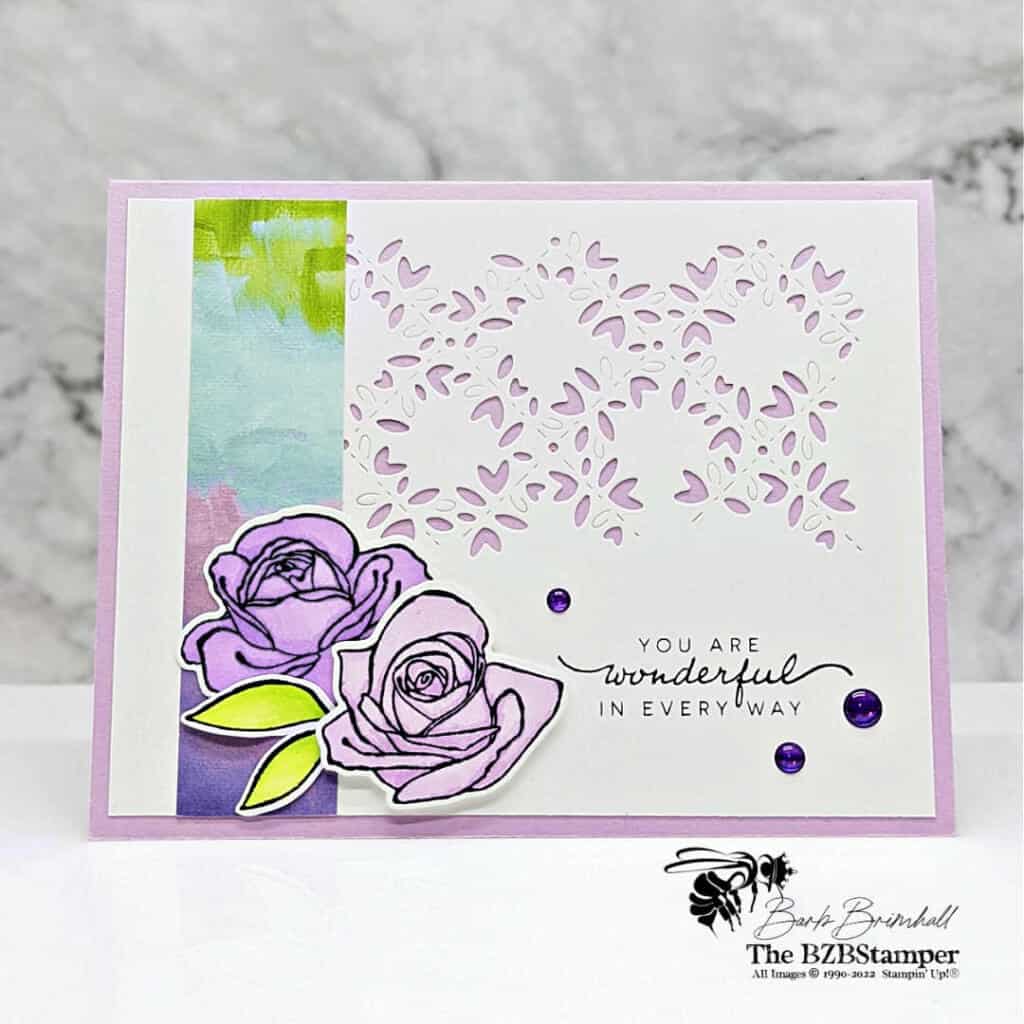
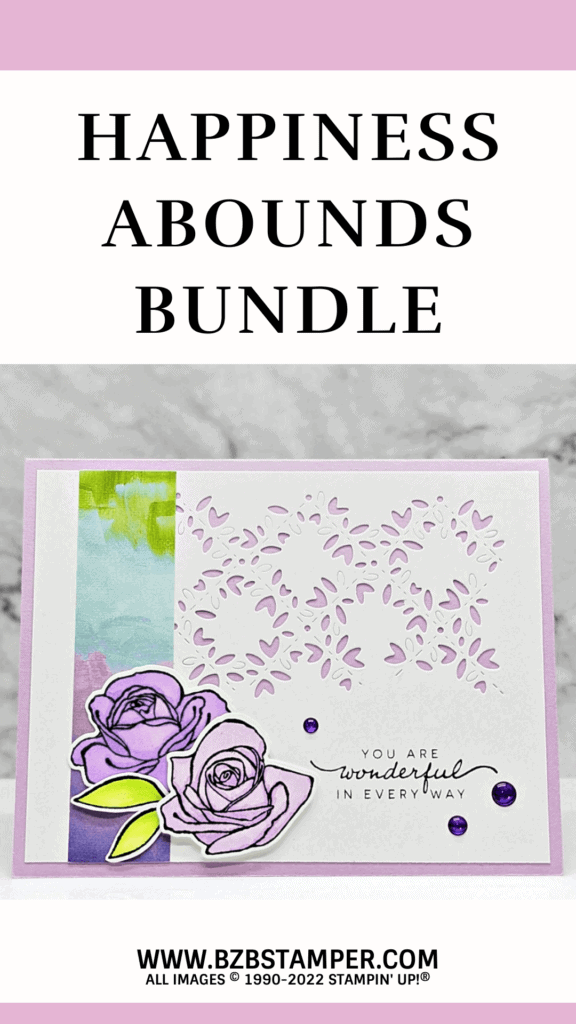
The new Happiness Abounds Bundle makes it so easy to create elegant handmade cards! The set features all-occasion sentiments to celebrate those you love with greetings in various sizes as well as line-art floral images perfect for coloring. For this card, I used the Stampin’ Blends, our alcohol-based markers, to add gorgeous shading to the flowers and leaves images from this Stamp Set.
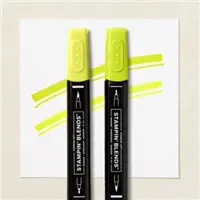
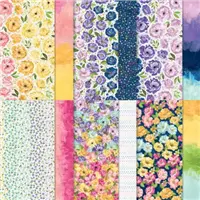
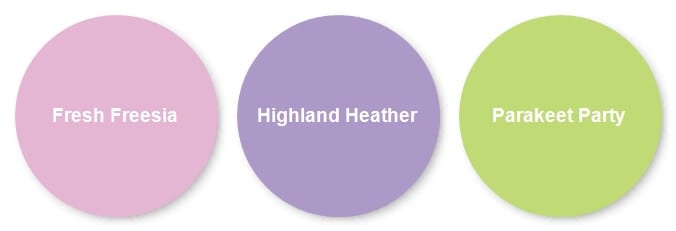
This stamp set pairs beautifully with the new Hues of Happiness Designer Paper – this paper sure makes me happy! 🙂 I pulled the Color Combination I used straight from the Designer Paper: Fresh Freesia, Highland Heather and the new Parakeet Party for a pop of color!
And that beautiful background on this card uses the fun new die from the coordinating Blossoming Happiness Dies. It’s so easy to use! And no fussy cutting for these flowers – the leaves & floral images were cut using the dies from the same coordinating Bundle dies! Here’s how I made this card:
Project Measurements
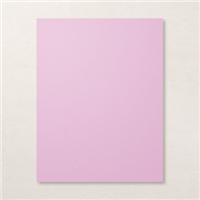
- Fresh Freesia: 5-1/2” x 8-1/2”, scored at 4-1/4”
- Basic White: 4” x 5-1/4” (2) and 3” x 3” for die-cutting
- Hues of Happiness Paper: 1” x 4”
Project Instructions
1. Fold the Fresh Freesia cardstock in half at the score line and burnish well with your Bone Folder.
2. Adhere one of the 4” x 5-1/4” piece of Basic White cardstock inside the base card.
3. Using the other 4” x 5-1/4” piece of Basic White Cardstock, run it through the Cut & Emboss Machine using the background die from the Blossoming Happiness Dies.
4. Stamp the sentiment in the lower right corner using the Black Memento Ink Pad.
5. Adhere the die-cut White cardstock to the front of the card base. Adhere the strip of Hues of Happiness Paper on the left side of the card.
6. Using the 3” scrap of Basic White Cardstock, stamp the flower two times and the leaf image 1 time. Color in the Leaves using the Parakeet Party Blends. Color one flower using the Fresh Freesia Blends and the other flower using the Highland Heather Blends.
7. Run the stamped & colored images through the Cut & Emboss Machine using the appropriate dies from the Blossoming Happiness Dies. Adhere to the left of the sentiment, using adhesive for the leaves and 1 flower and then use Stampin’ Dimensionals to adhere the 2nd flower to the card.
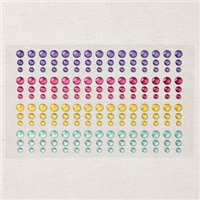
8. Add 3 of the Gorgeous Grape Dots in various sizes to the card to finish.

Supplies Used on this Project
Pin It
Go ahead and pin this image in your “favorites” board so you can find this when you need it!
- Get a Free Tutorial Every Week!
- Shop 24/7 in your PJ’s
- Queen Bee Rewards – Earn FREE Stamps!
- View the 2024-2025 Annual Catalog
- View NEW Online Products
- Monthly Crafting Kit
Thank you so much for stopping by and checking out this papercrafting tutorial. I hope you are inspired to create and send cards. I love sharing how to make cards here on the BZBStamper blog and I can’t thank you enough for all of your support!


