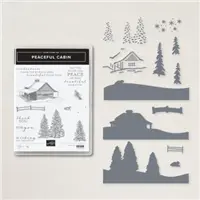
Set a realistic winter scene using the Peaceful Cabin Bundle by Stampin Up! This versatile set has stamps you can use separately, or you can pair them for a peaceful, wintry scene. Quickly and easily create die-cut trees, snowflakes, a peaceful cabin, and more.
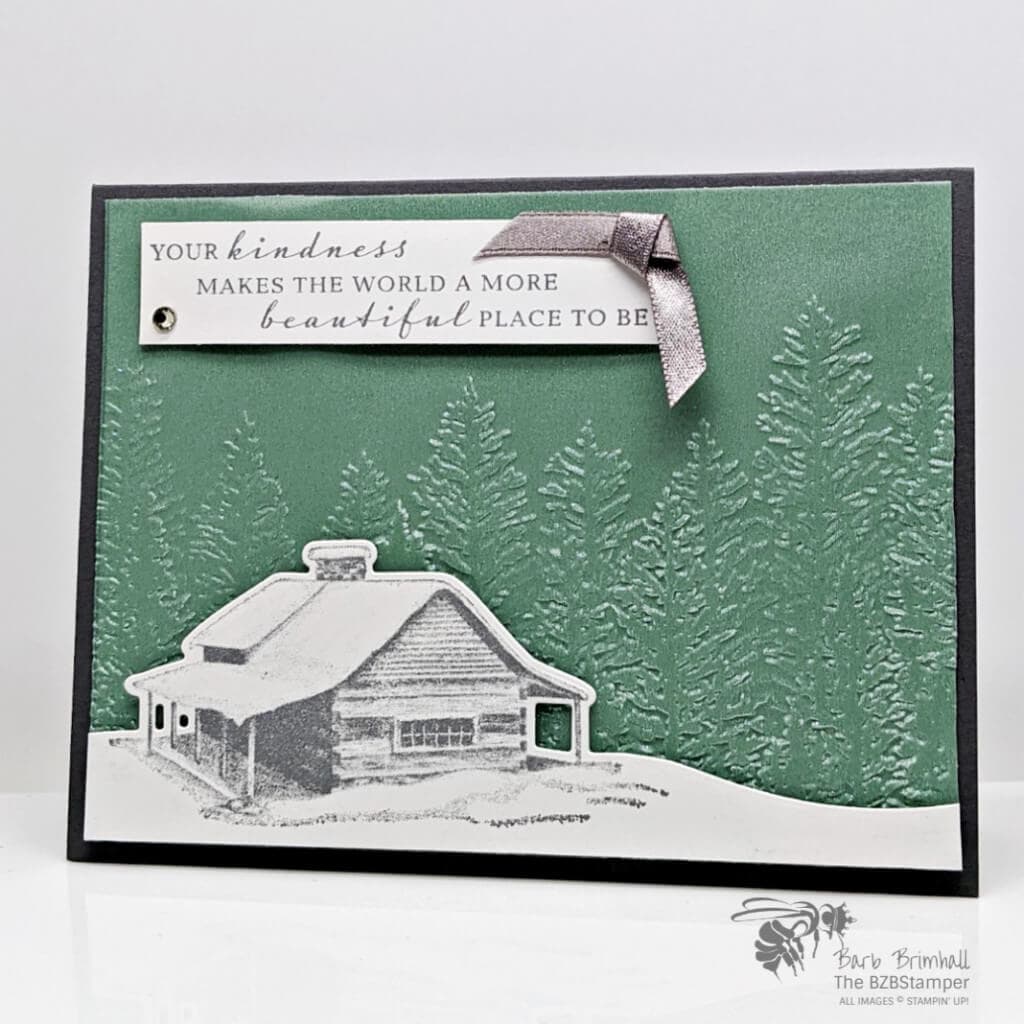
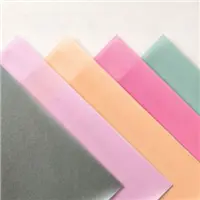
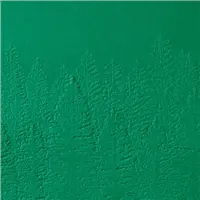
There’s so much I love about this card! The gorgeous, realistic images, the die-cut pieces that add visual interest and depth to this card and the very simple card design all add up to one beautiful card. Thanks to the Stampin’ Up! Cut & Emboss Machine, the beautifully embossed Pine Trees and die-cut snowbound cabin were easy to create. And that Soft Succulent Shimmer Vellum – it just takes this card up 1 more notch. (You can find more cards where I used this Vellum here.)
You can find complete instructions on how to make this card below.
Supplies Used on this Project
Project Measurements
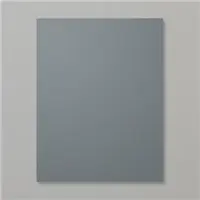
- Basic Gray Cardstock: 5-1/2” x 8-1/2, scored at 4-1/4”
- Basic White Cardstock
- 4” x 5-1/4” x 2
- 3/4” x 3-1/2”
- 3” x 5-1/4”
- Soft Succulent Shimmer Vellum: 4” x 5-1/4”
Project Instructions
1. Fold the 5-1/2” x 8-1/2” Basic Gray cardstock in half on the score line.
2. Adhere one of the 4” x 5-1/4” piece of Basic White cardstock inside the card.
3. Using the Cut & Emboss Machine, run the Soft Succulent Vellum through the machine using the 3D Evergreen Forest Embossing Folder. Adhere to the other piece of 4” x 5-1/4” Basic White cardstock and adhere to the base card using Stampin’ Dimensionals.
4. Using the 3” x 5-1/4” Basic White cardstock, stamp the cabin image onto the top of the cardstock. Run through the Cut & & Emboss Machine using the Cabin Dies that come in the Peaceful Cabin Bundle. If necessary, trim along the bottom of your cut piece using your Paper Trimmer.
5. Adhere the Cabin piece to the bottom of the base card.
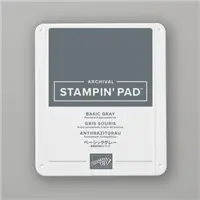
6. Using the 3/4” piece of Basic White cardstock, stamp the sentiment in Basic Gray ink. Adhere to base card using Stampin’ Dimensionals.
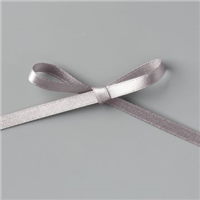
7. Tie the Ribbon into a knot and adhere to the top right of the sentiment rectangle.
8. Optional: add a large Rhinestone to lower left corner of Sentiment.

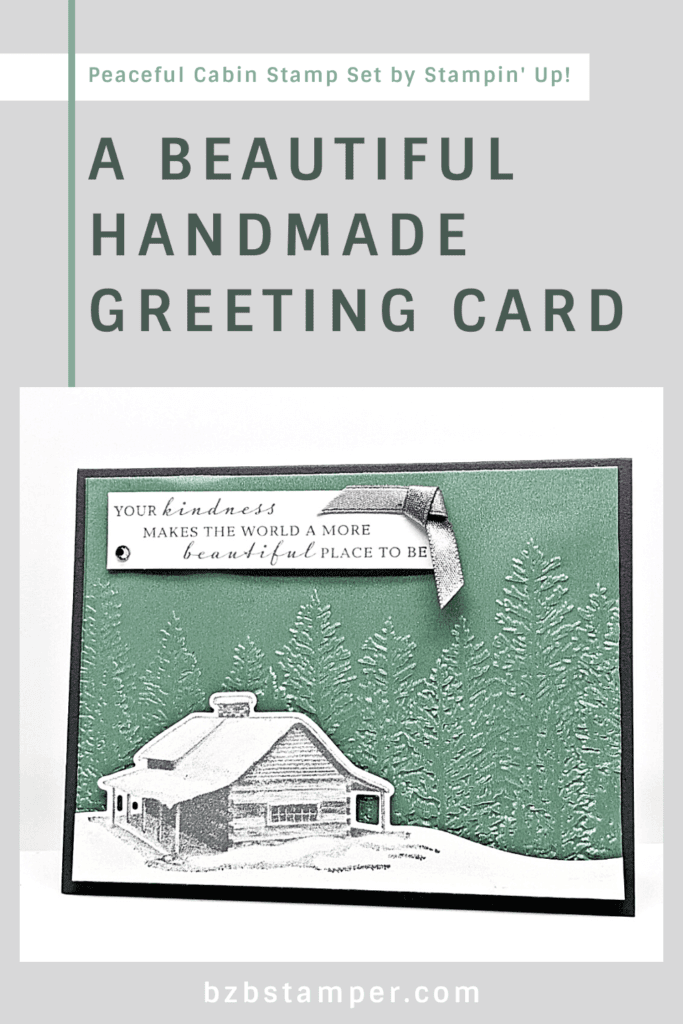
Pin It
Like this project? Be sure to pin it so you can easily find it again. It will take you right back here to all the details of the card.
- Get a Free Tutorial Every Week!
- Shop 24/7 in your PJ’s
- Queen Bee Rewards – Earn FREE Stamps!
- View the 2024-2025 Annual Catalog
- View NEW Online Products
- Monthly Crafting Kit
Thank you so much for stopping by! I hope you are inspired to make simple handmade cards for friends this week! Give this papercrafting tutorial a try 🙂 Check back soon for more card making ideas!


