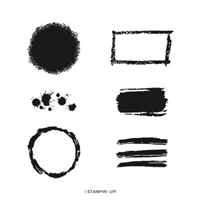
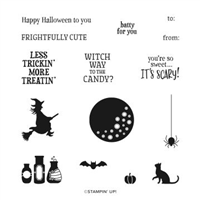
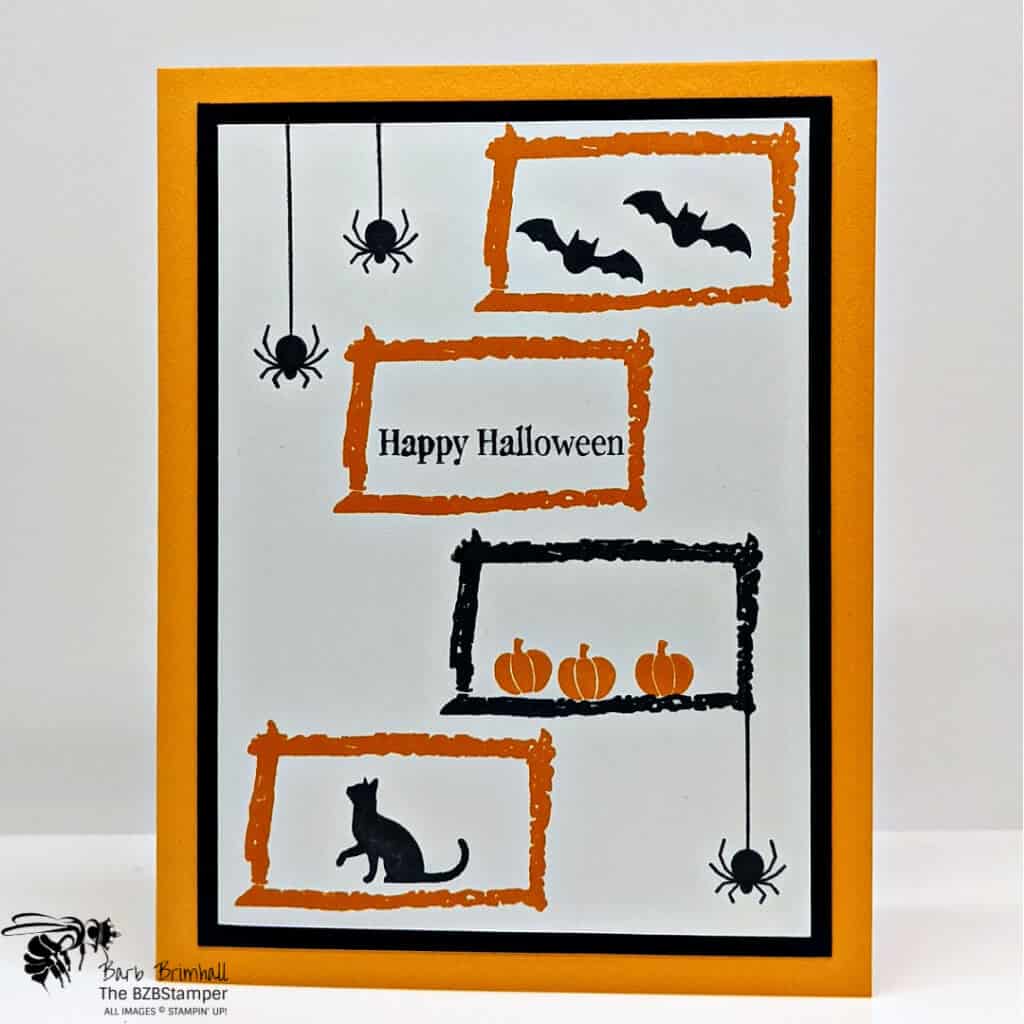
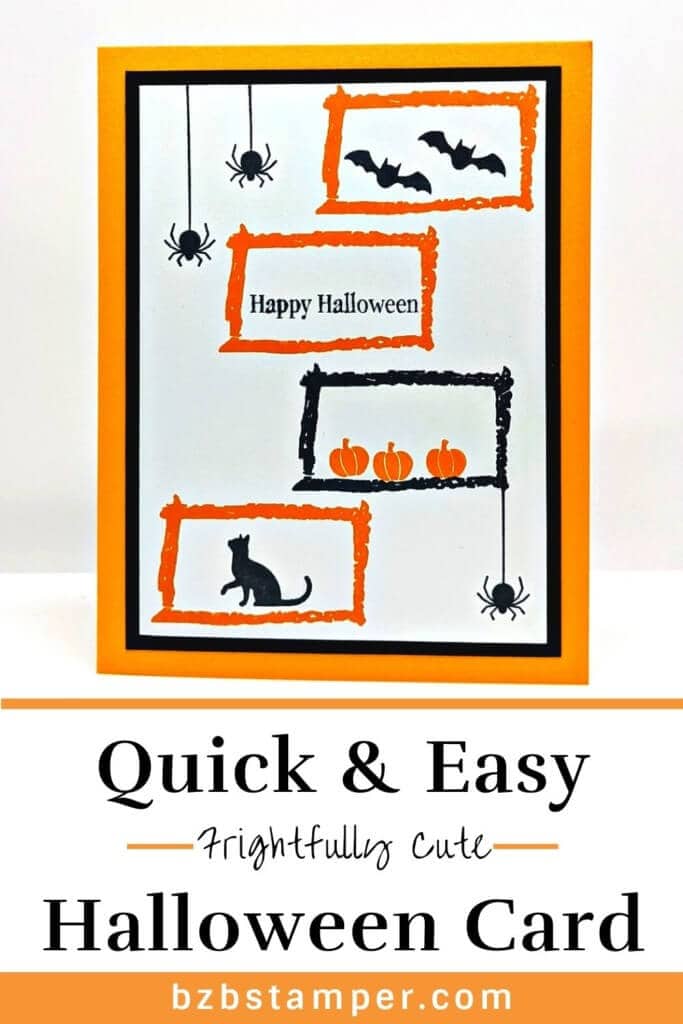
If you enjoy making Halloween cards, you’re going to love this quick DIY Halloween Card! Made with the Frightfully Cute and Textures & Frames stamp sets by Stampin’ Up!, this card comes together in minutes!
Be the fun house this year: turn the ho-hum trick-or-treat sweets into a delectable surprise with the Frightfully Cute Stamp Set. Create tags with images and sentiments that are sized perfectly to fit on small chocolate bars and other traditional sweets for trick-or-treaters.
Use the images on their own, like I did with this card, or layer the images to create a Halloween scene. Have fun mixing up the sentiments whether you’re feeling punny or you want to go for a more traditional Halloween greeting—this set has it all!
Bold images make it easy to stamp in a single color, or stamp with VersaMark ink for a tone-on-tone look. Keep your projects simple, or if you’re feeling fancy, add ribbons and embellishments until your project is frightfully cute!
Then add the Textures & Frames stamp set, which will frame your stamped images perfectly! You can see other ways I used this stamp set here.
Supplies Used on this Project
Project Measurements
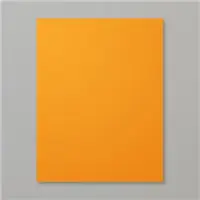
- Pumpkin Pie: 5-1/2” x 8-1/2”, scored at 4-1/4”
- Basic Black: 3-3/4” x 5”
- Basic White: 4” x 5-1/4” and 3-1/2” x 4-3/4”
Project Instructions
- Fold the Pumpkin Pie cardstock at the score line and burnish with your Bone Folder.
- Adhere the 4” x 5-1/4” piece of Basic White cardstock inside the base card.
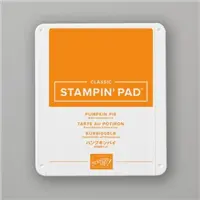
- Using the 3-1/2” x 4-3/4” Basic White cardstock, stamp the rectangle frame from Textures & Frames stamp set in the upper right corner using Pumpkin Pie ink.
- Stamp the same frame in Pumpkin Pie ink in the lower left corner.
- Stamp the frame again in pumpkin pie just to the left and under the first frame you stamped. (see sample for placement.)
- Clean rectangle stamp thoroughly and stamp in Black ink so that it’s in-between the 2nd and bottom frame. (see sample for placement.)
- Using the Frightfully Cute stamp set, stamp the bats in the top frame using Black Memento ink.
- Stamp the sentiment in the 2nd frame using Black ink.
- Stamp the small pumpkin image 3 times in the Black frame using Pumpkin Pie ink.
- Stamp the cat in the bottom left frame using Black ink.
- Using the spider stamp, add 2 spiders in the upper left corner and one in the lower right – see sample for placement.

Pin It
Like this project? Be sure to pin it so you can easily find it again. It will take you right back here to all the details of the card.
- Get a Free Tutorial Every Week!
- Shop 24/7 in your PJ’s
- Queen Bee Rewards – Earn FREE Stamps!
- View the 2024-2025 Annual Catalog
- View NEW Online Products
- Monthly Crafting Kit
Thank you so much for stopping by today. I hope you are inspired to create today, whether it is this simple and cute handmade card or another project. My goal is to help keep you creating! Keep checking back for more projects.


