Delicate Dahlia Thank You Card For A Special Friend
This over-the-top Delicate Dahlia Thank You Card is perfect for that special friend. The colors and the added touches make it super special!
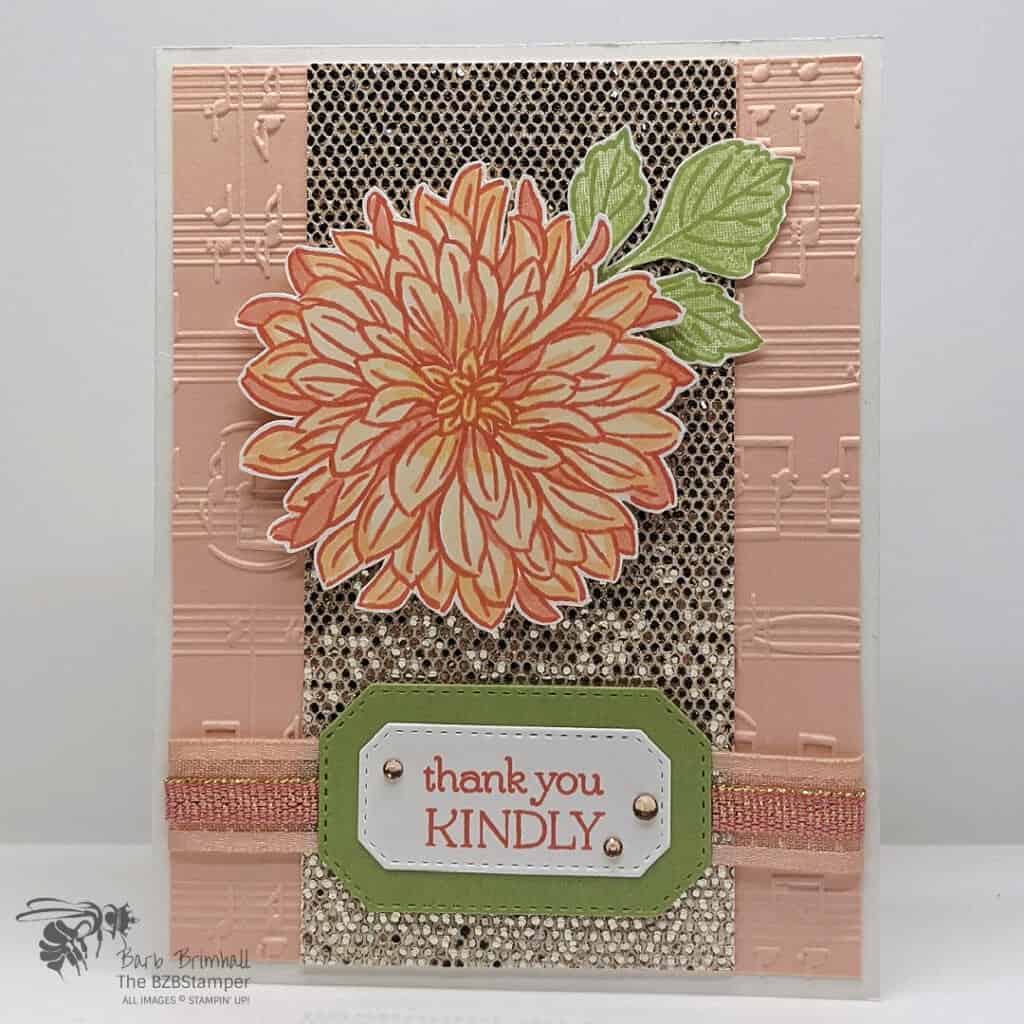
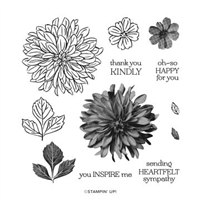
Want to send a show-stopping card? Then you need the Delicate Dahlias Stamp Set!
With hyper-realistic designs of beautiful dahlia florals, this card is sure to wow. You can center the dahlia image as the main focal point for increased impact or place it off to the side to frame one of many versatile sentiments included in this set.
The included outline floral designs also allow you to explore all the coloring techniques your heart desires. This is a Two-Step Stampin’ set; it allows you to layer two or more images to create one final image with extra texture and dimension in the colors you want.
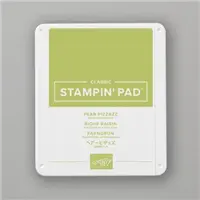
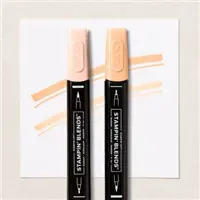
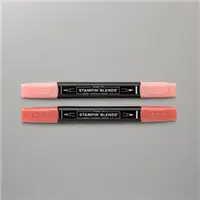
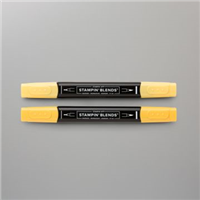
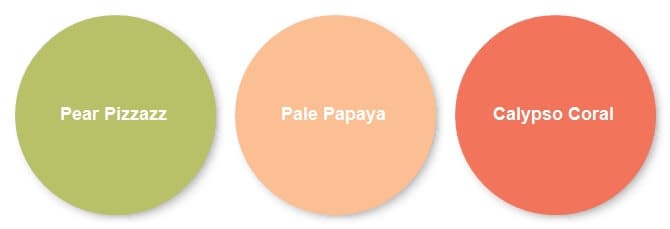
For this card, I wanted to go with soft colors so here’s the Color Palette I used:
If you’d prefer a brighter color combination, check out my Color Combination Library here.
Supplies Used on this Project
Project Measurements
- Basic White: 5-1/2” x 8-1/2” scored at 4-1/4” and half sheet for die-cutting
- Petal Pink: 4” x 5-1/4”
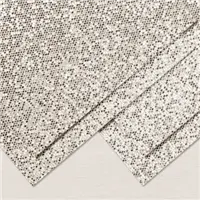
- Be Dazzling Specialty Paper: 2-1/2” x 5-1/4”
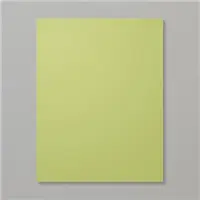
- Pear Pizzazz: 2” x 3” for die-cutting
Project Instructions
- Fold the Basic White cardstock in half at the score line and burnish well with your Bone Folder.
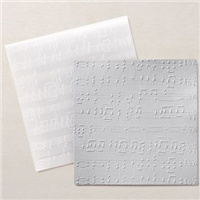
- Using the Cut & Emboss Machine and the Petal Pink cardstock, run through the Machine using the Merry Melody 3D Embossing Folder.
- Adhere the 2-1/2” strip of Be Dazzling Paper to the embossed Petal Pink cardstock.
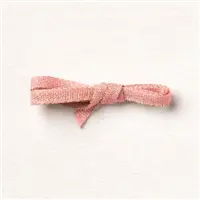
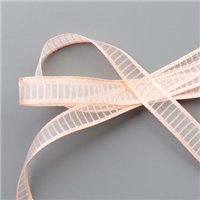
- Wrap approximately 6” of the Petal Pink ribbon around the bottom of the Petal Pink Cardstock (about 1-1/4” up from bottom) and secure to back of Petal Pink Cardstock. Wrap a piece of the Flirty Flamingo ribbon centered over the Petal Pink ribbon and secure in the back.
- Adhere the embossed Petal Pink cardstock to the base card.
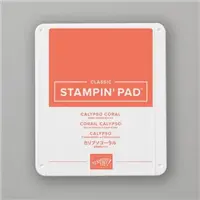
- Using the half sheet of Basic White paper, stamp the large Dahlia using Calypso Coral ink. Using the Light Pale Papaya Blend, color in the entire Dahlia image. Highlight the petals using the Light & Dark Calypso Coral Blends. Add yellow to center of Dahlia using the Light Daffodil Delight Blend. Fussy cut out of the Dahlia using your Paper Snips.
- Stamp the trio of Leaves outline image using Pear Pizzazz ink. Ink the bold trio leaf stamp using Pear Pizzazz ink; tap off the ink 2x on your scratch paper and then stamp over outline leaf image. Fussy cut out using your Paper Snips Scissors.
- Adhere the leaves to the top right of the Dazzling Paper, going a bit off the edge. Adhere the cut Dahlia flower to the base card using Stampin’ Dimensionals so that it covers the bottom of the leaf image.
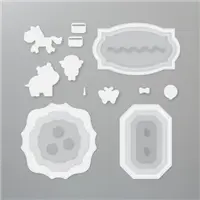
- Using the remaining Basic White cardstock and the scrap of Pear Pizzazz cardstock, run through the Cut & Emboss Machine and cut out the 2 smallest Hippo & Friends rectangle dies.
- On the small White rectangle die, stamp the sentiment using Calypso Coral ink. Adhere to the Pear Pizzazz rectangle die and then adhere over ribbon using Stampin’ Dimensionals.
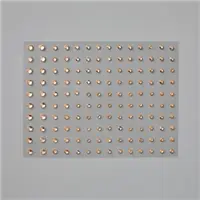
- Add 3 small Champagne Rhinestones to finish.

Like It? Pin It!
Be sure to pin this project to your card making boards on Pinterest if you like this project
- Get a Free Tutorial Every Week!
- Shop 24/7 in your PJ’s
- Queen Bee Rewards – Earn FREE Stamps!
- View the 2023-2024 Annual Catalog
- View the 2023 Winter Holiday Catalog
- View NEW Online Products
- Monthly Crafting Kit
Thanks for stopping by today, I hope you enjoyed this papercrafting tutorial. If you have a question or if I can help you with anything, please leave me a comment. I’d love to hear from you!


