Party Puffins Stamp Set by Stampin’ Up!
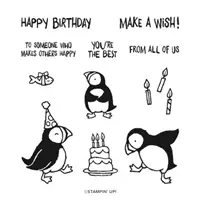
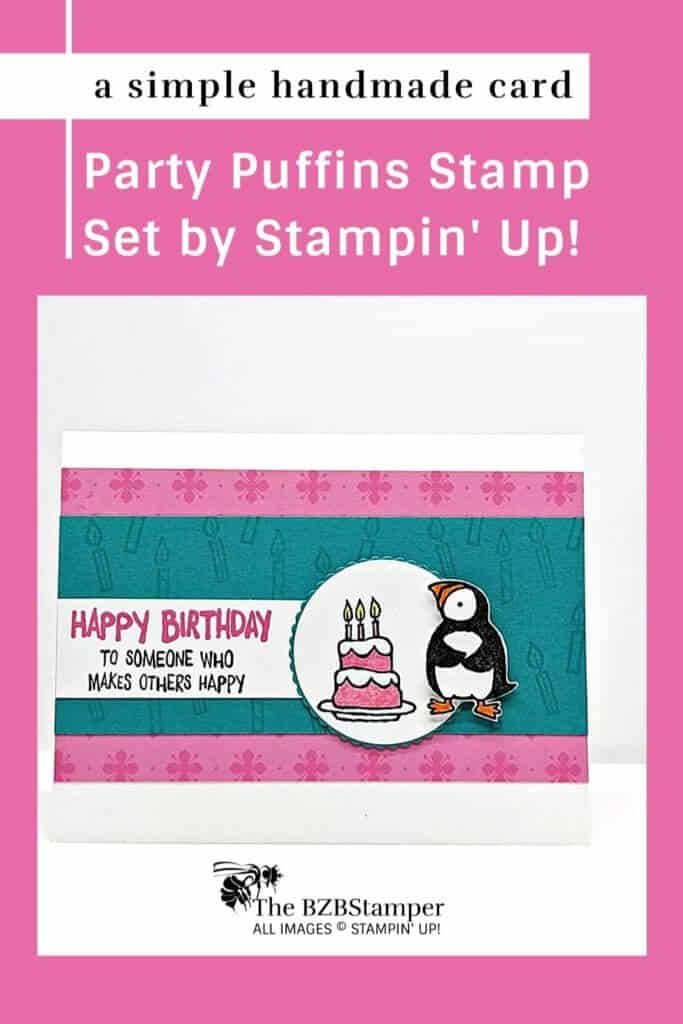
How adorable is this Party Puffins Stamp Set by Stampin’ Up!? Celebrate a birthday with the Party Puffins Stamp Set and make someone smile!
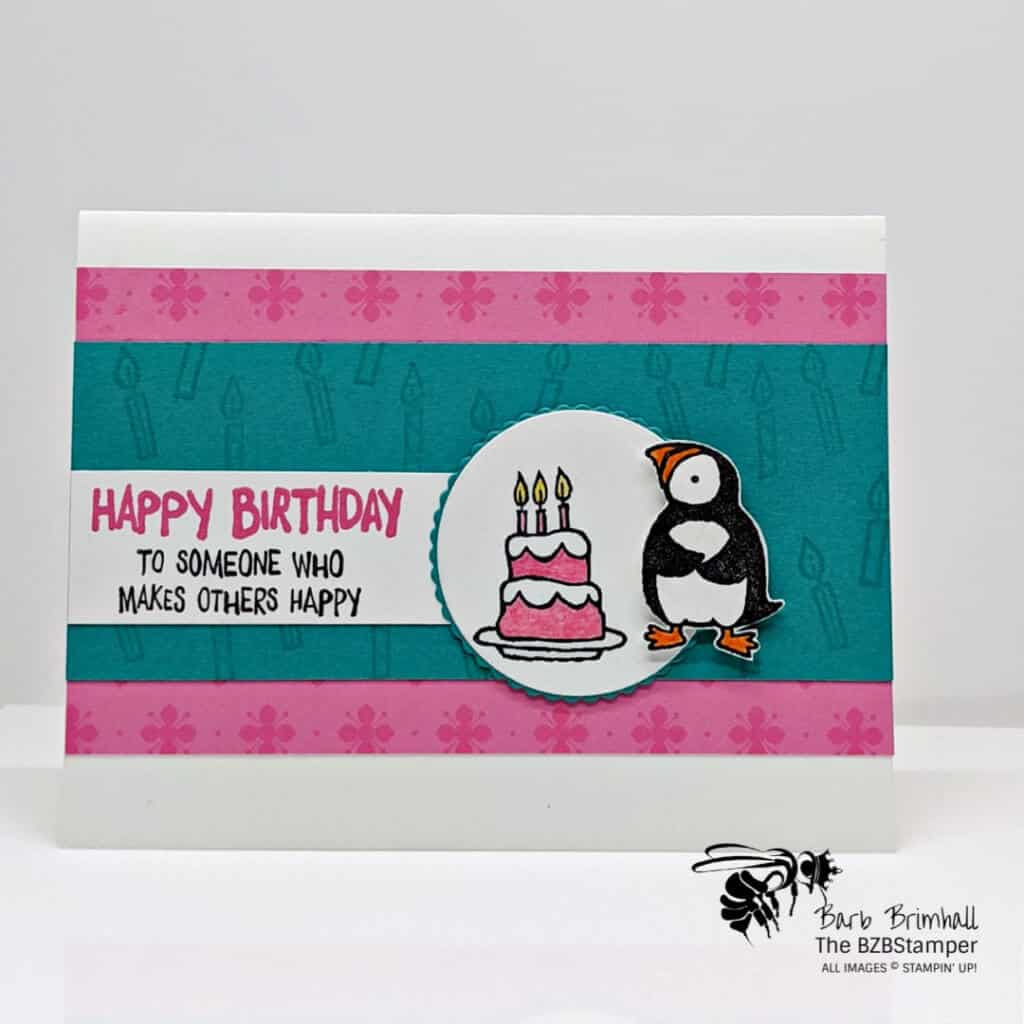
This stamp set is so adorable – and so versatile! Use your favorite coloring techniques to decorate the party hat and other party accessories to match these black-and-white birds. And, best of all, these partying puffins make a gender-neutral stamp set, allowing you to celebrate with all of your friends.
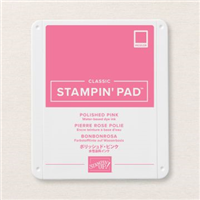
Although I used a bright pink on this card, if you wanted to make it a card for guys and aren’t comfortable with the pink, then you could switch and use red. Here’s the color combination I used (you can view other color combinations here.)
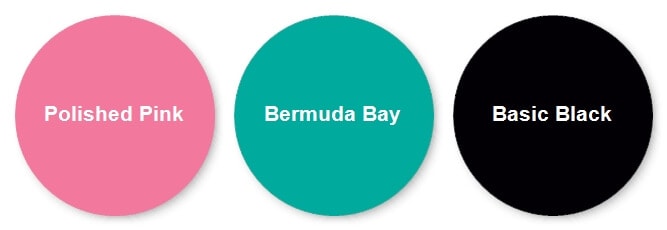
I also used a super simple card sketch for this Card – Sketch #6 which is super easy to assemble. Here’s how I made this card:
Supplies Used on this Project
Cardstock Measurements
- Basic White Cardstock: 5-½” x 8-½” and 1” x 3” and scraps for die cutting
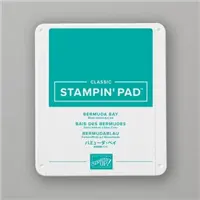
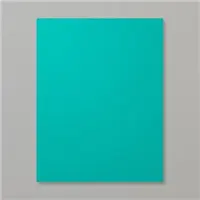
- Bermuda Bay Cardstock: 2-¾” x 5-½”
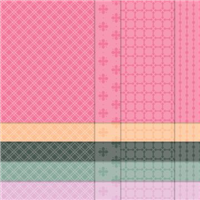
- Polished Pink Designer Paper: 3-¼” x 5-½”
Project Instructions
- Cut a piece of Basic White Cardstock to 5-1/2” x 8-1/2”, score at 4-1/4” and fold at score line to create your base card.
- Cut a piece 3-1/4” x 5-1/2” Polished Pink Designer Paper and adhere to center of your base card.
- Cut a piece of 2-3/4” x 5-1/2” Bermuda Bay cardstock. Using Bermuda Bay ink, stamp the birthday candles randomly over the cardstock and adhere to the center of the Designer Paper.
- Cut a 1” x 3” piece of Basic White cardstock. Using the Polished Pink ink pad, stamp the “Happy Birthday” at the top left of the strip. Stamp the “to someone…” sentiment just below that using Black Memento ink. Adhere to the lower center of the Bermuda Bay cardstock (see sample image) lining up on the left side of your base card.
- Using a 4-1/4” x 5-1/2” piece of Basic White cardstock, cut out a 2-7/8” circle using the Layering Circles Dies. Cut out the corresponding slightly larger Scalloped Circle die using a scrap of Bermuda Bay cardstock. On the remaining scrap of Basic White cardstock, stamp the small penquin.
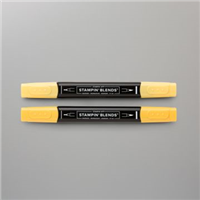
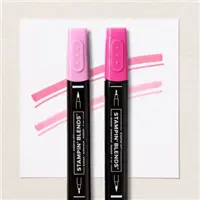
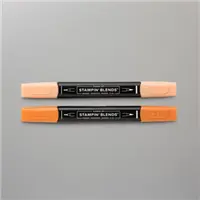
- Using the Black Memento ink pad, stamp the cake on the left side of the White circle. Color in using the Polished Pink Blends; color in candles using the Daffodil Blends. Adhere the White circle to the Bermuda Bay circle and adhere to base card just to the right of the stamped sentiment.
- Color in the Penguin’s beak and feet using the Dark Pumpkin Pie Blend and fussy cut out using your Paper Snip scissors. Adhere to the card using Stampin’ Dimensionals to finish.

Pin It
Like this project? Be sure to pin it so you can easily find it again. It will take you right back here to all the details of the card.
- Get a Free Tutorial Every Week!
- Shop 24/7 in your PJ’s
- Queen Bee Rewards – Earn FREE Stamps!
- View the 2024-2025 Annual Catalog
- View NEW Online Products
- Monthly Crafting Kit
Thank you so much for stopping by and checking out this papercrafting tutorial. I hope you are inspired to create and send cards. I love sharing how to make cards here on the BZBStamper blog and I can’t thank you enough for all of your support!


