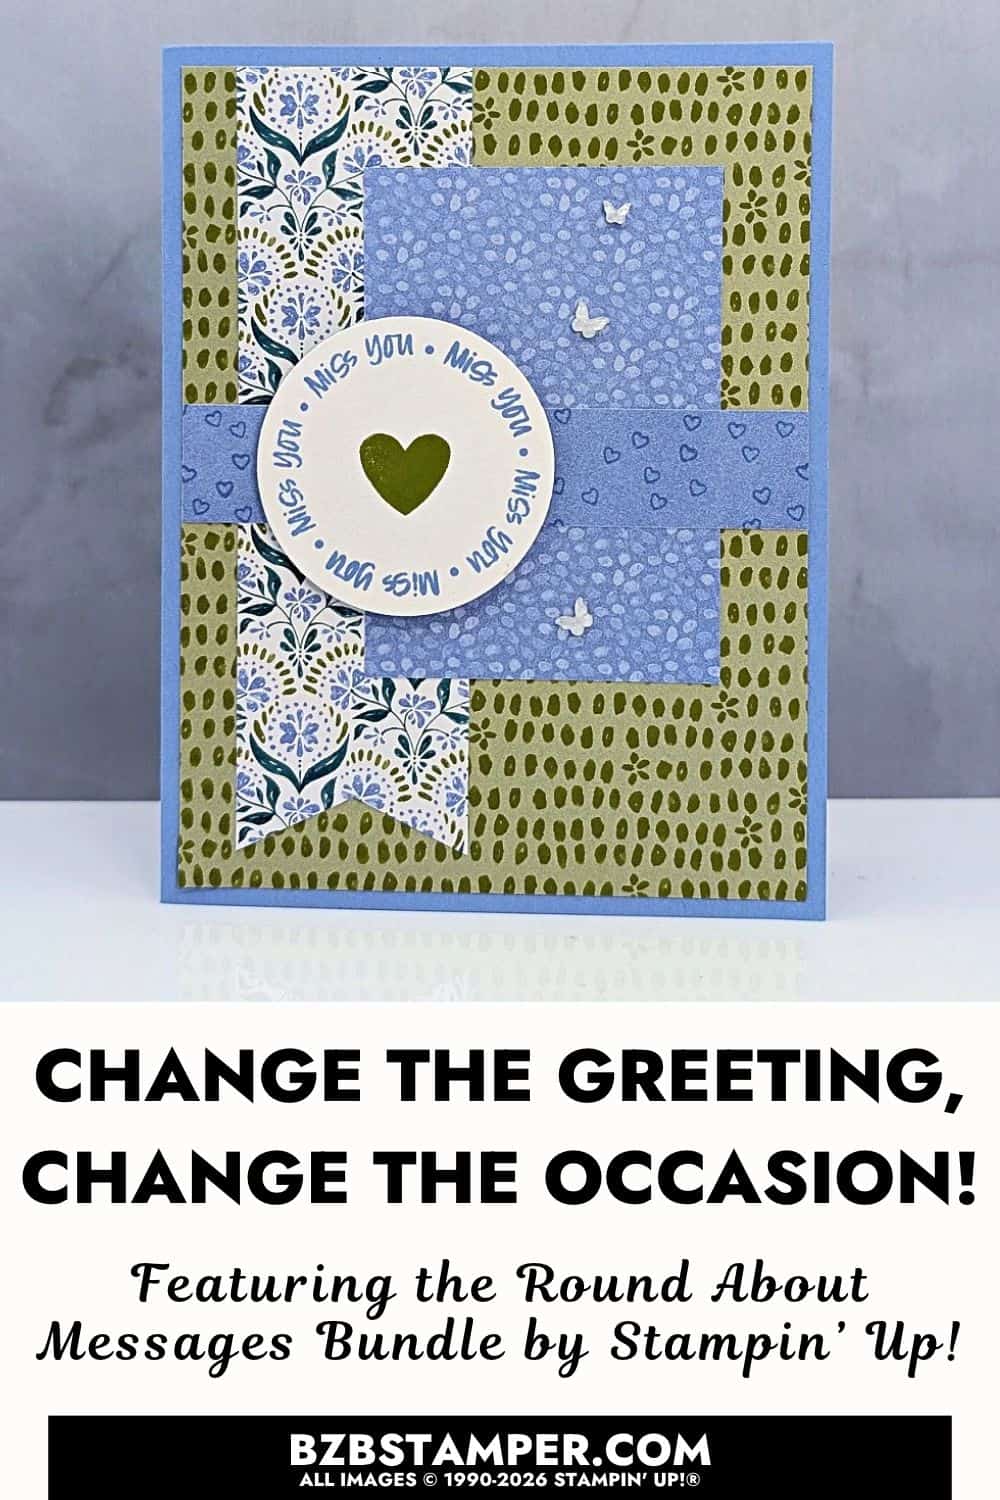
Have you ever wanted to use several pretty papers on one card but weren’t sure if they’d look good together? Today’s How to Mix Patterned Papers on a Handmade Card project shows you how to combine different designs without making your card look too busy. And the best part? It’s easier than you might think!
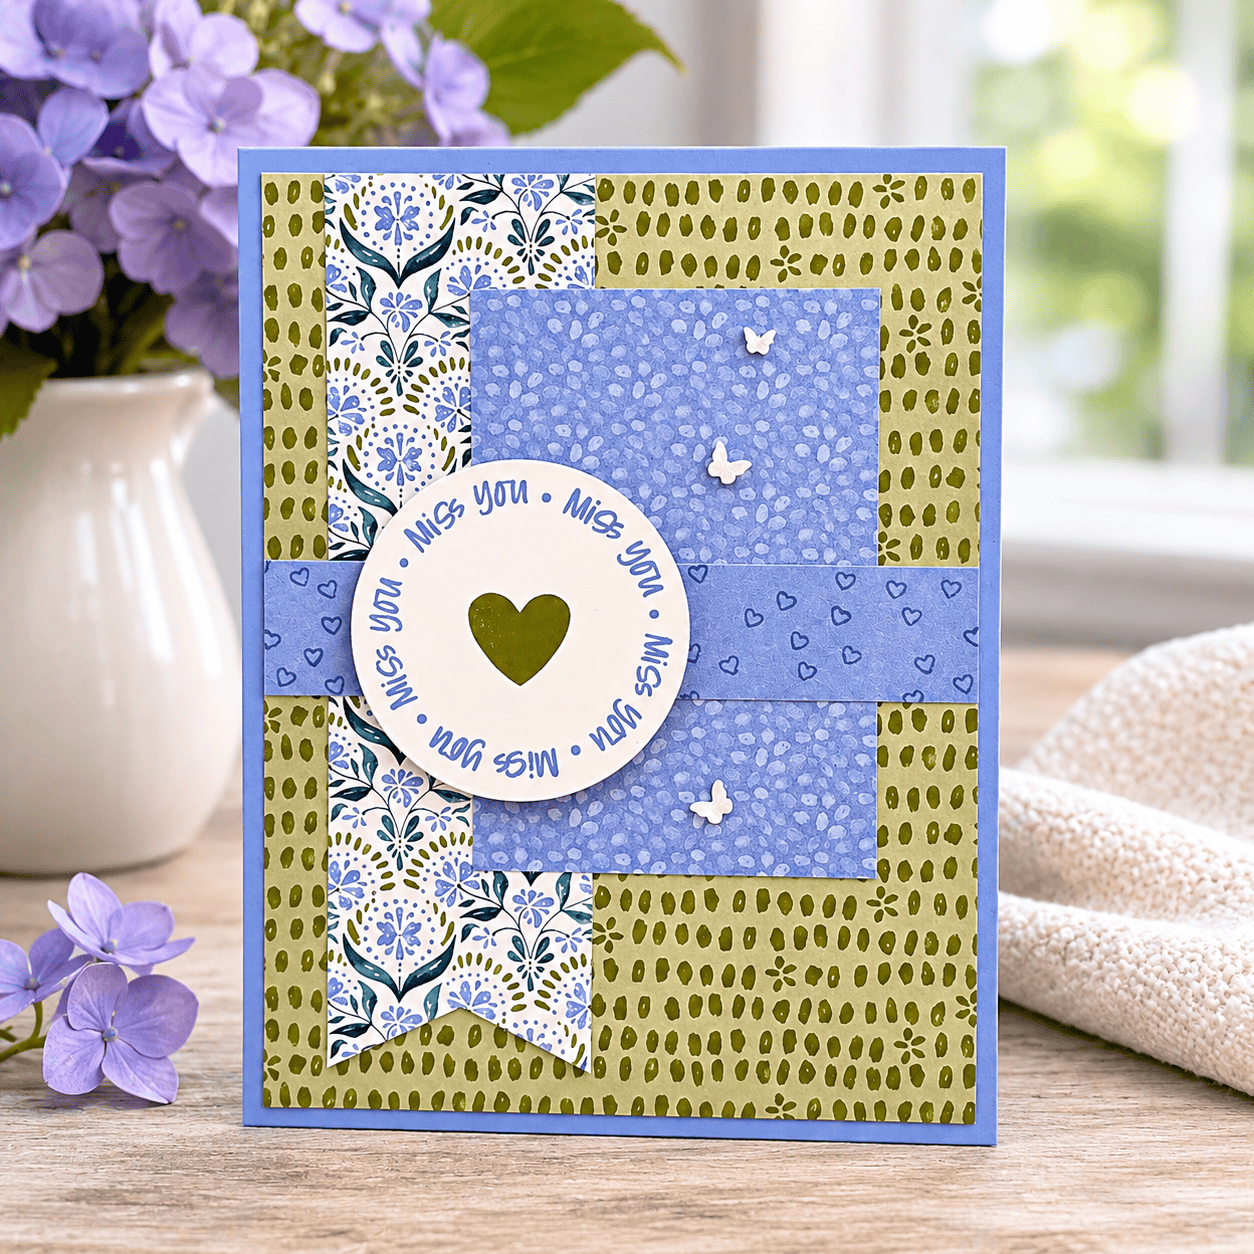
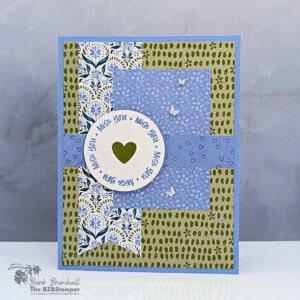
For this card, I’m using the Mosaic Garden Designer Series Paper and the Round About Messages Stamp Set from Stampin’ Up! I love how the different patterns work together to create a cheerful little “Miss You” card.
The Secret to Mixing Patterned Papers
Here’s a little cardmaking trick I use when working with different patterned papers: choose designs that share some of the same colors, but have different patterns.
For today’s card, I used three different designs from the Mosaic Garden Designer Series Paper. Even though the patterns are different, they work together because they share a similar color palette. The larger floral design adds interest, while the other patterns help balance everything out.
And here’s another tip: you don’t have to use equal amounts of each pattern!
Let one design be the star and use the others as supporting pieces. That way, your card has plenty of personality without looking too busy. It’s a great way to use those pretty papers you’ve been saving for just the right project.
A Fresh and Cheerful Color Combination
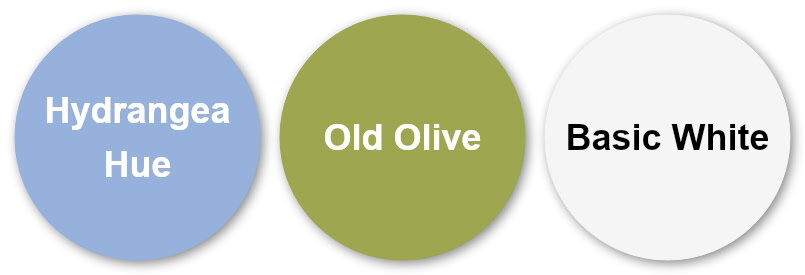
For this card, I chose Hydrangea Hue, Old Olive, and Basic White. Hydrangea Hue brings a soft, pretty touch to the design, while Old Olive adds a natural green that works beautifully with the floral patterns.
Basic White gives everything a little breathing room. It helps separate the different designs and keeps the card looking fresh instead of crowded.
Together, these colors have a cheerful garden feel that’s perfect for a card meant to brighten someone’s day. And don’t forget, you can use this same color combination with other patterned papers you already have!
Let Your Greeting Be the Focal Point
The Round About Messages Stamp Set is a fun choice for this card because the round greeting gives your eye a place to rest among all those patterns.
I used the “Miss You” greeting and punched it out with the 1-7/8″ Circle Punch. The circular shape is a nice contrast to all the straight edges of the patterned paper. It also helps the greeting stand out without needing lots of extra decorations.
Grab your Free copy
Get 5 Bee-utiful Exclusive
Card Sketches in Your Inbox
Need a little cardmaking inspiration? These 5 sketches make it easy to create cards using supplies you already own. Sign up for my emails and I’ll send them straight to your inbox!
I added a few little butterflies for a finishing touch, but the real stars of this card are the patterned paper and that sweet greeting.
And here’s something else I love about this layout: you can change the greeting and use the same design for all kinds of occasions! Birthday, thank you, thinking of you, or just because. It’s a card layout worth keeping handy.
How To Make This Card | Free Tutorial
You’ll find the full supply list and step-by-step instructions below.
How to Mix Patterned Papers on a Handmade Card
Supplies Needed
- Hydrangea Hue Cardstock: 8-1/2" x 5-1/2" (score at 4-1/4")
- Basic White Cardstock: 4" x 5-1/4" (inside card)
- Mosaic Garden Designer Paper: 4" x 5-1/4"
- Mosaic Garden Designer Paper: 1-1/2" 5"
- Mosaic Garden Designer Paper: 2-1/4" x 3-1/4"
- Hydrangea Hue Cardstock: 4" x 3/4"
- Basic White Cardstock: 2-1/2" x 1-1/2" (or scrap for punching sentiment)
Instructions
- Fold the 8 1/2” x 5 1/2” Hydrangea Hue cardstock in half at the scoreline to create card base.
- Adhere the 4” x 5 1/4” cardstock inside the card base and decorate as desired.
- Adhere the 4” x 5 1/4” Mosaic Garden Paper to the front of the card.
- Using scissors, banner notch the bottom of the 1 1/2” x 5” Mosaic Garden Paper; adhere to front of the card as shown on the sample.
- Adhere the 2 1/4” x 3 1/4” Mosaic Garden Paper to the front of the card as shown on sample.
- Stamp the small hearts randomly on the 3/4” strip of Hydrangea Hue cardstock using Hydrangea Hue ink. Adhere to card front.
- Stamp the circle stamp onto the 2 1/2” square of Basic White cardstock using Hydrangea Hue ink. Stamp the heart inside the circle using Old Olive ink. Punch out the circle using the 1-7/8” Circle Punch and adhere to the card front using Stampin’ Dimensionals.
- Add the In Color Butterflies embellishments as desired to finish.
Notes
Supplies Used to Make This Card
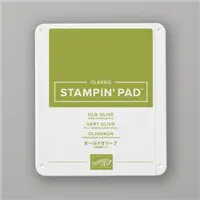
Want to make this card yourself? You’ll find the supplies I used below, with links to shop if you need anything.




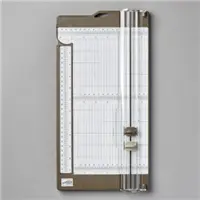
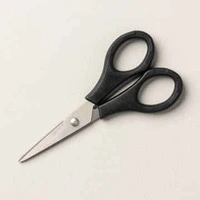
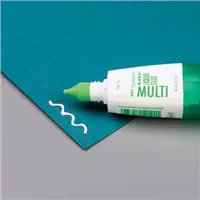
One more little perk while you’re shopping. Each month there’s a Product of the Month you can add for just $5 when your order reaches $75. It’s a fun surprise that’s not in the catalog and only available while supplies last. Click To Learn More
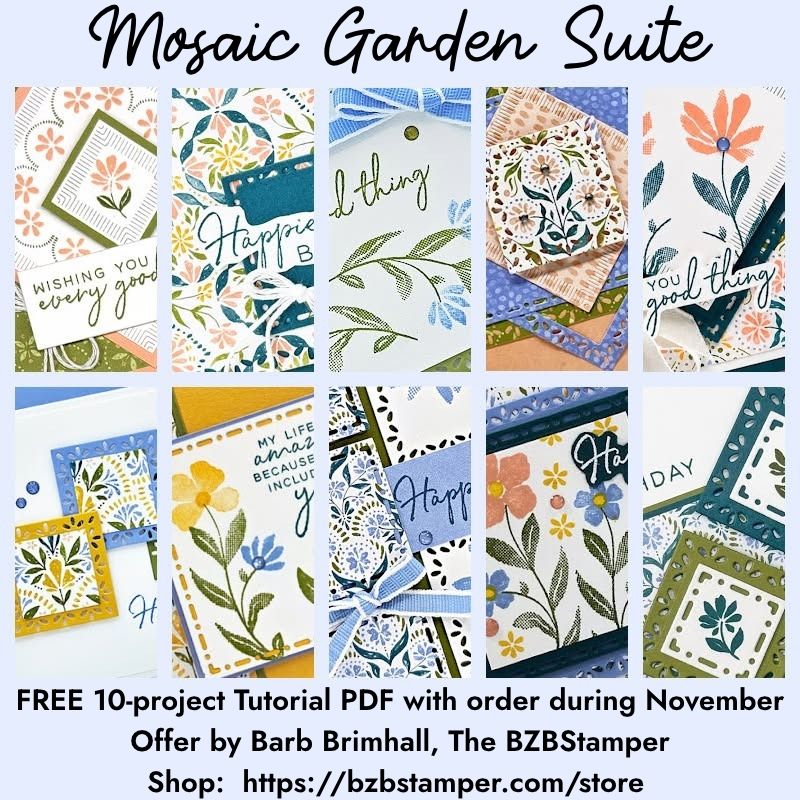
NOVEMBER ordering Bonus
A Bonus for You!
Any order you place in November includes a free 10-project tutorial featuring the Mosaic Garden Suite that you can use with any Bundle in your stamp stash.
It’s filled with beautiful, step-by-step card ideas to spark your creativity when your order arrives — so you’re not staring at supplies wondering where to start.
A Little Card That Says “I’m Thinking of You”
I think sometimes we forget how much a handmade card can mean to someone.
We don’t always need a birthday, holiday, or special occasion to send one. Maybe there’s a friend you haven’t talked to in a while. Or a family member who lives too far away for a quick visit.
A simple “Miss You” card tucked into their mailbox is such a thoughtful way to let them know they’re on your mind. And isn’t that one of the best reasons to make handmade cards in the first place?
Remember, you don’t need the exact same paper I’m using. Try combining a few designs from your own collection. You might be surprised at how nicely they work together! Happy Stamping!
Love this color combo? Pin it for later!