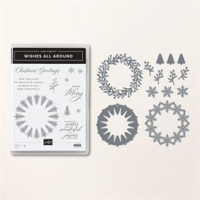
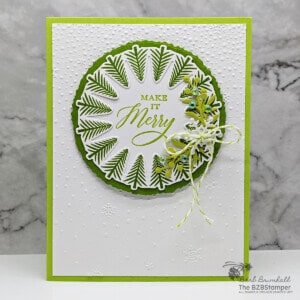
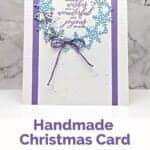
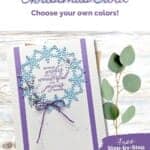
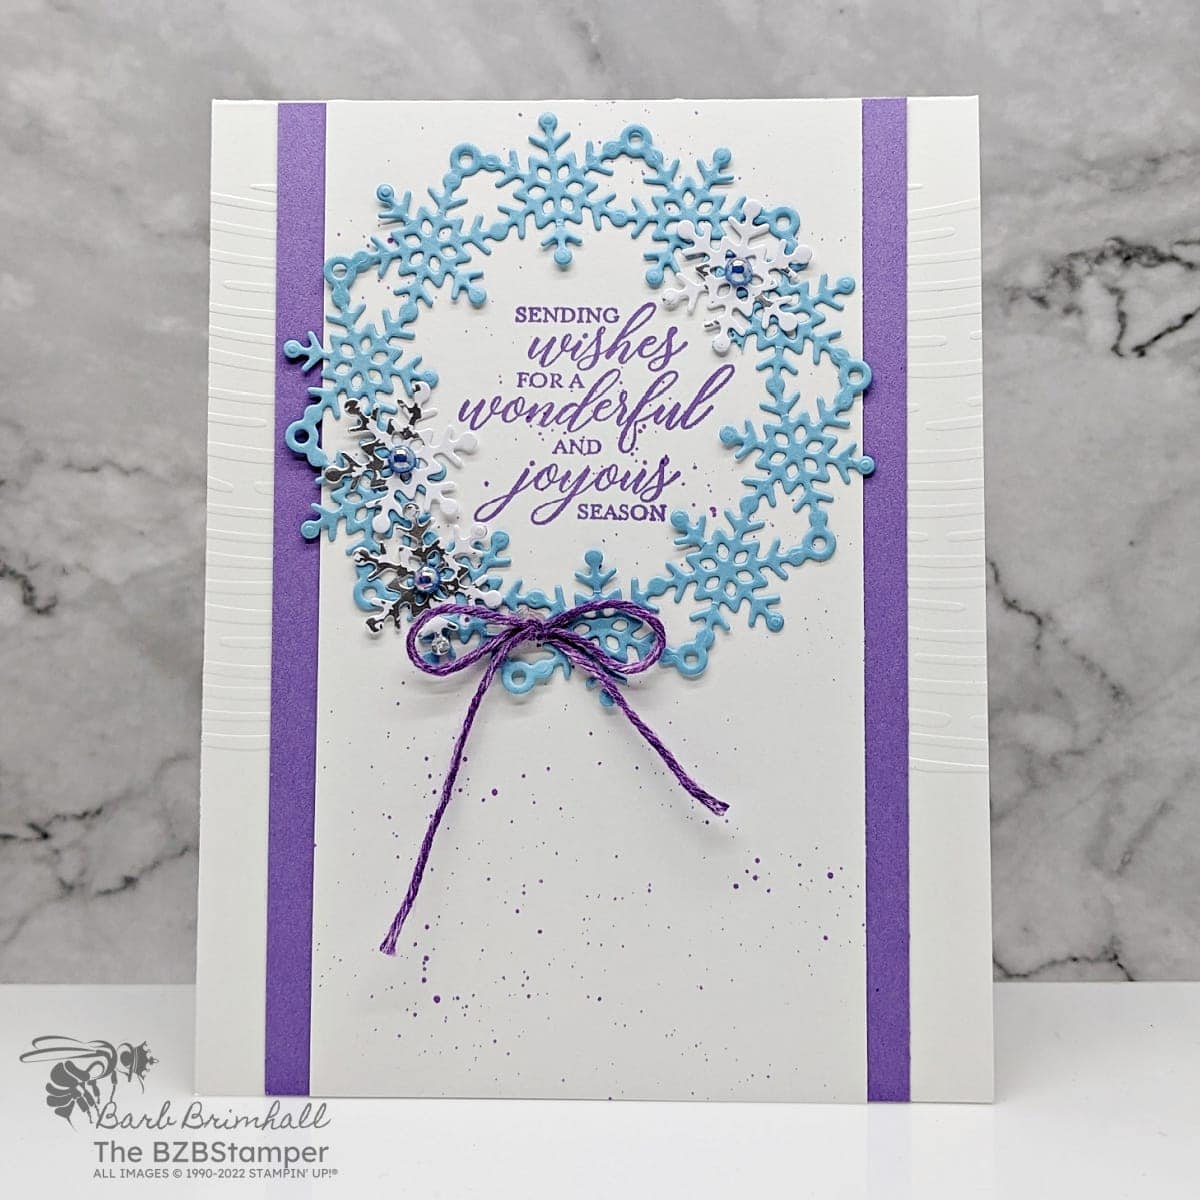
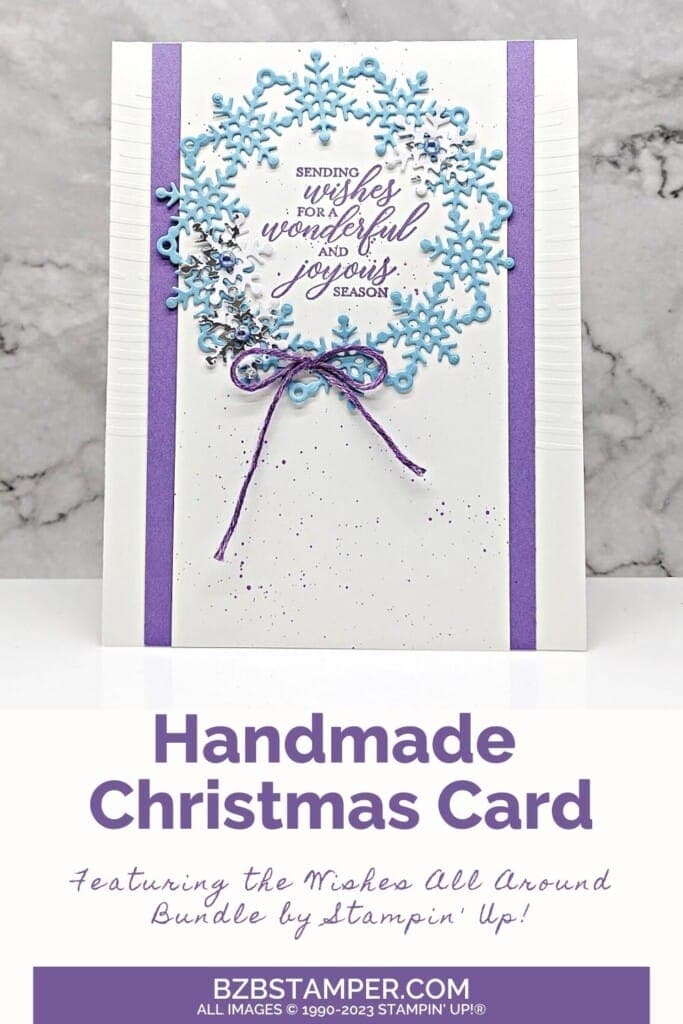
Let me show you how to make this handmade Wishes All Around Wreath Card that comes together quickly thanks to the WIshes All Around Bundle by Stampin’ Up! With elegantly scripted sentiments and gorgeous dies, you’ll be proud to mail this card to your friends and family! if snowflakes make your heart flutter, and you’re eager to send some frosty vibes through your greetings, keep reading, and let’s embark on this snowy adventure together!
How To Make This Card
Project Skill Level: Worker Bee
Worker Bee projects are designed for the crafter who has a bit more time and enjoys creating a handmade card that features a technique or tool. In many cases, a Stampin’ Cut & Emboss Machine is required for die-cutting and/or embossing.
Cardstock Measurements:
- Basic White Cardstock: 4-1/4” x 11”, scored at 5-1/2”
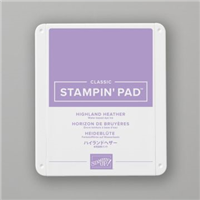
- Highland Heather Cardstock: 3-1/2” x 5-1/2”
- Basic White Cardstock: 3” x 5-1/2”
- Balmy Blue Cardstock: 3-1/2” x 3-1/2” (for die-cutting)
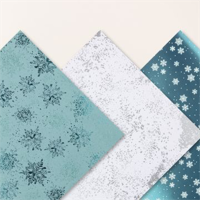
- Snowflake Magic Specialty Paper (silver): 1” x 3” (for die-cutting)


Grab your Free copy
Get 5 Bee-utiful Exclusive
Card Sketches in Your Inbox
Join our newsletter and receive a honey of a package of five quick & simple cards guaranteed to make your creativity buzz! Sign up now and let the goodness flow straight to your inbox!
Step-by-Step Instructions:
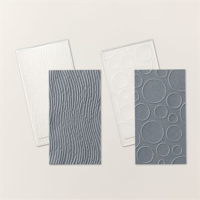
- Fold the 4-1/4” x 11” piece of Basic White Cardstock in half at the 5-1/2” scoreline. Open the card back up and run the front only through the Stampin’ Cut & Emboss Machine using the Cheery Patterns Embossing Folder at the top half of the card front, about 1/2” down from the top. Refold the card front and burnish well with Bone Folder.
- Stamp the sentiment onto the top part of the 3” x 5-1/2” Basic White mat using Highland Heather ink. Tip: use the snowflake die as a placement guide.
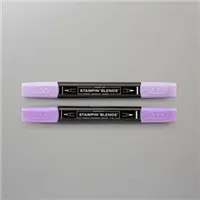
- Cut 10” of the White Baker’s Twine from the Essentials Pack and use the Dark Highland Heather Blend to color the twine. Let dry. Use the brush side of the same blend to flick color at the bottom of the 3” Basic White cardstock, below the sentiment.
- Adhere the White cardstock to the 3-1/2” x 5-1/2” piece of Highland Heather cardstock and then adhere to the front of the card.
- Run the 3-1/2” square of Balmy Blue cardstock through the Cut & Emboss Machine and cut out the snowflake wreath.
- Run the 1” x 3” strip of Snowflake Magic Specialty Paper through the Cut & Emboss Machine and cut out 3 snowflakes. Adhere to the 3 snowflakes randomly on the Balmy Blue wreath. Line the wreath up and adhere to the top of the card so that sentiment shows through the center of the wreath.
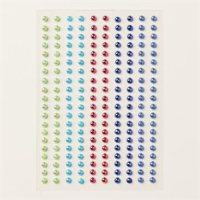
- Tie the Baker’s Twine from Step #3 into a bow and adhere to the bottom of the wreath. Add 3 of the In-Color Pearls to the center of the 3 snowflakes to finish.
A Tip from Barb
This is a fairly simple card to put together thanks to the Stampin’ Cut & Emboss Machine and the beautiful dies from the Bundle. It would look great in any color combination but I love the simplicity of the blue and purple for this card.
I try to always add one “ohh, pretty” element on my Worker Bee cards, and on this one, it was using the Snowflake Magic Specialty paper. It added a special touch of bling that I think makes the card!
Thank you so much for stopping by today. I hope you are inspired to create today, whether it is this simple and cute handmade card or another cardmaking project. My goal is to help you carve out some creative joy! If you’d like more detailed directions on how to make this card, feel free to email me. Keep checking back for more projects.

Don’t forget to pin this for later!
Supplies Used On This Project:
Price: $10.00

